Writing Tests
What are automated tests?
Section titled “What are automated tests?”Step 1: Create your first test - the Task component
Section titled “Step 1: Create your first test - the Task component”Create a new folder called tests at the root of your project, and place a Task.test.js file in here:
Directorylib/
- …
Directorynode_modules/
- …
Directorytests
- Task.test.js
- global.css
- index.js
This will contain all the tests for the Task component
Add your first test code below to Task.test.js:
import { render, screen } from '@testing-library/react-native';import { Task } from '../components/Task';
describe('Task', () => {  test('renders a task', () => {    const task = {      id: 1,      title: 'Test Task',      category: 'Test Category',      isChecked: false,    };
    render(<Task task={task} />);
// Just check if the title and category are displayed const titleElement = screen.getByText('Test Task'); const categoryElement = screen.getByText('Test Category'); expect(titleElement).toBeTruthy(); expect(categoryElement).toBeTruthy(); });});Step 2: Run your test
Section titled “Step 2: Run your test”If you still have your development server running from the previous guide, stop it by pressing CTRL + C in the terminal (or CMD + C on Mac).
Run your test with the command below:
npm run testThis will execute Jest with your configuration and run all tests matching the pattern in your testMatch configuration.
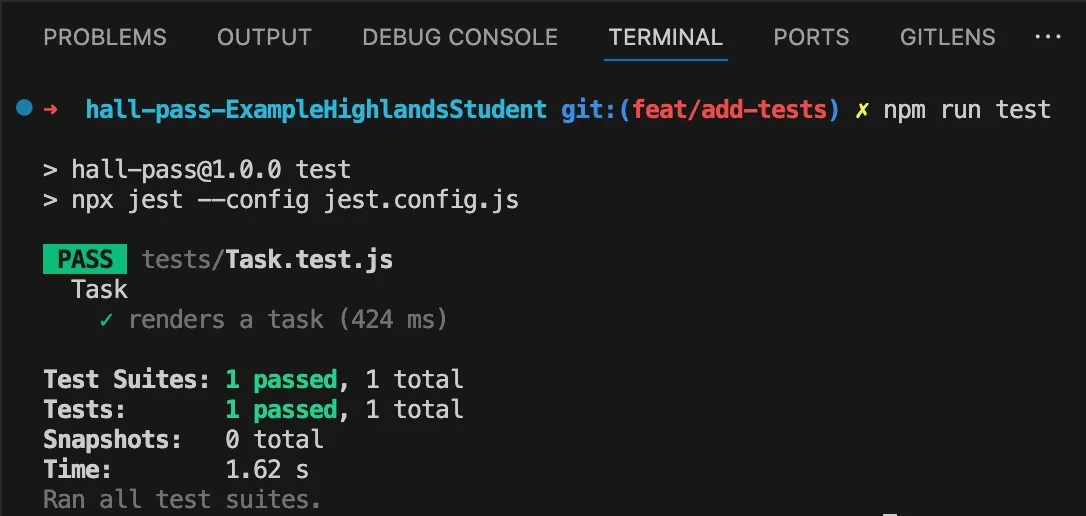
When you run the test, you should see a passing test for our Task component:
Step 3: Understanding Component Rendering Tests
Section titled “Step 3: Understanding Component Rendering Tests”The test we wrote in Step 4 is a basic component rendering test. It verifies that our component correctly displays the data it receives as props. This type of test is essential for ensuring your UI components render correctly.
However, real applications need more than just static rendering - they need to respond to user interactions!
Step 4: Adding Interaction Tests
Section titled “Step 4: Adding Interaction Tests”Let’s enhance our test suite by adding an interaction test to verify the checkbox in our Task component works correctly when pressed.
First, add a testID to your checkbox component to make it easier to find in the tests:
<Checkbox testID="checkbox" className="border-foreground checked:bg-foreground" checked={isChecked} onCheckedChange={handleSetChecked}/>Now, let’s add a new test to our Task.test.js file that verifies the checkbox calls the correct function when pressed:
import React from "react";import { render, screen, userEvent } from "@testing-library/react-native";import Task from "../components/Task"; // Adjust path as needed
7 collapsed lines
// Mock any components or contexts used by Taskjest.mock("~/lib/TaskContext", () => ({ useTasks: () => ({ updateTask: jest.fn(), deleteTask: jest.fn(), }),}));
describe("Task", () => { test("renders a task", () => {14 collapsed lines
const task = { id: 1, title: "Test Task", category: "Test Category", isChecked: false, };
render(<Task task={task} />);
// Just check if the title is displayed const titleElement = screen.getByText("Test Task"); const categoryElement = screen.getByText("Test Category"); expect(titleElement).toBeTruthy(); expect(categoryElement).toBeTruthy(); });
test("toggles completion status when pressed", async () => { const task = { id: 1, title: "Test Task", category: "Test Category", isChecked: false, };
render(<Task task={task} />);
const checkbox = screen.getByTestId("checkbox"); // Find the checkbox element
const user = userEvent.setup(); await user.press(checkbox);
expect(checkbox).toBeChecked(); });});What is userEvent?
Section titled “What is userEvent?”userEvent is a function provided by @testing-library/react-native that allows you to simulate user interactions in your tests.
These must always be placed inside an async function, because they use await internally.
const userEvent = userEvent.setup();- Sets up the user event simulationawait user.press(checkbox);- Simulates pressing/tapping an elementawait user.type(textInput, 'Hello world!');- Simulates typing in a text input- You can find out more about
userEventin the official documentation
This is powerful because it lets you test not just what your component looks like, but how it responds to user input!
Step 5: Testing More Complex Interactions
Section titled “Step 5: Testing More Complex Interactions”Now that we’ve covered the basics of interaction testing, let’s explore how to test more complex scenarios:
Conclusion
Section titled “Conclusion”Congratulations! You’ve learned how to:
- Set up a testing environment for your React Native application
- Write basic component rendering tests
- Add testIDs to make components easier to find in tests
- Create interaction tests that simulate user behaviour
- Use mock functions to verify component behaviour
- Apply best practices for writing effective tests
Testing is an essential part of building reliable applications. By investing time in writing good tests, you’ll catch bugs earlier, make changes with confidence, and create a more maintainable codebase.
Next Steps
Section titled “Next Steps”To continue improving your testing skills:
- Add tests for your other components
- Learn about the full React Native Testing Library API
- See an example of a test using React Native Testing Library in the official documentation
Remember, the goal of testing isn’t 100% code coverage, but rather confidence that your application works as expected.
Focus on testing the most critical parts of your application first, and gradually expand your test suite as your application grows.