Logo Design
Now that we have a navigation bar and footer, letβs customise them by adding:
- A logo to the navigation bar and footer
- A custom footer message
- Links to other pages in the website
Customising the Navigation Bar
Section titled βCustomising the Navigation BarβAdding a Logo
Section titled βAdding a LogoβTo add a logo to the navigation bar, we need to update the HeaderWithSearch
component.
Open the HeaderWithSearch
component in your code editor. This is found at app/components/organisms/HeaderWithSearch.tsx
.
Adding a section for the logo
Section titled βAdding a section for the logoβ
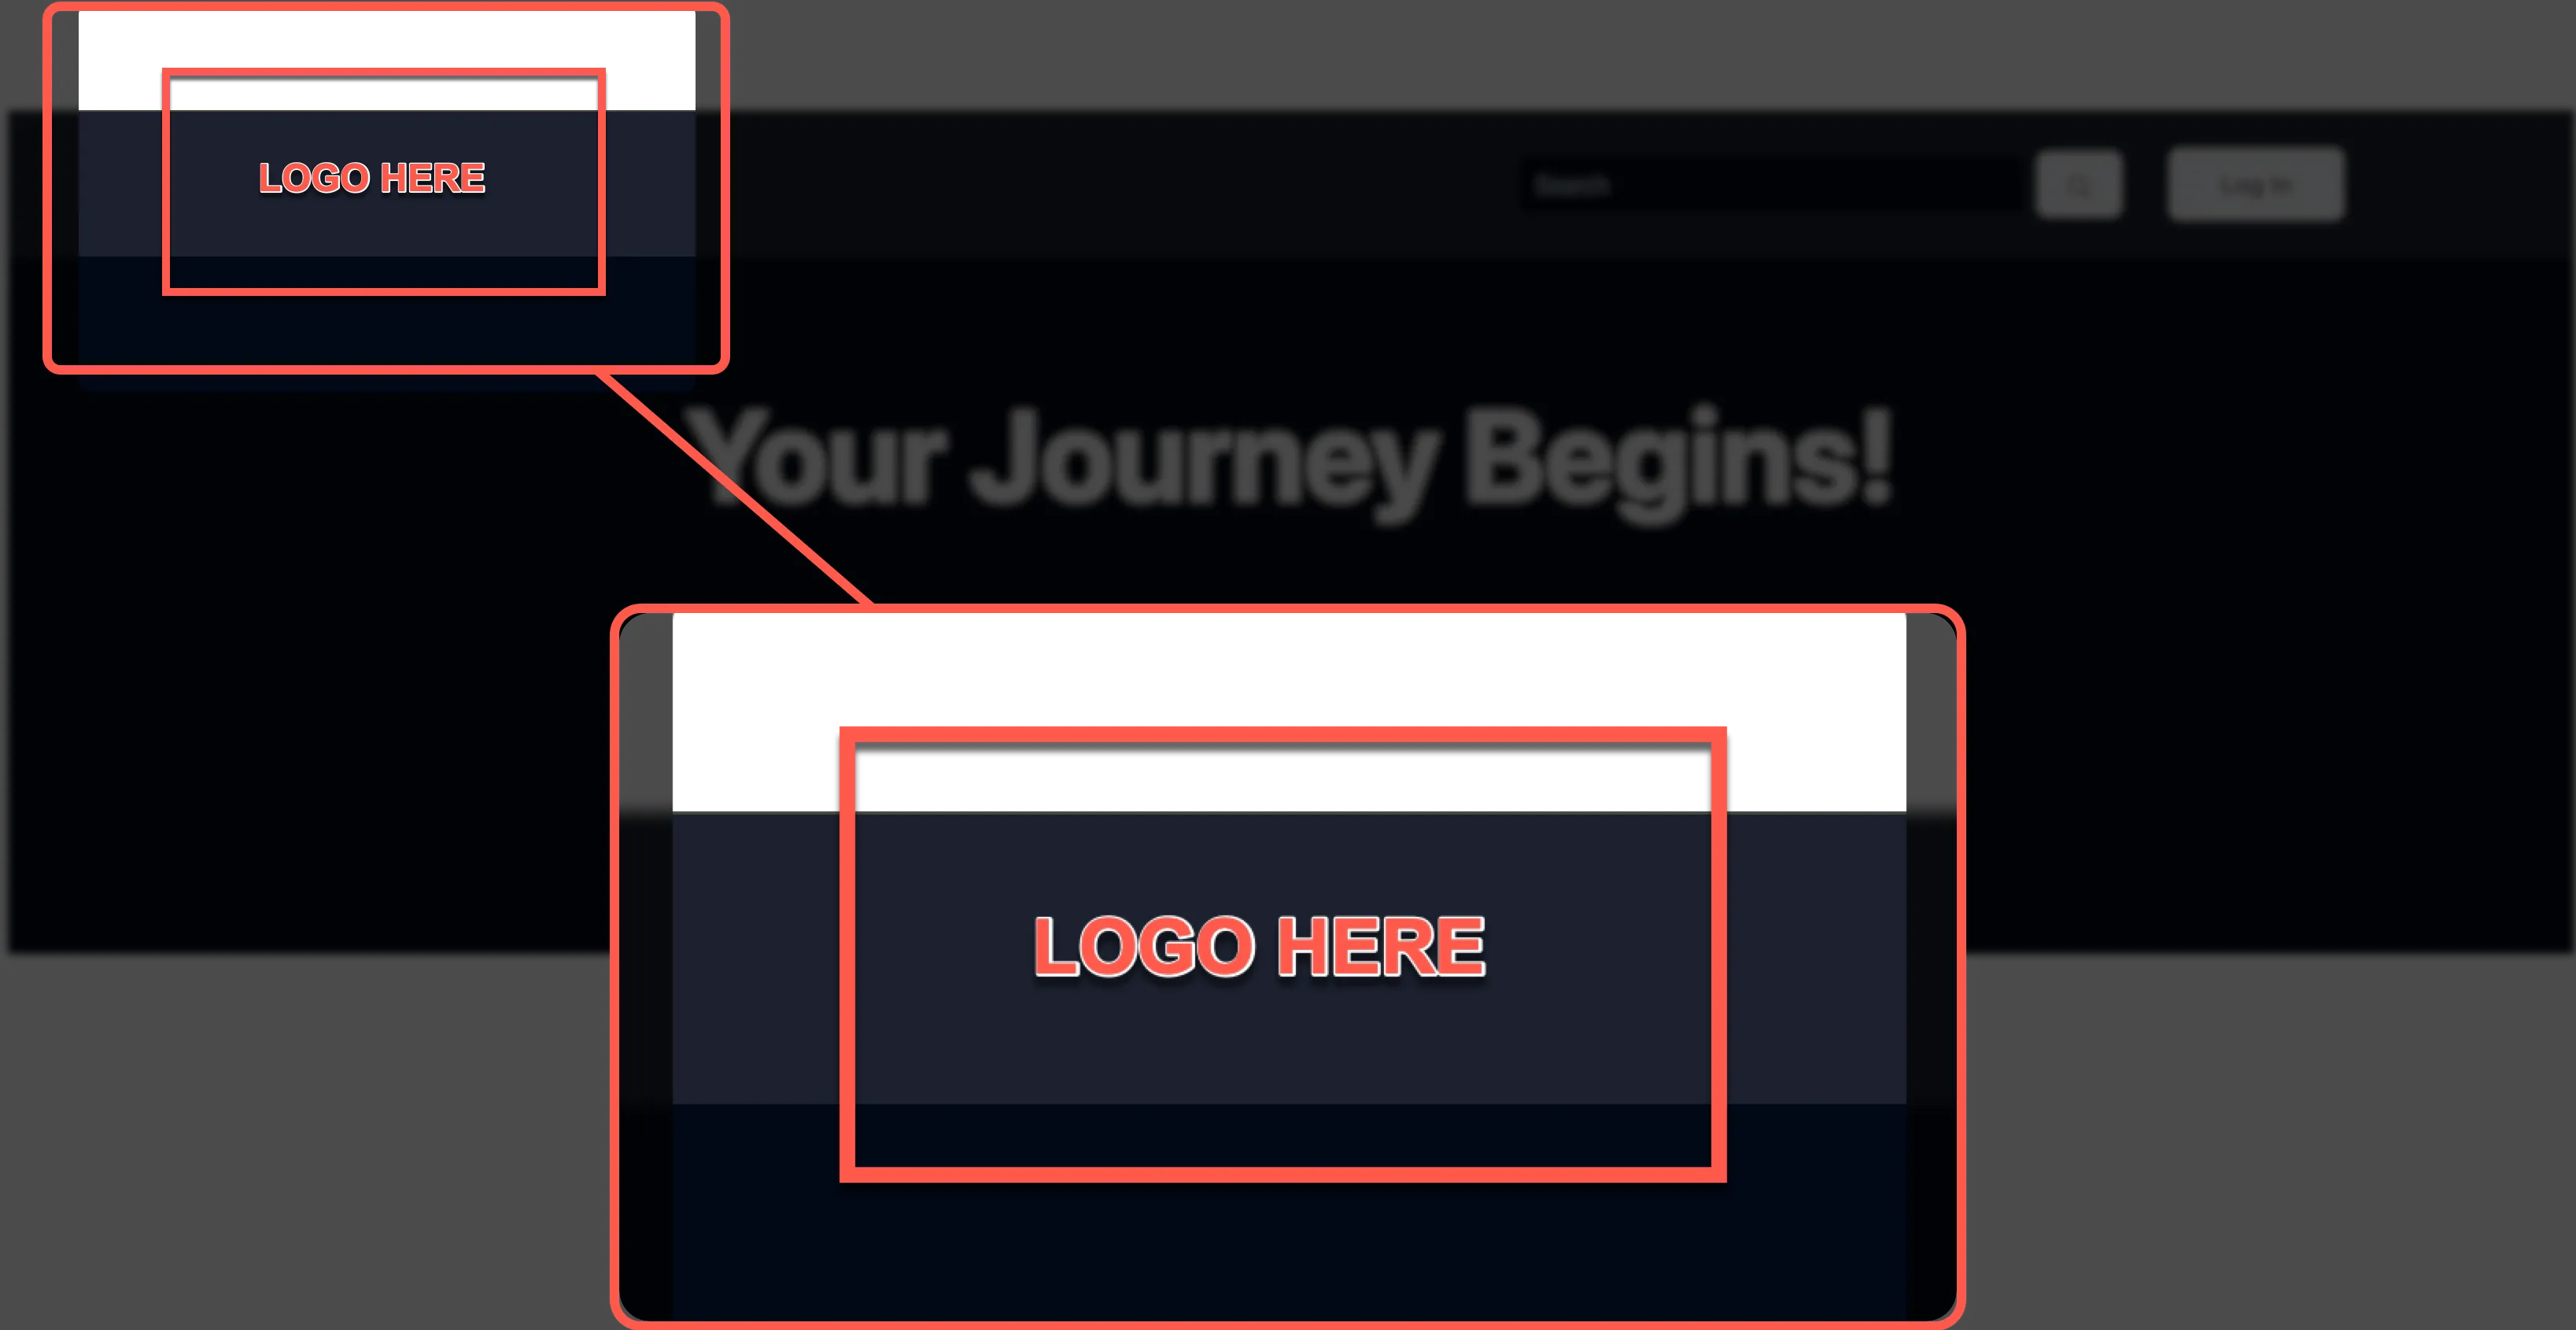
Look carefully at your navbar header in the browser, and think carefully where you want to place the logo.
Typically, the logo is placed on the left side of the navigation bar:
Create a logo
Section titled βCreate a logoβNow that we have a placeholder for our logo, letβs create a logo for our site.
One way you could design a logo quickly is to use a logo generator. These tools allow you to create a logo by selecting a few options, such as colours, fonts, and icons.
Alternatively, if you want more control over the design of your logo, you can use a design tool like Figma.
Logo Generator
Section titled βLogo GeneratorβYou can use an online logo generator to create a logo for your site. This will result in a rather generic email, but is a quick and easy solution.
Try the site below if you want to use a logo generator:
https://tailwind-generator.com/logo-generator/generator
Open the Figma file for your Epic News wireframes, and create a logo that fits the design of the site.
Once you are happy with your logo, export it as an PNG file.
Summary
Section titled βSummaryβIn this tutorial we have:
- Added a placeholder for the logo in the navigation bar
- Created a logo for the site using Figma
- Exported the logo as a PNG file
Next Steps
Section titled βNext StepsβIn the next section, we will add the logo to the navigation bar and footer.