Capturing form data
Introduction
Section titled “Introduction”In this guide, we will learn how to capture input data from users and store it in variables.
This is a crucial step in building interactive web applications, as it allows you to collect information from users and use it to personalize their experience.
Listening for a form submission event
Section titled “Listening for a form submission event”Open the index.js file, and look carefully at the comment plan you created in the previous guide.
We’ve already completed the first two steps - displaying the form to the user and including input fields for the user’s email address, level, and hours of study.
We can go ahead and delete these two steps from our comment plan, as they are already covered in the HTML document that we’ve been working in:
// Display a form to the user// Include input fields for the user's email address, level, and hours of study// Capture user's input on form submission // Store the user's email address as userEmail (string/text) // Store the user's level as userLevel (string/text) // Store the user's hours of study as userHours (number)// Validate the user's input // Check if the user has selected a level // Check if the user has provided an email address // Check if the user has specified at least one hour of study // Check if the number of hours requested is within the allowed range // Calculate the total cost// Display the total cost to the userThe document.querySelector() and addEventListener() methods
Section titled “The document.querySelector() and addEventListener() methods”When a user clicks the ‘submit’ button placed inside a HTML form, the <form> element itself fires a submit event to the browser.
We can use JavaScript to ‘listen’ for this event.
To do this, we need to:
- Target the HTML form element as a variable in our code
- Add an event listener to this variable.
Add the code below to your index.js file:
// Capture user's input on form submissionlet form = document.querySelector("form");
form.addEventListener("submit", function () { console.log("Form submitted");});// Store the user's email address as userEmail (string/text)9 collapsed lines
// Store the user's level as userLevel (string/text)// Store the user's hours of study as userHours (number)// Validate the user's input// Check if the user has selected a level// Check if the user has provided an email address// Check if the user has specified at least one hour of study// Check if the number of hours requested is within the allowed range// Calculate the total cost// Display the total cost to the userTake extra care to place this code directly below the comment note that describes it.
This will ensure that we cover each step of our plan as we implement its logic.
Checking execution flow with console.log()
Section titled “Checking execution flow with console.log()”You’ll notice that within the body of this function we are only executing one line of code:
form.addEventListener("submit", function () { console.log("Form submitted");});The console.log() function is a quick way to print messsages to the browser console, or display the current values of variables as they change throughout your code.
We can just add anything we want to display in the browser console as an argument to it (i.e. between the two brackets).
In this case, we are simply printing a message to check that the callback function has indeed been triggered by form submission.
Viewing the browser console
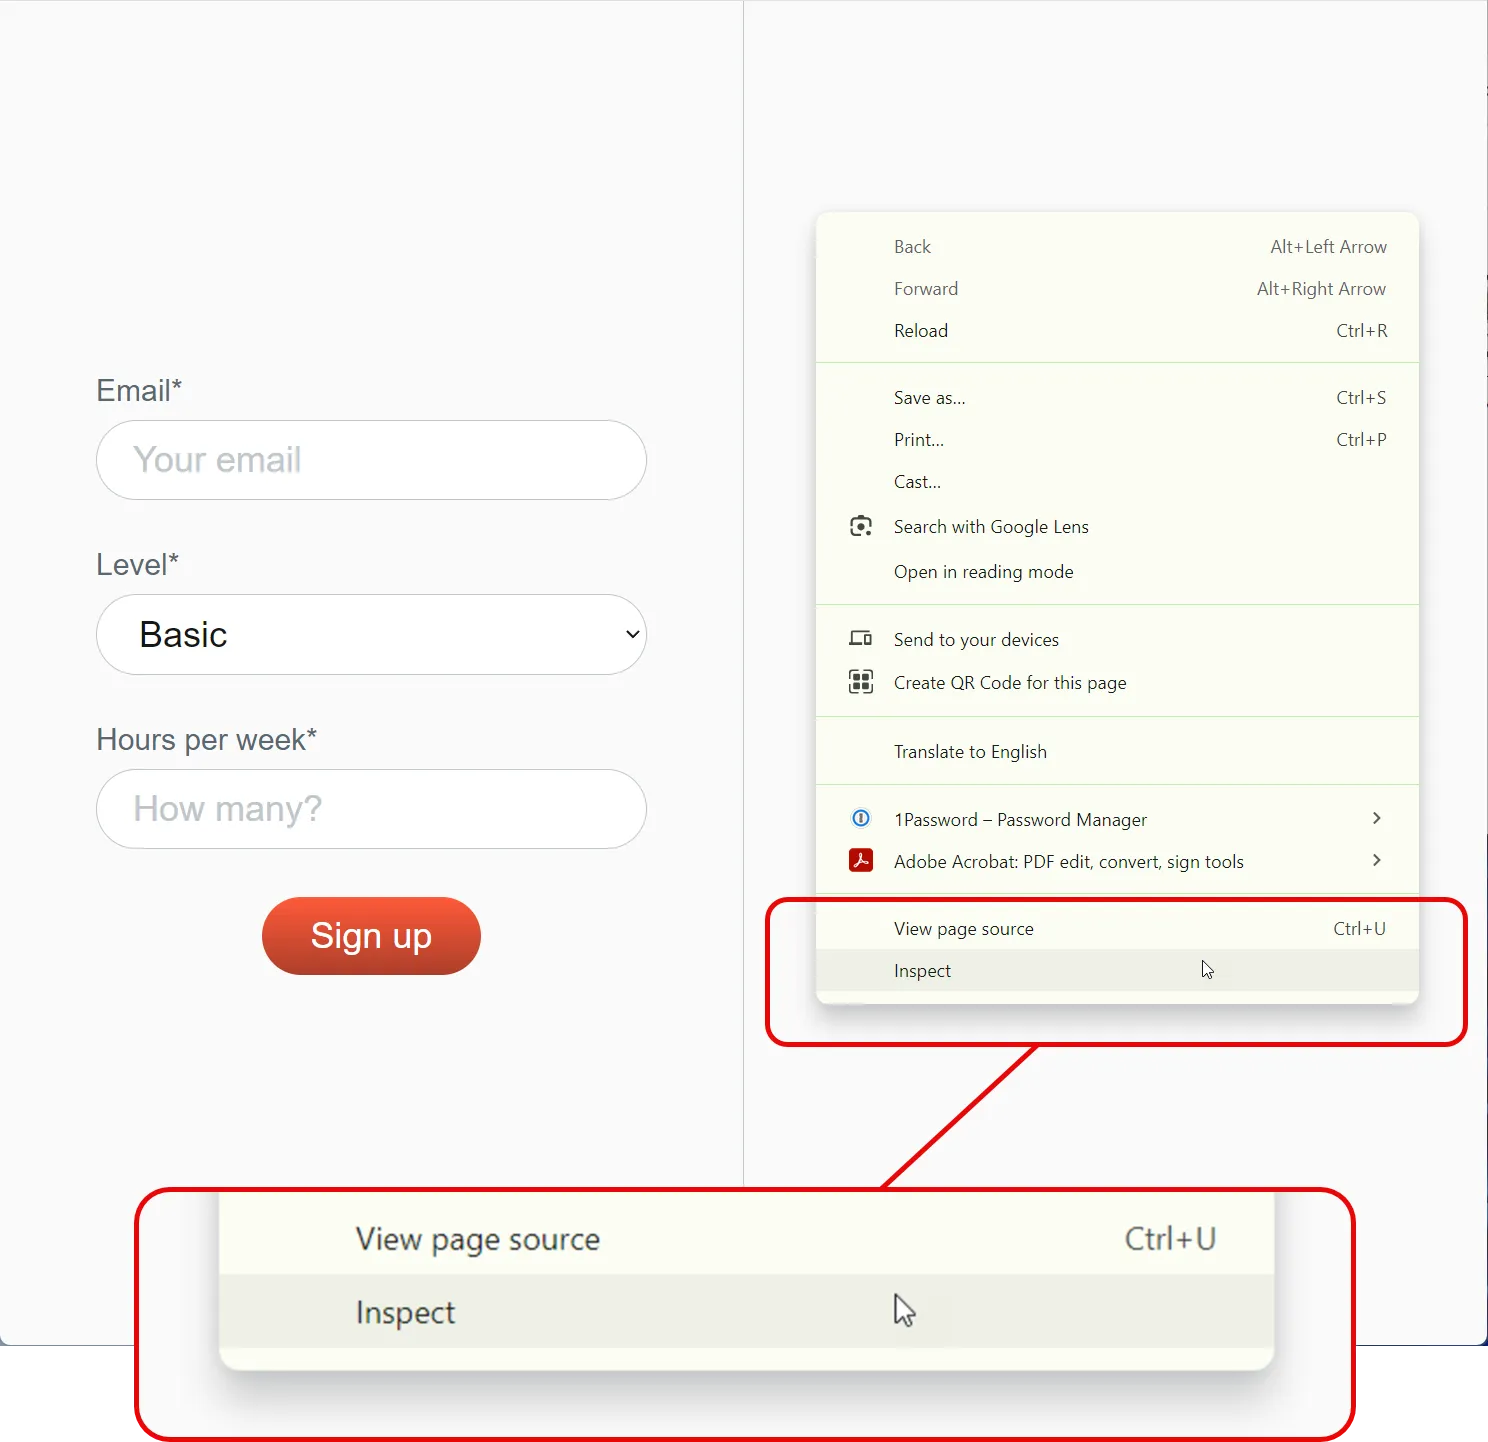
Section titled “Viewing the browser console”To view the console in your browser, right-click on the page and select Inspect from the context menu:
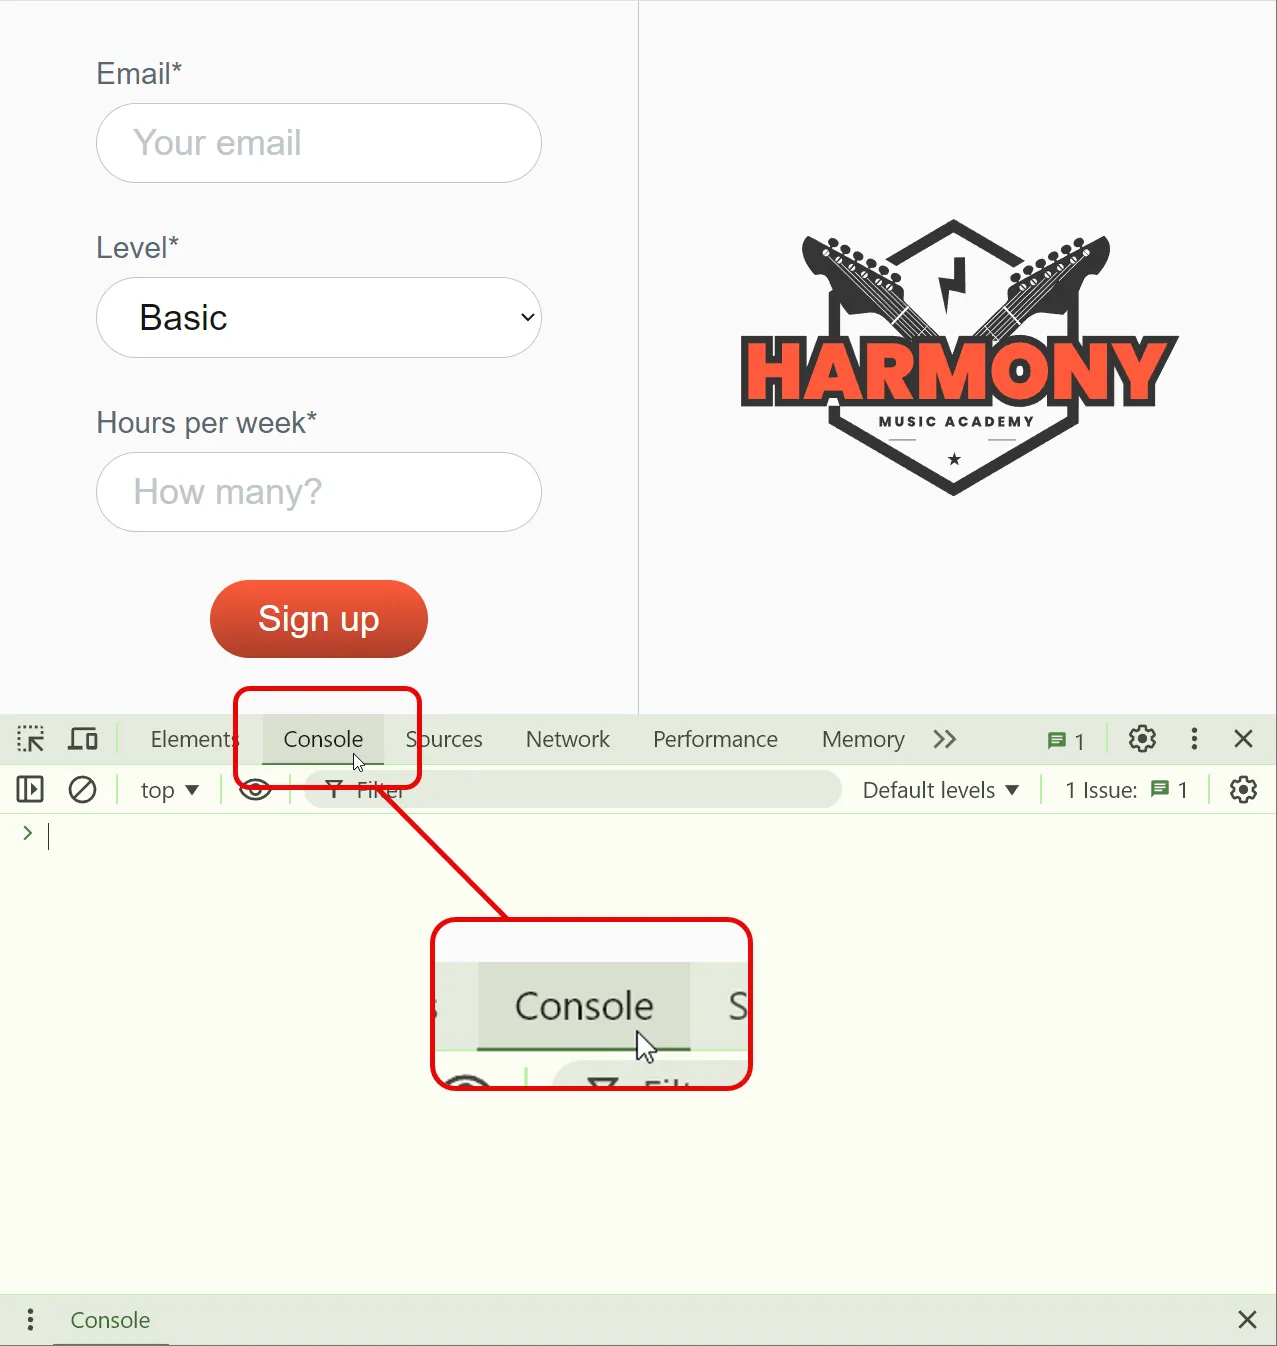
With the inspection panel open (this is also referred to as the “developer tools” panel), click on the Console tab:
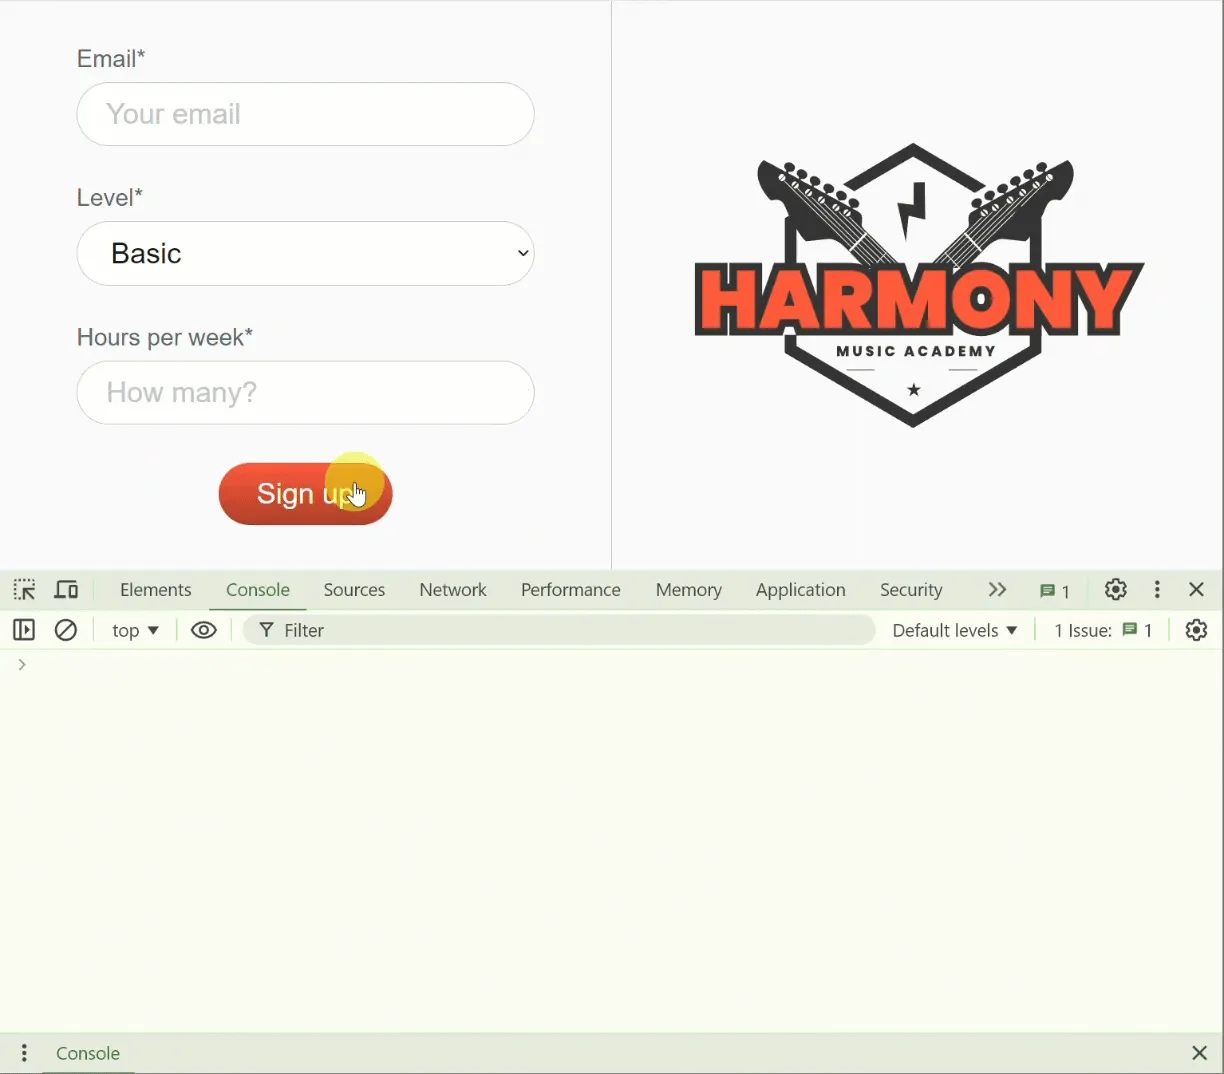
Now, try submitting the form.
If all is working correctly, you should see the message "Form submitted" flash into the console, and then disappear.
Using event.preventDefault() in event handlers
Section titled “Using event.preventDefault() in event handlers”By default, when a form is submitted, the browser will automatically reload the page. This is because the form submission event is designed to send the form data to a server.
However, in our case, we want to capture the form data and use it to calculate the total cost of the user’s lessons.
To prevent the page from reloading, we can use the event.preventDefault() method.
Looking carefully at the additions below, update your index.js code as follows:
// Capture user's input on form submissionlet form = document.querySelector("form");
form.addEventListener("submit", function (event) { event.preventDefault();
console.log("Form submitted");});9 collapsed lines
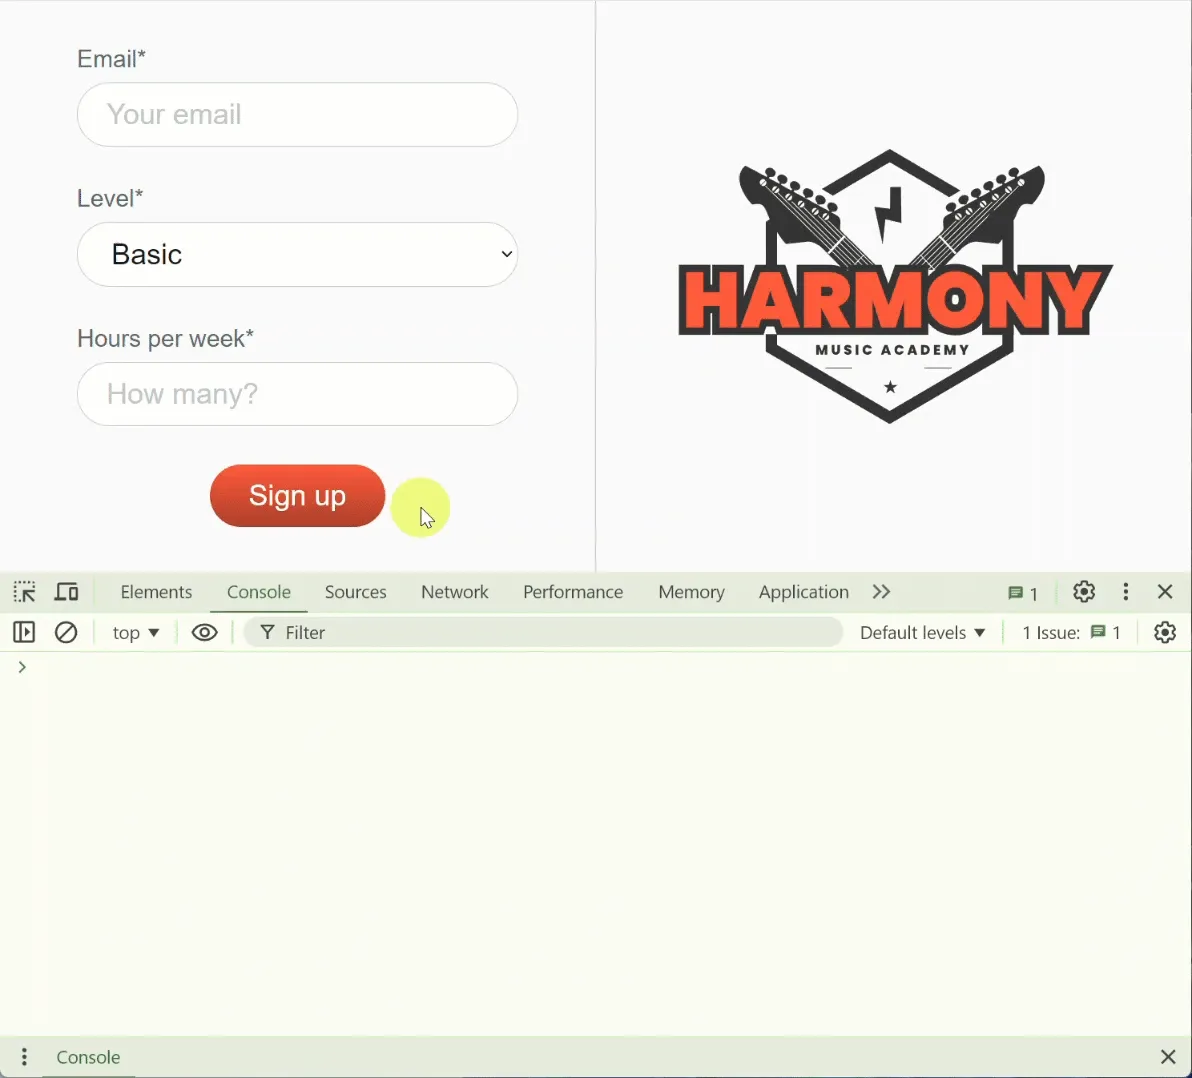
// Store the user's email address as userEmail (string/text)// Store the user's level as userLevel (string/text)// Store the user's hours of study as userHours (number)// Validate the user's input// Check if the user has selected a level// Check if the user has provided an email address// Check if the user has specified at least one hour of study// Check if the number of hours requested is within the allowed range// Calculate the total cost// Display the total cost to the userWith this change in place, the page will no longer reload when the form is submitted, and your console message should remain visible:
Targeting input values in JavaScript
Section titled “Targeting input values in JavaScript”Let’s go ahead and capture the user’s email address.
Delete the console.log(); message confirming the form is submitted, and add the lines highlighted in green to your index.js file:
// Capture user's input on form submissionlet form = document.querySelector("form");
form.addEventListener("submit", function (event) { event.preventDefault();
console.log("Form submitted"); // Store the user's email address as userEmail (string/text) let userEmail = document.querySelector("#email").value; console.log({ userEmail });});// Store the user's email address as userEmail (string/text)// Store the user's level as userLevel (string/text)7 collapsed lines
// Store the user's hours of study as userHours (number)// Validate the user's input// Check if the user has selected a level// Check if the user has provided an email address// Check if the user has specified at least one hour of study// Check if the number of hours requested is within the allowed range// Calculate the total cost// Display the total cost to the userChecking the value of a variable - console.log()
Section titled “Checking the value of a variable - console.log()”As you will have noticed, we have a new console.log() statement that should print the value of the userEmail variable to the console.
We’ve also moved the relevent line from our comment plan above the variable to show where the userEmail is being captured.
Try submitting the form in your browser without anything written in the email field and check the developer tools console:

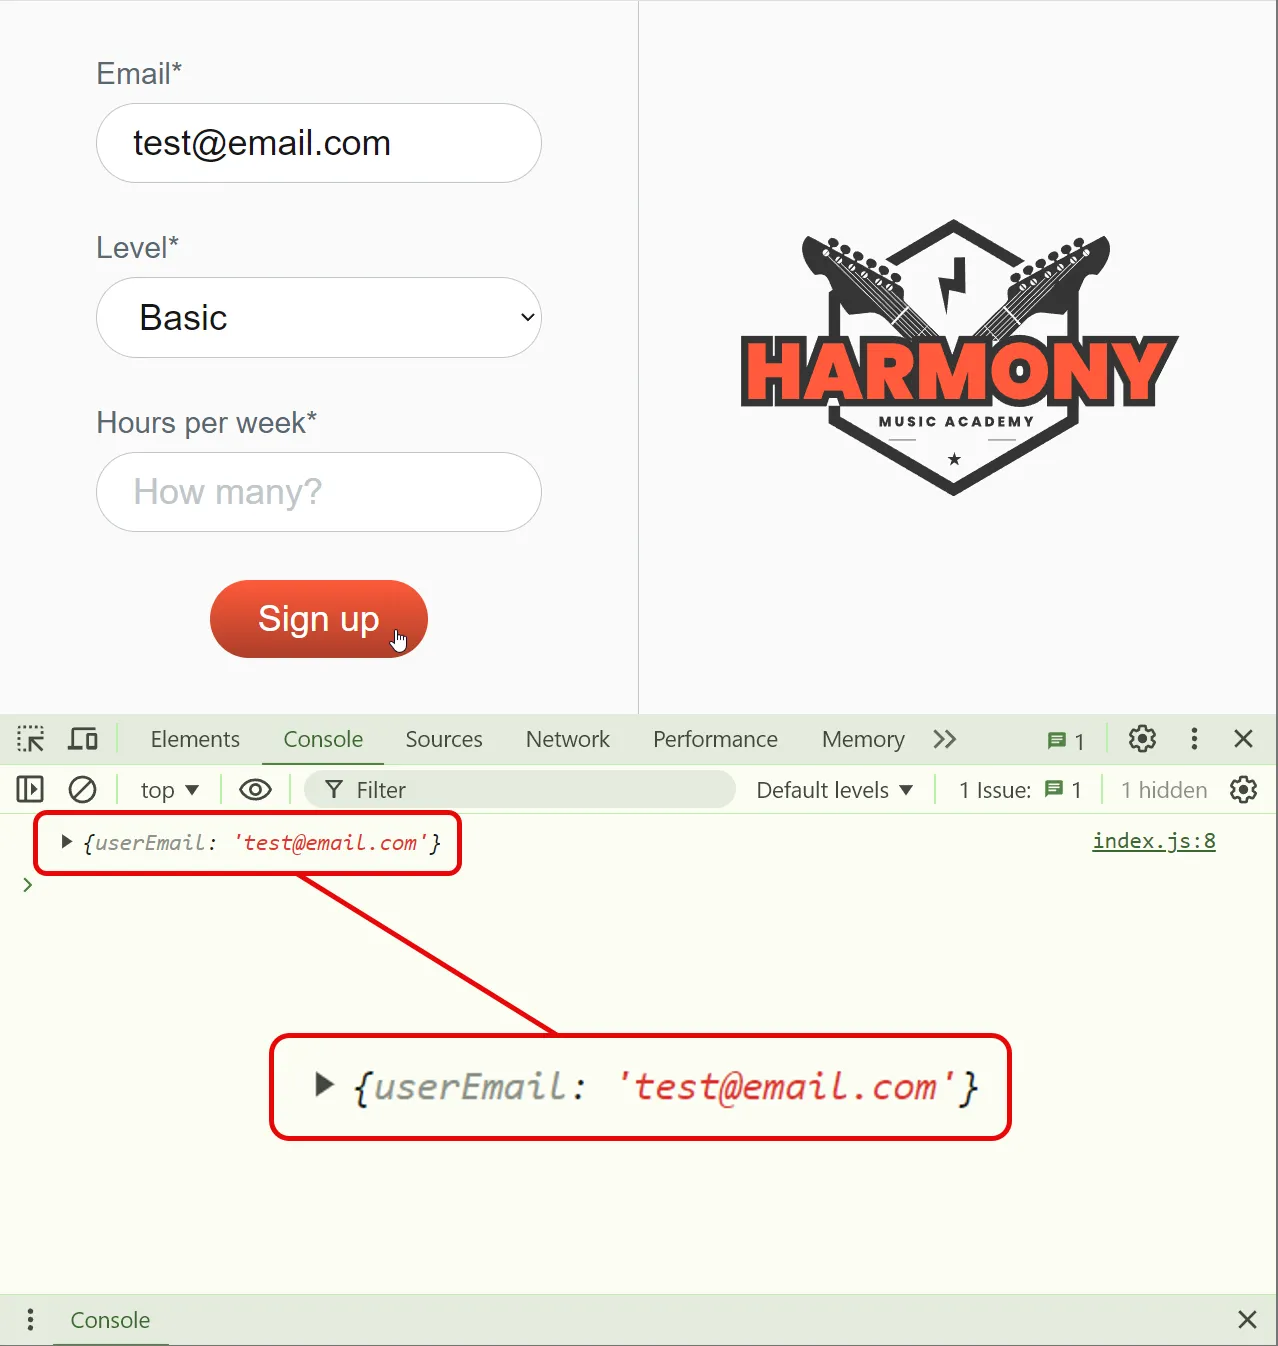
Now try adding an email address and submitting the form again.
This time, you should see the email address you entered printed to the console:
With this in place - it’s your turn!
🔄️ Commit changes to GitHub
Section titled “🔄️ Commit changes to GitHub”Now that you have successfully captured the user’s input data, it’s time once again to commit your changes to GitHub using GitHub Desktop.
Summary
Section titled “Summary”In this guide, we:
- learned how to capture input data from users and store it in variables.
- used the
document.querySelector()method to target the form element, and theaddEventListener()method to listen for the form submission event. - used the
event.preventDefault()method to prevent the page from reloading when the form is submitted. - targeted the input values for the user’s email address, level, and hours of study, and stored them in variables.
- used the
console.log()method to print the values of these variables to the console. - committed our changes to GitHub using GitHub Desktop.
- updated our assignment document to reflect the latest changes to our project.
Next steps
Section titled “Next steps”In the next step, we will learn about different ways to debug code in VS Code.