Routing - `Outlet` and `_index.tsx`
Introduction
Section titled “Introduction”At the moment, we have only been working on one page in our app, but of course we want to add more.
So far, we’ve been using the root.tsx file to render what appears to be a single page. But looks can be deceiving: this little file is very powerful!
As you’ll see, the root.tsx file is actually the springboard from which we can render a shared layout that all of our other pages depend on.
In this step, we will:
- Learn how to use the
Outletcomponent to render ‘child’ routes inside a ‘parent’ route - Create a new route file in Remix
- Understand how the file naming conventions in Remix map to the URL paths in the browser
- Add new routes to our app and see how they are served from the correct URL paths
- Complete a challenge to add multiple new routes to our app
The Outlet component
Section titled “The Outlet component”Let’s start by swapping out everything between the <main> tags in our root.tsx file with a special component that Remix supplies for us: the Outlet component.
-
Add
Outletas an extra import at the top of theroot.tsxfile:app/root.tsx import { Link, Outlet, useLoaderData } from 'react-router'import { ParallaxProvider } from 'react-scroll-parallax'import { type Route } from './+types/root.ts'12 collapsed linesimport { type loader } from './__root.server.tsx'import { GeneralErrorBoundary } from './components/error-boundary.tsx'import FooterMenuRight from './components/organisms/Footer/FooterMenuRight'import HeaderWithSearch from './components/organisms/HeaderWithSearch'import ParallaxBackground from './components/organisms/Hero/ParallaxBackground.tsx'import Document from './components/shared-layout/Document.tsx'import { Button } from './components/ui/button.tsx'import { ThemeSwitch, useTheme } from './routes/resources+/theme-switch.tsx'import { useNonce } from './utils/nonce-provider.ts'import rootLinkElements from './utils/providers/rootLinkElements.ts'import heroImage from '~/assets/jpg/sample-hero.jpg'import logo from '~/assets/png/epic-news-logo.png' -
Comment out the all your code that is currently wrapped between the
divwith aclassNameofflex-1.app/root.tsx 21 collapsed linesimport { Link, Outlet, useLoaderData } from 'react-router'import { ParallaxProvider } from 'react-scroll-parallax'import { type Route } from './+types/root.ts'import { type loader } from './__root.server.tsx'import { GeneralErrorBoundary } from './components/error-boundary.tsx'import FooterMenuRight from './components/organisms/Footer/FooterMenuRight'import HeaderWithSearch from './components/organisms/HeaderWithSearch'import ParallaxBackground from './components/organisms/Hero/ParallaxBackground.tsx'import Document from './components/shared-layout/Document.tsx'import { Button } from './components/ui/button.tsx'import { ThemeSwitch, useTheme } from './routes/resources+/theme-switch.tsx'import { useNonce } from './utils/nonce-provider.ts'import rootLinkElements from './utils/providers/rootLinkElements.ts'import heroImage from '~/assets/jpg/sample-hero.jpg'import logo from '~/assets/png/epic-news-logo.png'export const links: LinksFunction = () => {return rootLinkElements}export { headers, meta } from './__root.client.tsx'export { action, loader } from './__root.server.tsx'export default function App() {const data = useLoaderData<typeof loader | null>()const nonce = useNonce()const theme = useTheme()return (<ParallaxProvider><Document nonce={nonce} theme={theme} honeyProps={data?.honeyProps}><div className="flex h-screen flex-col justify-between"><HeaderWithSearch /><div className="flex-1">{/* <main className="h-full"><ParallaxBackgroundimage={heroImage}title="Epic News"logo={logo}altText="Welcome to Epic News, where the latest developments in tech are found."><div className="mx-auto flex w-fit flex-1 flex-col justify-between gap-16 bg-secondary/40 px-28 py-16 backdrop-blur-sm"><p className="text-center text-4xl font-extrabold text-secondary-foreground">The latest tech news in one place</p><div className="flex justify-center gap-8"><Button variant="default" size="wide"><Link to="/signup">Sign up</Link></Button><Button variant="secondary" size="wide"><Link to="/login">Login</Link></Button></div></div></ParallaxBackground></main> */}</div><div className="container flex justify-between pb-5"><ThemeSwitch userPreference={data?.requestInfo.userPrefs.theme} /></div><FooterMenuRight /></div></Document></ParallaxProvider>)} -
Add the
Outletcomponent beneath the commented out codeapp/root.tsx 17 collapsed linesimport { type LinksFunction } from '@remix-run/node'import { Outlet, useLoaderData } from '@remix-run/react'import { ParallaxProvider } from 'react-scroll-parallax'import Document from '~/components/shared-layout/Document'import ThemeSwitch from '~/components/shared-layout/ThemeSwitch'import { useNonce } from '~/utils/nonce-provider.ts'import rootLinkElements from '~/utils/providers/rootLinkElements'import { type loader } from './__root.server'import FooterMenuRight from './components/organisms/Footer/FooterMenuRight'import HeaderWithSearch from './components/organisms/HeaderWithSearch'import useTheme from './hooks/useTheme.tsx'export const links: LinksFunction = () => {return rootLinkElements}export { headers, meta } from './__root.client.tsx'export { action, loader } from './__root.server.tsx'export default function App() {const data = useLoaderData<typeof loader | null>()const nonce = useNonce()const theme = useTheme()return (<ParallaxProvider><Document nonce={nonce} theme={theme} honeyProps={data?.honeyProps}><div className="flex h-screen flex-col justify-between"><HeaderWithSearch /><div className="flex-1">{/* <main className="h-full">20 collapsed lines<ParallaxBackgroundimage={heroImage}title="Epic News"logo={logo}altText="Welcome to Epic News, where the latest developments in tech are found."><div className="mx-auto flex w-fit flex-1 flex-col justify-between gap-16 bg-secondary/40 px-28 py-16 backdrop-blur-sm"><p className="text-center text-4xl font-extrabold text-secondary-foreground">The latest tech news in one place</p><div className="flex justify-center gap-8"><Button variant="default" size="wide"><Link to="/signup">Sign up</Link></Button><Button variant="secondary" size="wide"><Link to="/login">Login</Link></Button></div></div></ParallaxBackground></main> */}<Outlet /></div><div className="container flex justify-between pb-5"><ThemeSwitch userPreference={data?.requestInfo.userPrefs.theme} /></div><FooterMenuRight /></div></Document></ParallaxProvider>)} -
Save your changes and head back across to your browser, but make sure you are on the home page at http://localhost:3000.
You should see the screen content has changed:
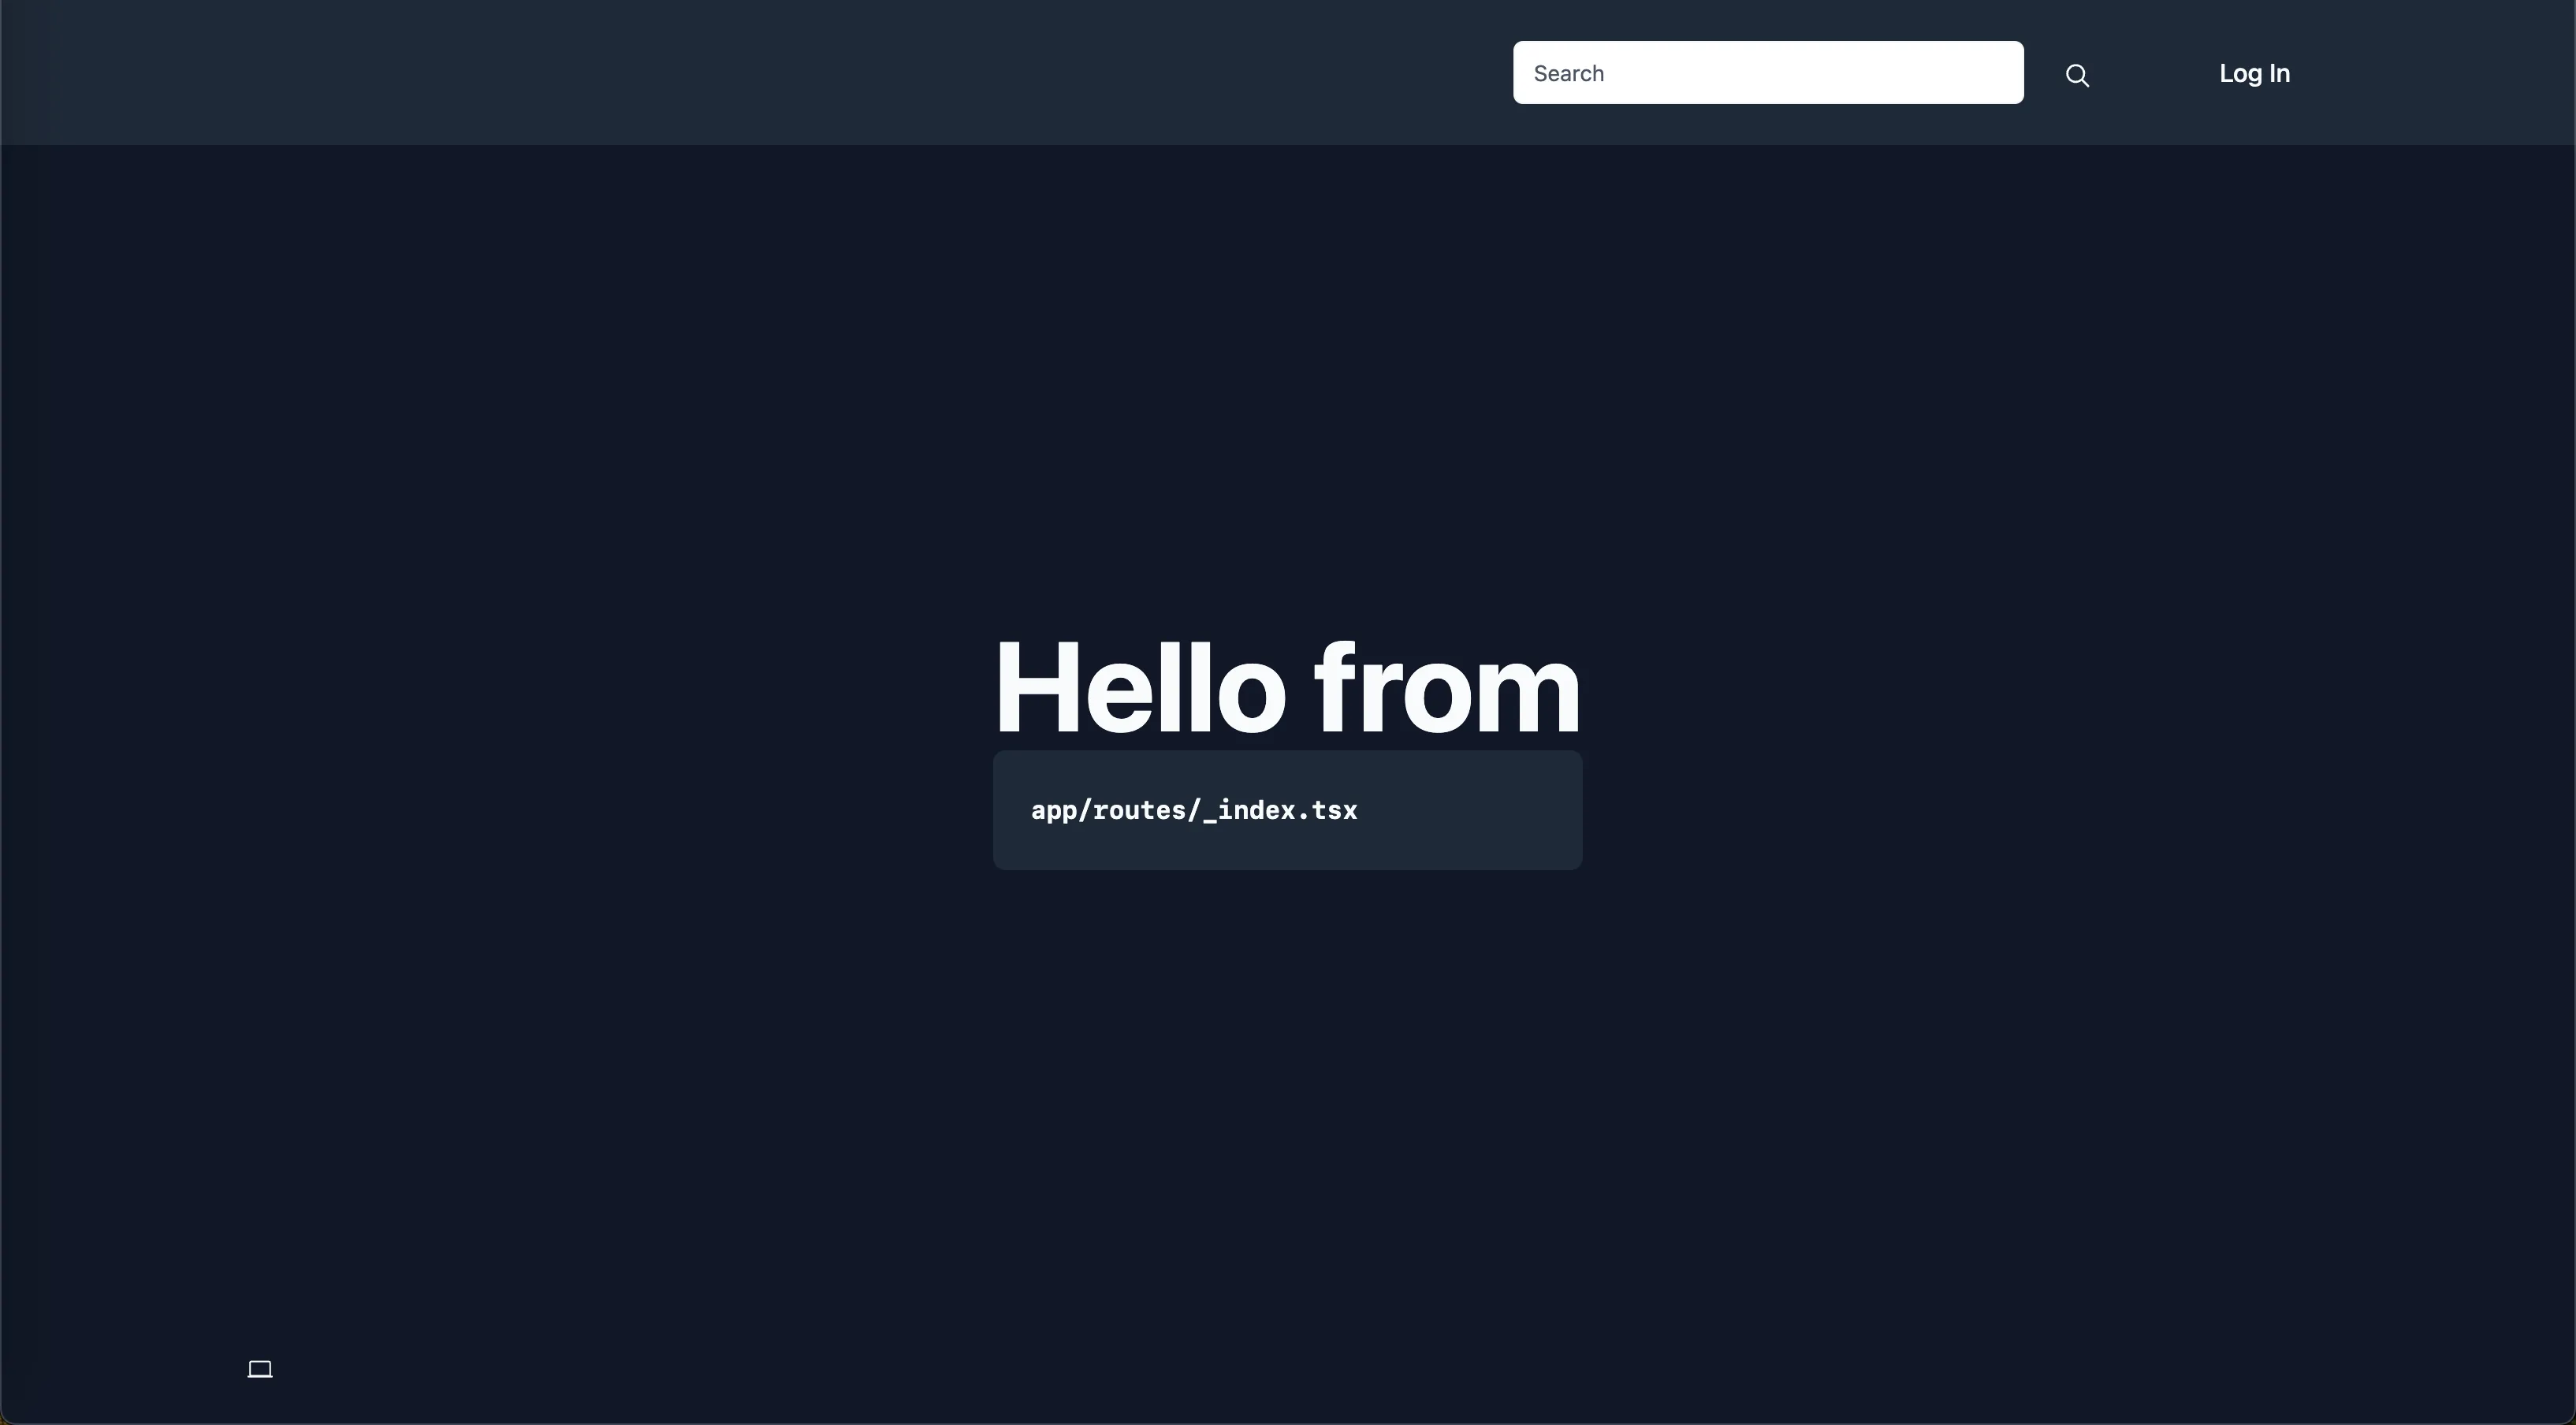
Wait - what just happened? 🤔
Section titled “Wait - what just happened? 🤔”Why can we still see the navbar and footer, but the central page content has changed? And where is this new code coming from?
Well - the screenshot itself provides a big clue to this last question! The code for the main page content is now coming from a completely different file to the one we have been working on!
Specifically, we are now looking at content from the app/routes/_index.tsx file.
Open this file at app/routes/_index.tsx and you’ll find the matching code:
import { type MetaFunction } from 'react-router'
export const meta: MetaFunction = () => [{ title: "Epic News" }];
export default function Index() {  return (    <main className="grid h-full place-items-center">      <h1 className="text-mega">        Hello from{" "}        <pre className="prose rounded-lg bg-primary p-6 text-primary-foreground">          app/routes/_index.tsx        </pre>      </h1>    </main>  );}
So what exactly is happening here? Why is the Outlet component suddenly rendering _index.tsx?
To understand this, we need to take a brief detour into the world of “routes”.
The route structure
Section titled “The route structure”So, how does Remix know which route file to load as “children” of its “parent”? 🤔
The answer lies in Remix’s file names.
The structure of your project’s files and folders directly maps to the structure of your routes in the browser URL bar.
We can see this in action by adding a new route to our app. Let’s add a dummy ‘about us’ page.
Adding a new route
Section titled “Adding a new route”Create a new file at app/routes/about-us.tsx:
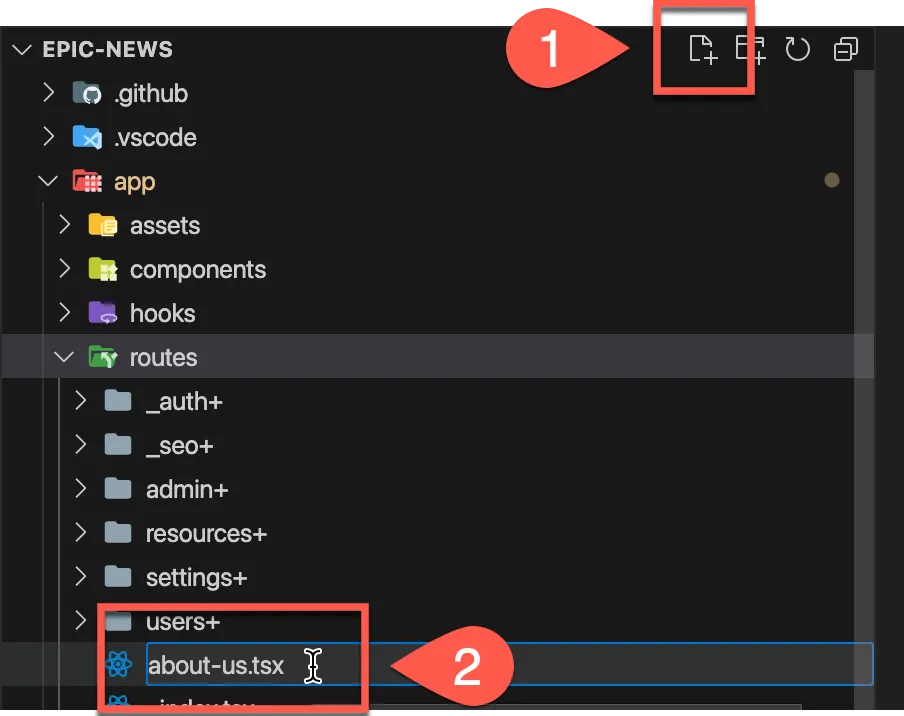
Inside this new file, add the following code and save your changes:
export default function AboutUsRoute() { return ( <main className="container py-16"> <h1 className="text-mega">About us</h1> </main> );}Head back over to your browser and navigate to http://localhost:3000/about-us. You should see the new ‘About us’ page:
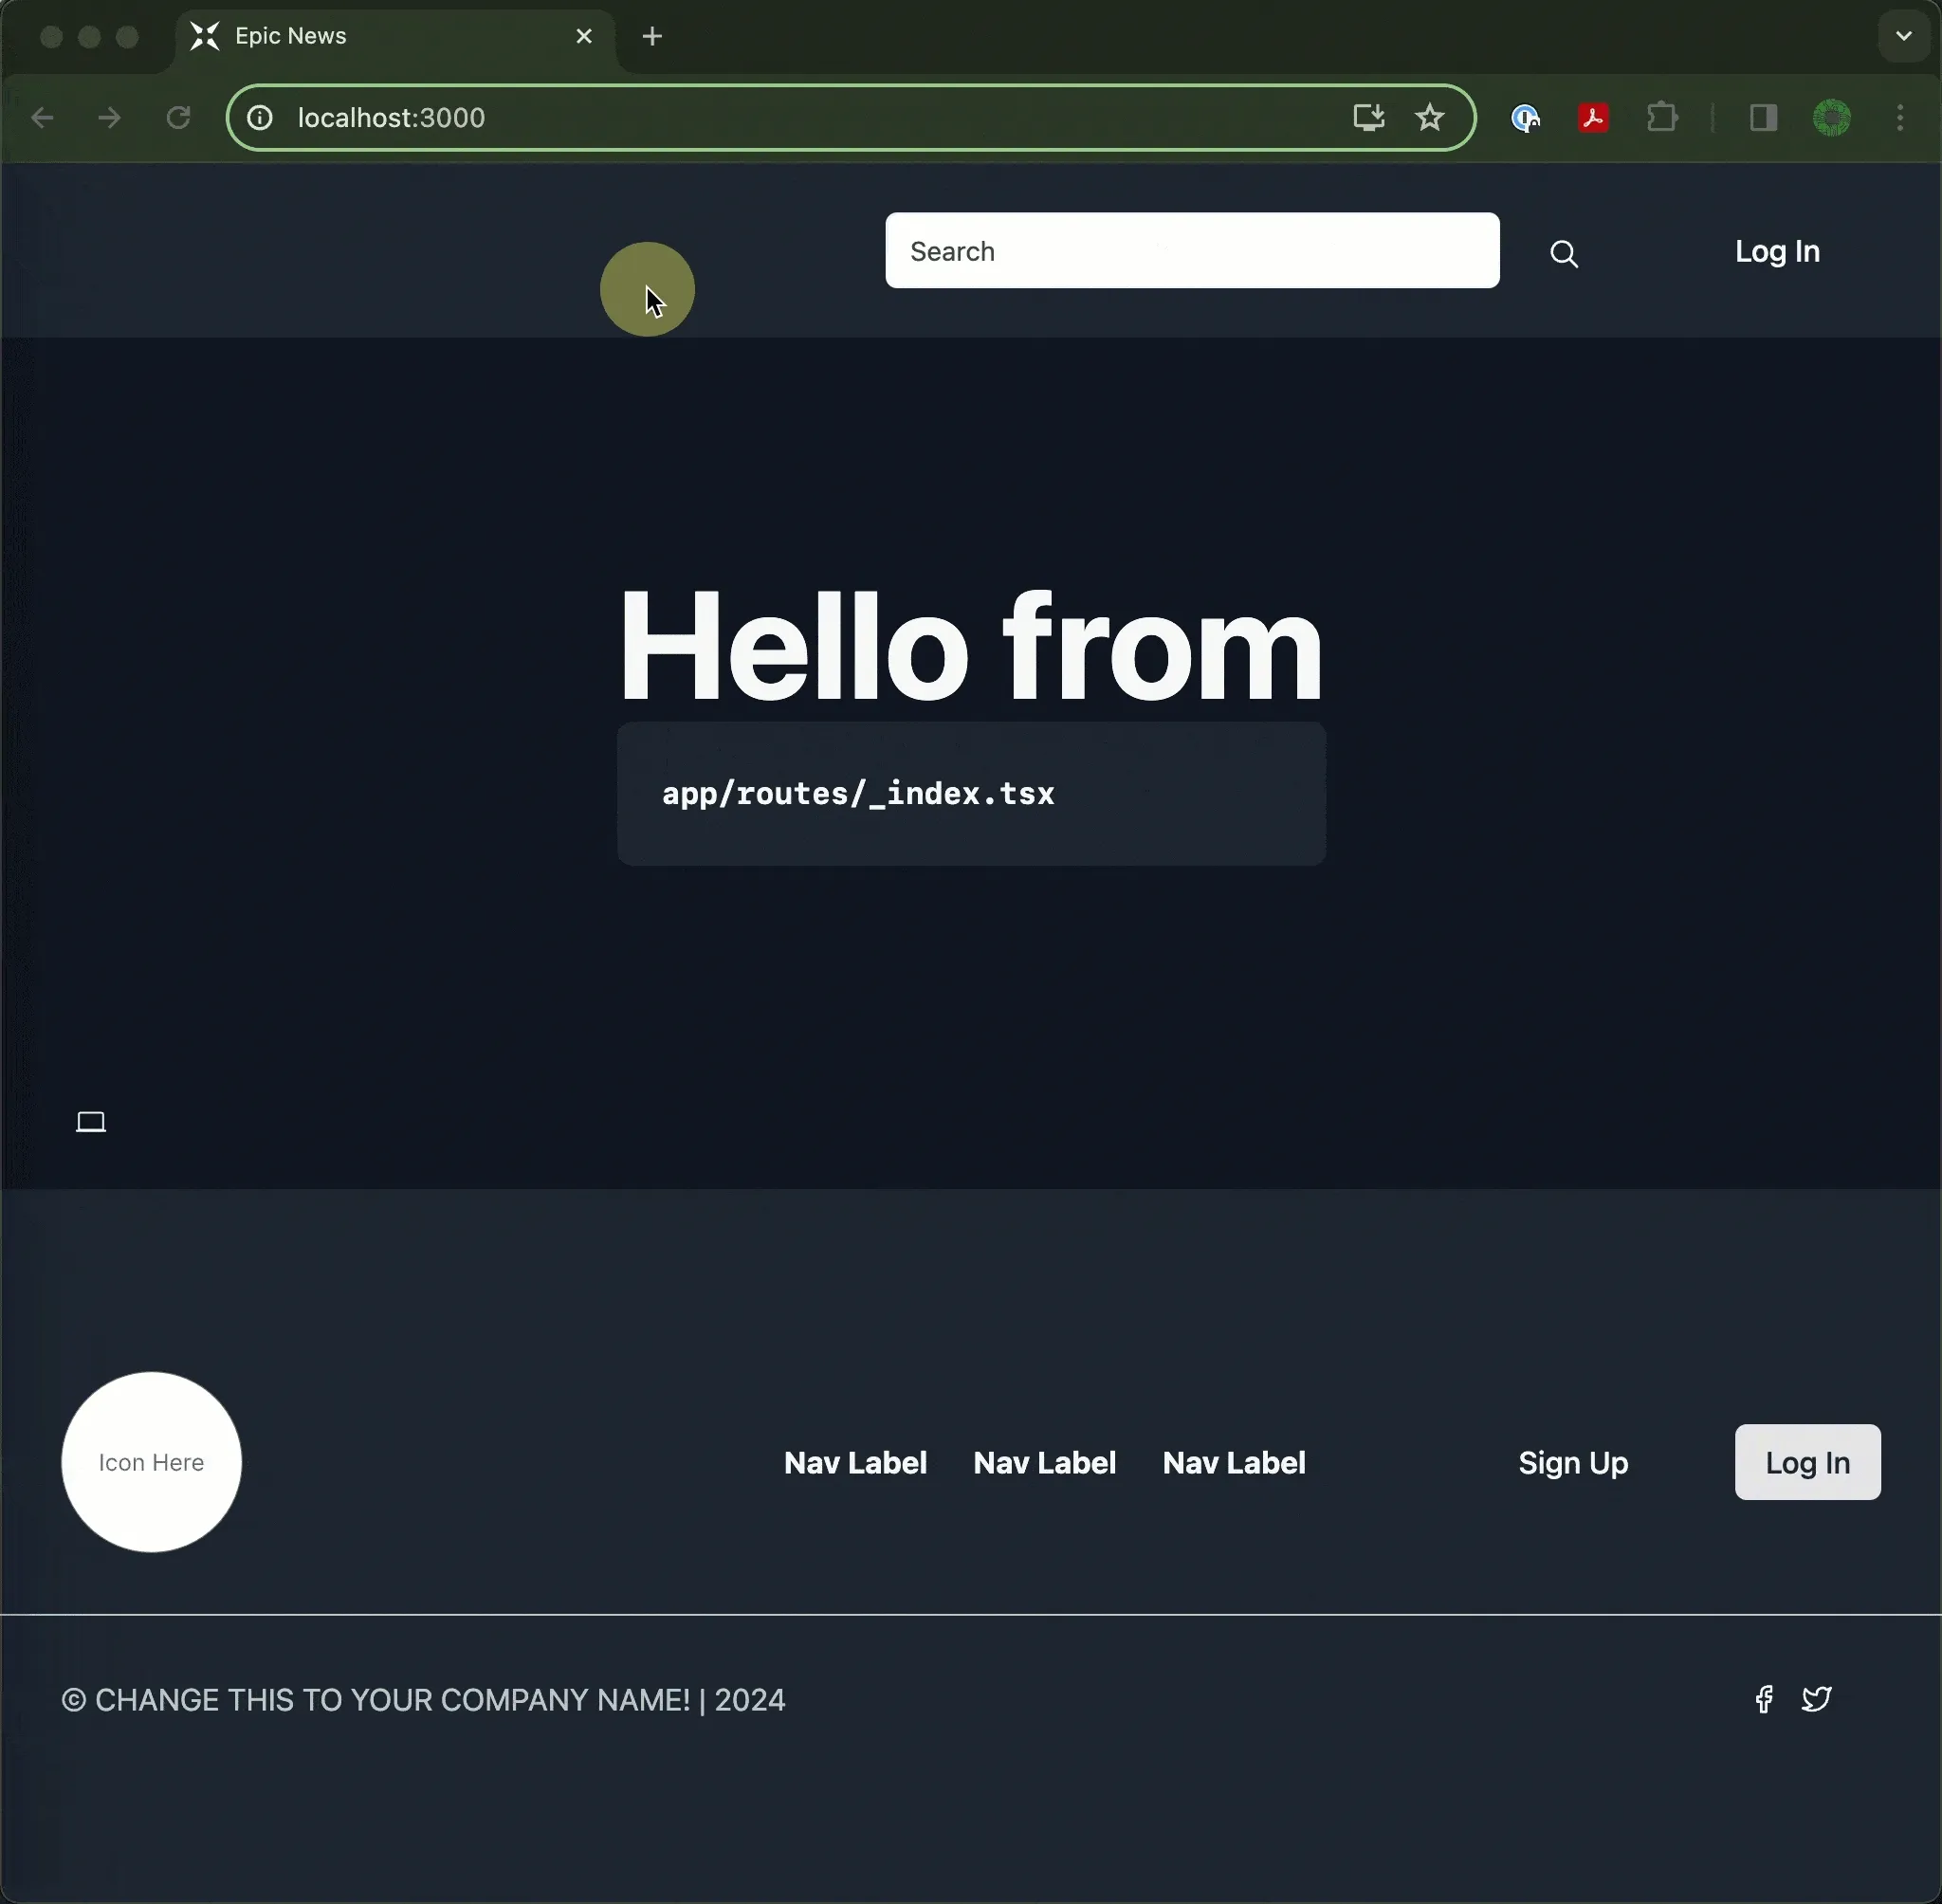
Notice how the navbar, footer and theme switcher are still present on the page?
This is because they are still being rendered from root.tsx, but the main page content is now being rendered from about-us.tsx.
Think of the Outlet component as a “window” or “placeholder” for the child route. It’s a way of telling Remix where to render the child route’s code inside the parent.
Update navbar links
Section titled “Update navbar links”Let’s update the navbar to include a link to the new ‘About us’ page.
Open app/components/organisms/HeaderWithSearch.tsx and add the following code to the navbar section:
export default function HeaderWithSearch() {  const matches = useMatches()  const isOnSearchPage = matches.find(m => m.id === 'routes/users+/index')  const searchBar = isOnSearchPage ? null : <SearchBar status="idle" />
  return (    <header className="bg-primary py-6">      <nav className="container flex flex-wrap items-center justify-between gap-4 sm:flex-nowrap md:gap-8">        <Link to="/">          <div className="flex items-center gap-4">            <img src={logo} alt="Epic News Logo" className="w-16" />            <span className="text-sm text-foreground">Epic News</span>          </div>        </Link>
        <div className="flex flex-1 justify-center gap-8">          <Link            to="/news"            className="text-sm font-semibold text-muted-foreground transition hover:text-foreground"          >            News          </Link>          <Link            to="/about-us"            className="text-sm font-semibold text-muted-foreground transition hover:text-foreground"          >            About us          </Link>        </div>
        <div className="ml-auto hidden max-w-sm flex-1 sm:block">          {searchBar}        </div>        <div className="flex items-center gap-10">          <LoginOrUserDropdown />        </div>        <div className="block w-full sm:hidden">{searchBar}</div>      </nav>    </header>  )}
Link prefetching
Section titled “Link prefetching”We can further speed up page loading times by adding a special prefetch attribute to Remix’s Link component.
When a user hovers over a link with the prefetch attribute, Remix will begin to load the linked page in the background. This means that when the user clicks on the link, the page will load almost instantly.
Add the prefetch attribute to the new ‘About us’ link in the navbar:
<Link to="/about-us" prefetch="intent" className="text-sm font-semibold text-foreground transition hover:text-primary-foreground"> About us</Link>You can see this behaviour in action if you open devtools in your browser, navigate to the ‘Network’ tab, and hover over the ‘About us’ link in the navbar:
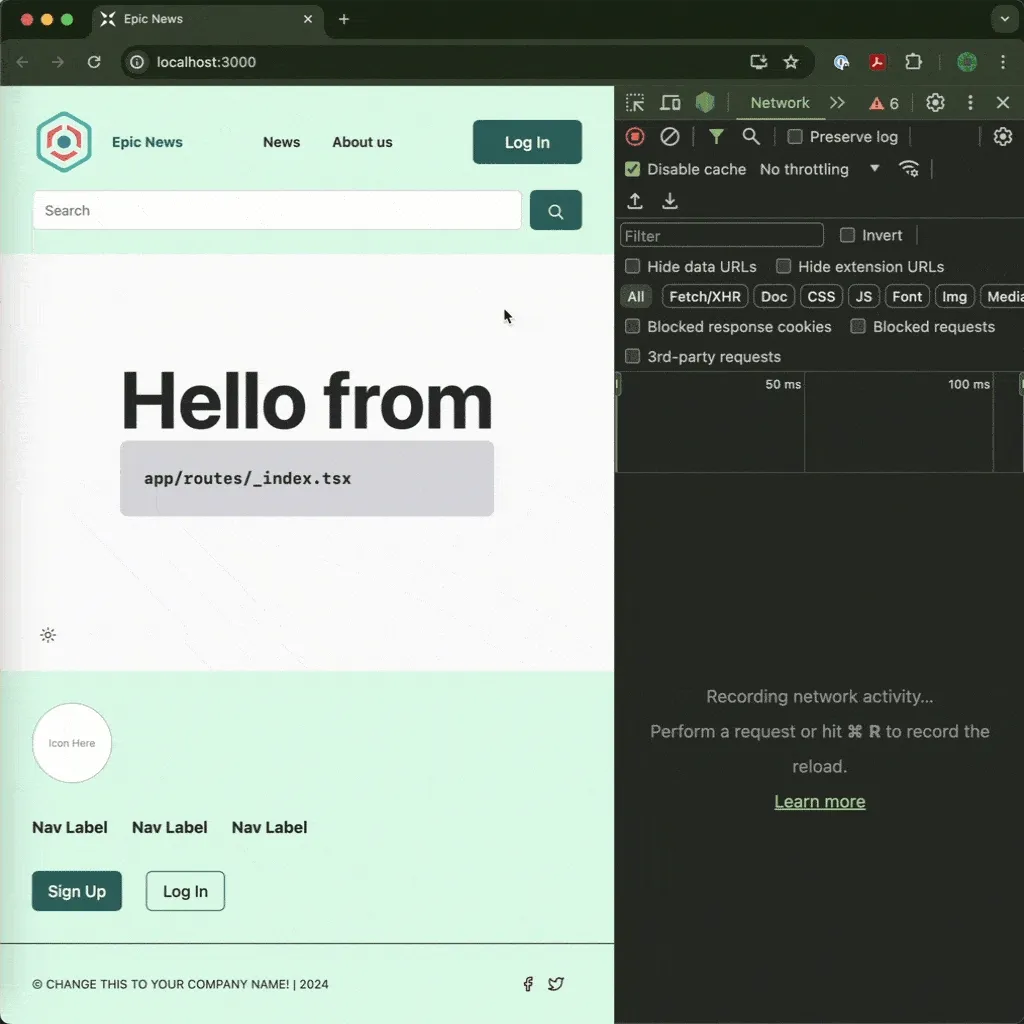
Notice how the browser begins to load the ‘about-us’ page in the background as soon as you hover over the link? By the time you click on the link, the page will load almost instantly.
Summary
Section titled “Summary”In this tutorial we have:
- Learned how to use the
Outletcomponent to render child routes inside a parent route - Discovered how to create a new route file in Remix
- Understood how the file naming conventions in Remix map to the URL paths in the browser
- Added new routes to our app and seen how they are served from the correct URL paths
What’s next?
Section titled “What’s next?”In the next lesson, we will learn how to create sibling routes with their own children.
This will allow us to create a more complex route structure that can serve multiple pages from the same level in the app.