🖥️ Load and display game images
In this guide, we will learn how to load and display game images from the database. In the previous guide, we added an imageUrl field to our Game model. Now, we’ll update our application to fetch and display these images.
Start the development server
Section titled “Start the development server”If you need to, start the development server by running the following command in your terminal:
npm run devStep 1: Update the GameCard Component Props
Section titled “Step 1: Update the GameCard Component Props”Step 2: Use the Image Prop in the Component
Section titled “Step 2: Use the Image Prop in the Component”Next, we need to update the JSX in our GameCard component to use the image URL passed as a prop instead of the placeholder image.
Step 3: Update the Prisma Query to Include Image Data
Section titled “Step 3: Update the Prisma Query to Include Image Data”Now, we need to update our Prisma query in the loader function to include the image field for each game.
Head back to your app/routes/_index.tsx file and update the Prisma query as follows:
import { PrismaClient } from "@prisma/client";import { json } from "@remix-run/node";import { useLoaderData } from "@remix-run/react";import type { MetaFunction } from "@remix-run/node";import GameCard from "~/components/GameCard";import gamelogFallback from "~/assets/svg/gamelog-fallback.svg"; // You will need to add your own image here
export async function loader() {  const prisma = new PrismaClient();
  const games = await prisma.game.findMany({    select: {      id: true,      title: true,      releaseDate: true,      imageUrl: true,      category: {        select: {          title: true,        },      },    },  });
return json({ games });}Step 4: Pass the Image URL to the GameCard Component
Section titled “Step 4: Pass the Image URL to the GameCard Component”Finally, we need to update our index route to pass the image URL to the GameCard component.
{games.map((game) => ( <div key={game.id}> <GameCard key={game.id} title={game.title} releaseDate={game.releaseDate} imageUrl={game.imageUrl || gamelogFallback} genre={game.category?.title || "Unknown"} /> </div>))}What We’ve Learned
Section titled “What We’ve Learned”In this tutorial, we’ve:
- Updated our
GameCardcomponent to accept an image URL as a prop - Modified the component to use the provided image URL instead of a placeholder
- Updated our Prisma query to include the image field in the data returned from the database
- Added a fallback image for games that don’t have an image URL
These changes allow our application to display actual game images from our database, making our UI more visually appealing and informative:
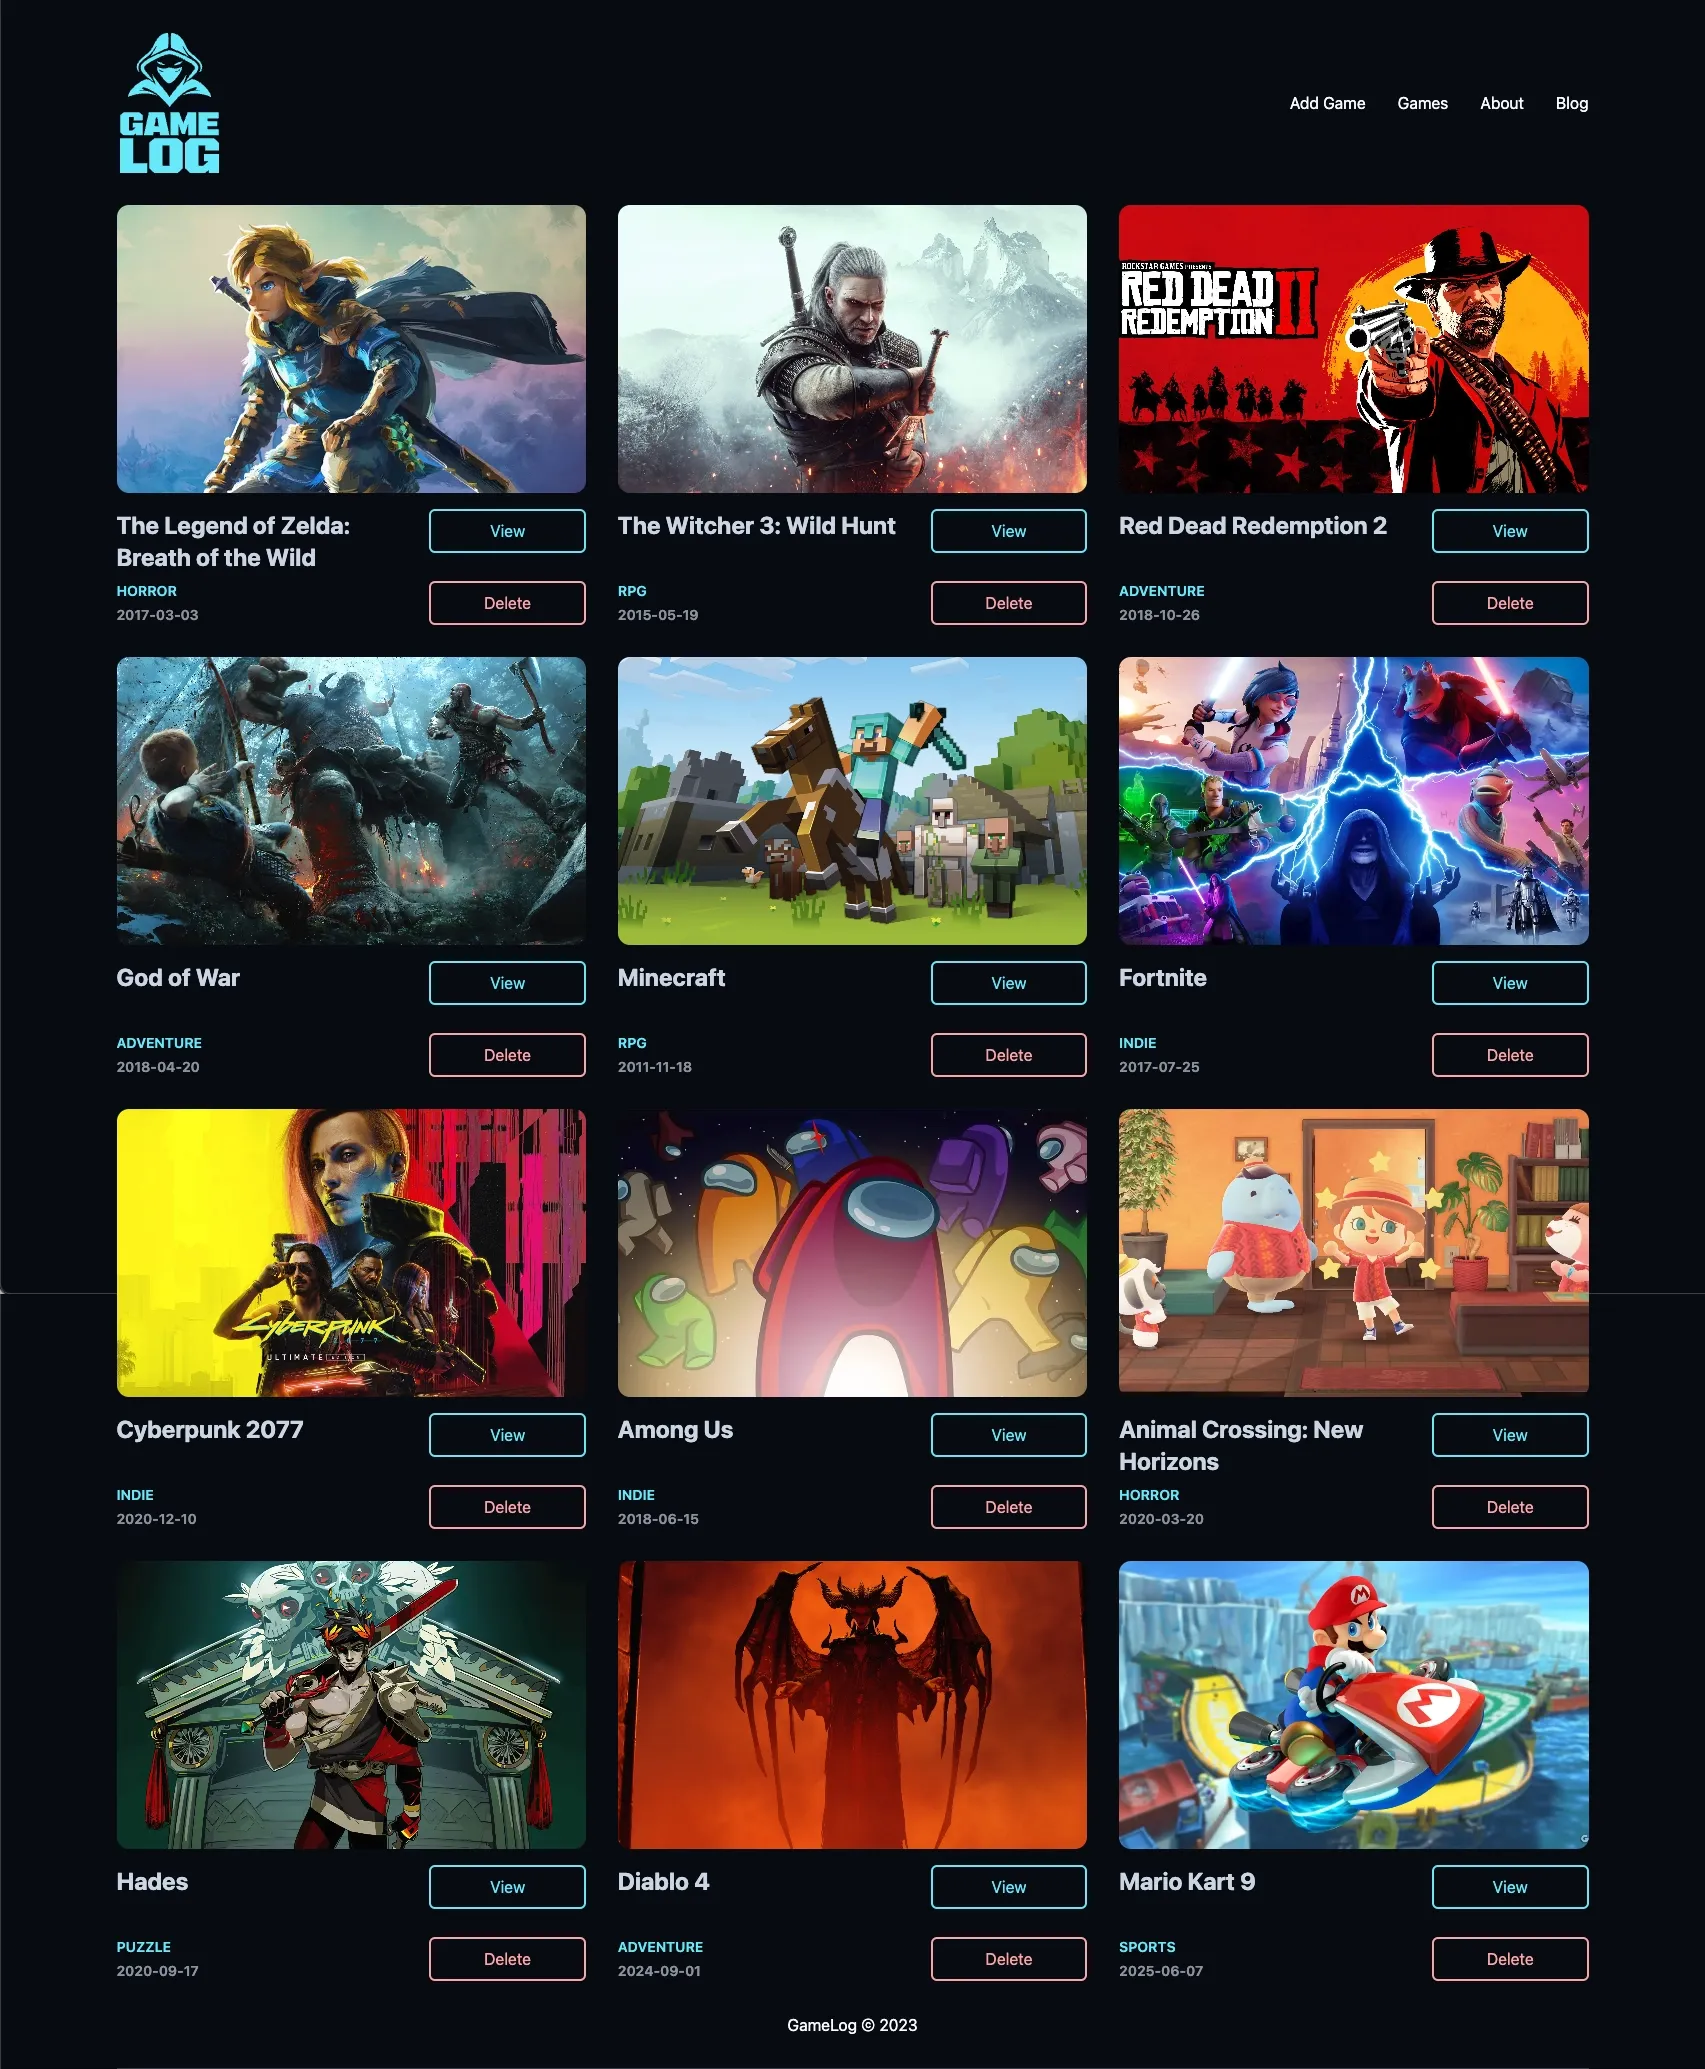
Excellent work!
You’ve successfully updated your application to load and display game images from the database. This is a significant improvement to your UI, making it more engaging and informative for users. Remember that handling images is an important aspect of web development, and there are many techniques and best practices to consider as you continue to enhance your application.