Adding links
Now that we have a site logo in the navigation bar, let’s add some links to pages around the site.
The Remix Link component
Section titled “The Remix Link component”Traditionally, in a React app, you would use an a tag to create a link to another page.
However, in Remix, we use the Link component from react-router because it has several advantages:
- It can be set to pre-fetch the linked page’s data, so the page loads faster
- The
Linkcomponent loads content without requiring a full page refresh - It can incorporate “nested routes”, where a parent route can load data for a child route (we will cover this in a later tutorial)
Adding links to the navigation bar
Section titled “Adding links to the navigation bar”Let’s start by adding a Link to the logo in the navigation bar. This will link back to the home page of the site.
Firstly, notice that we are already import the Link component from react-router:
import { useMatches, Link } from 'react-router'import { SearchBar } from '#app/components/search-bar.tsx'import { Button } from '#app/components/ui/button.tsx'import { UserDropdown } from '#app/components/user-dropdown.tsx'import { useOptionalUser } from '#app/utils/user.ts'import logo from '~/assets/png/epic-news-logo.png'Next, let’s wrap the logo and site title inside this Link component:
6 collapsed lines
import { Link, useMatches } from 'react-router'import { SearchBar } from '#app/components/search-bar.tsx'import { Button } from '#app/components/ui/button.tsx'import { UserDropdown } from '#app/components/user-dropdown.tsx'import { useOptionalUser } from '#app/utils/user.ts'import logo from '~/assets/png/epic-news-logo.png'
export default function HeaderWithSearch() { const matches = useMatches() const isOnSearchPage = matches.find((m) => m.id === 'routes/users+/index') const searchBar = isOnSearchPage ? null : <SearchBar status="idle" /> const user = useOptionalUser()
return ( <header className="container py-6"> <nav className="flex flex-wrap items-center justify-between gap-4 sm:flex-nowrap md:gap-8"> <Link to="/" className="flex items-center gap-4"> <div className="flex items-center gap-4"> <img src={logo} alt="Epic News Logo" className="w-16" /> <span className="text-foreground text-sm">Epic News</span> </div> </Link> <div className="ml-auto hidden max-w-sm flex-1 sm:block"> {searchBar} </div>10 collapsed lines
<div className="flex items-center gap-10"> {user ? ( <UserDropdown /> ) : ( <Button asChild variant="default" size="lg"> <Link to="/login">Log In</Link> </Button> )} </div> <div className="block w-full sm:hidden">{searchBar}</div> </nav> </header> )}Customising the footer
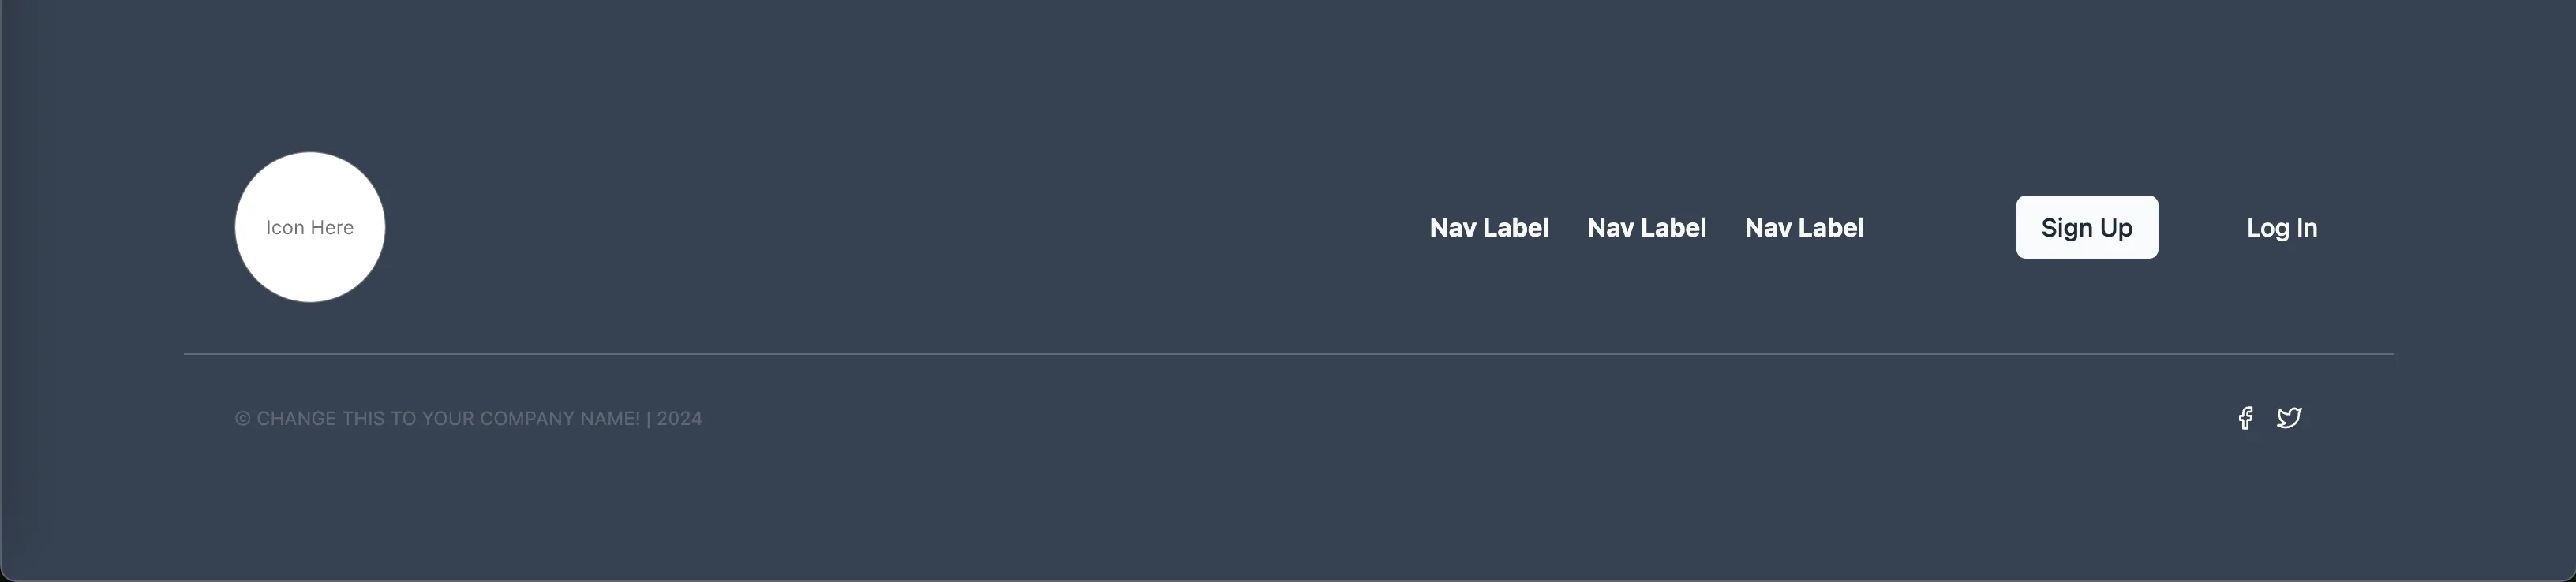
Section titled “Customising the footer”Now that we’ve added links and a logo to the navigation bar, let’s customise the footer.
If you’ve been following along with the Epic News project, you’ll have the FooterMenuRight component from the app/components/organisms/Footer/FooterMenuRight.tsx file:
Summary
Section titled “Summary”In this tutorial, we have:
- Learned about the Remix
Linkcomponent - Added a link to the home page in the navigation bar
- Added a link to the ‘News’ page in the navigation bar
- Customised the footer with links, a site logo and a copyright message
What’s next?
Section titled “What’s next?”In the next tutorial, we will explore custom components included with the Epic News starter project.
We will explore how you can use them ‘out of the box’ to create rich user experiences quickly on your site, and how to customise them to suit your needs.