The Prisma Schema and Migrations
In Prisma, all database interactions begin with the schema.
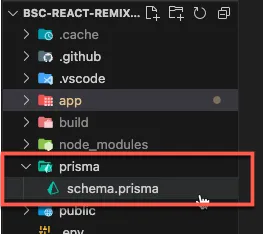
This can be found in the prisma/schema.prisma file in the root of your project.
The schema is a file that defines the database tables and their fields. It also defines the relationships between the tables.
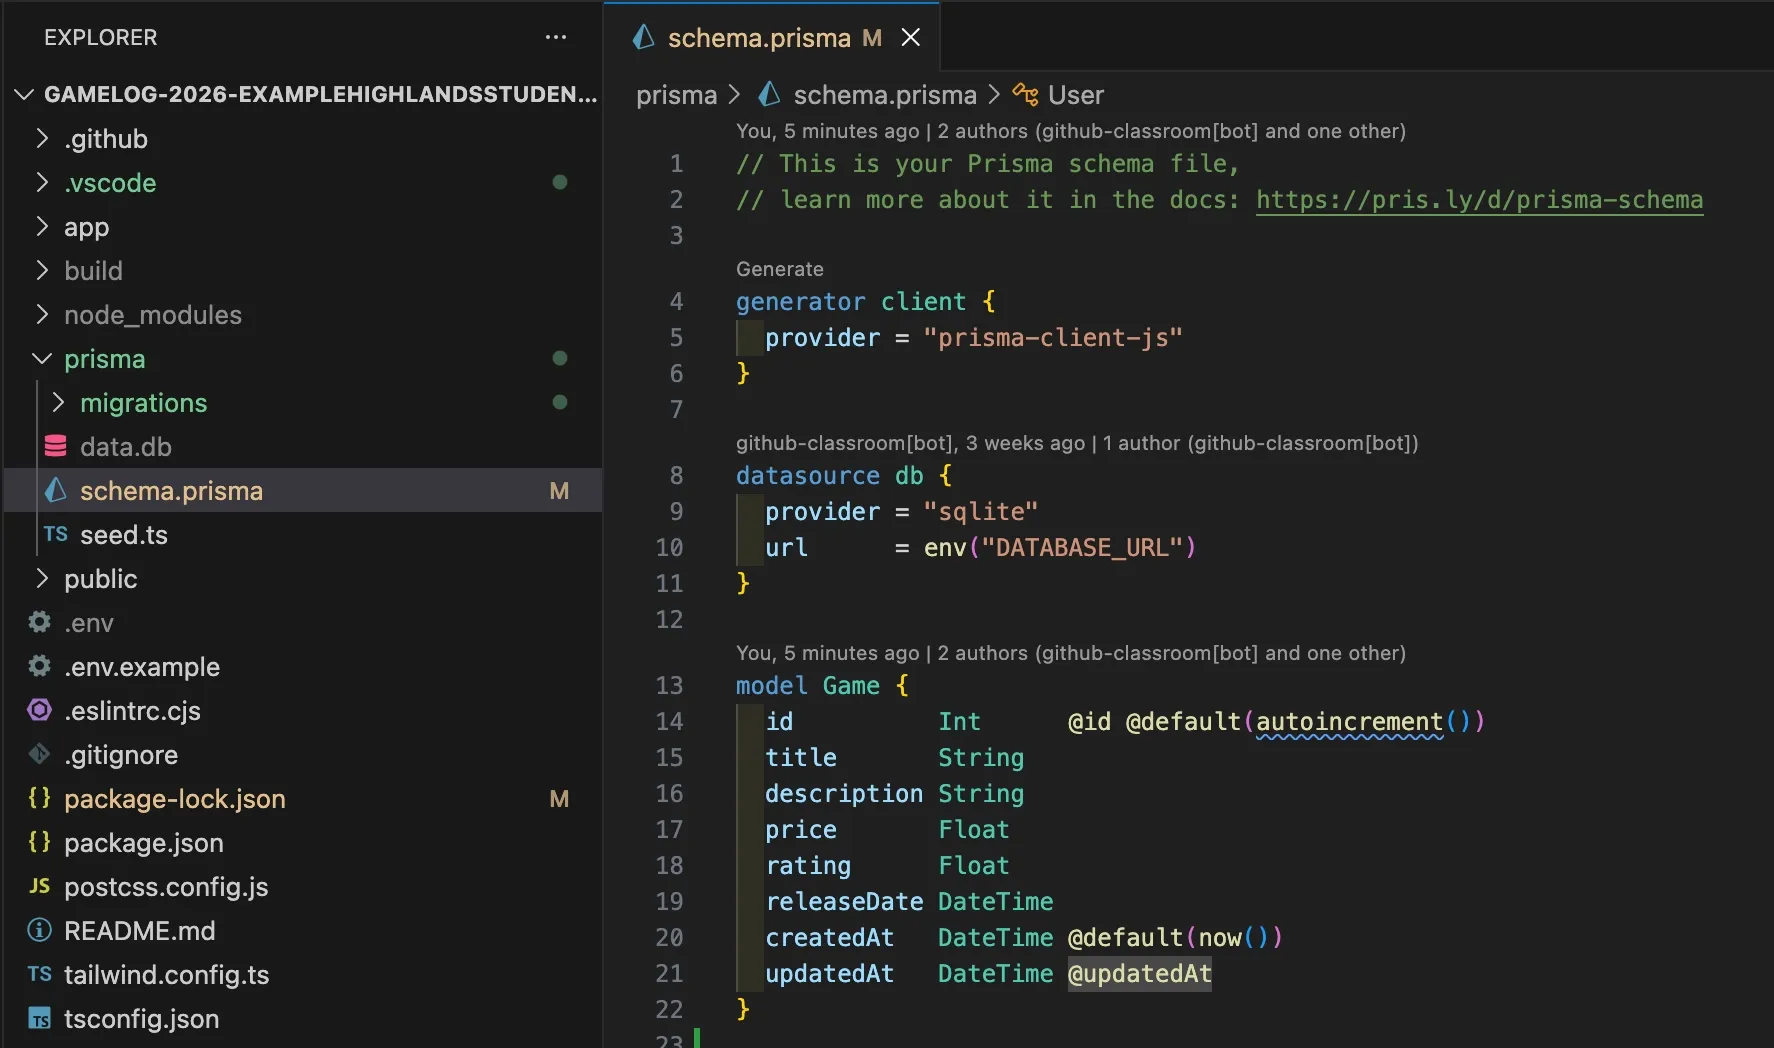
Let’s take a look at the Prisma schema for our starter project:
Adding a Model to the Schema
Section titled “Adding a Model to the Schema”We will start by adding a model to the schema. A model is just a description of how a table should be created in the database.
Let’s go ahead, and add a User model to the very bottom of the schema file:
// This is your Prisma schema file,// learn more about it in the docs: https://pris.ly/d/prisma-schema
generator client {  provider = "prisma-client-js"}
datasource db {  provider = "sqlite"  url      = env("DATABASE_URL")}
model Game {  id          Int      @id @default(autoincrement())  title       String  description String  price       Float  rating      Float  releaseDate DateTime  createdAt   DateTime @default(now())  updatedAt   DateTime @updatedAt}
model User {  id    String @id @default(cuid())  email String @unique
  createdAt DateTime @default(now())  updatedAt DateTime @updatedAt}
Take a moment to work out what you think this model doing. What fields does the User table have? What are the @ symbols doing?
Let’s break this down line by line:
id String @id @default(cuid())id is a unique identifier for the user. It is a string and is a unique string of characters automatically generated using the cuid() function. The @id attribute tells Prisma that this field is the primary key for the table.
email String @uniqueemail is a string, and of course stores the email address of the user. The @unique attribute tells Prisma that this field must be unique for each user. If more that one user tries to sign up with the same email address, the database will throw an error.
createdAt DateTime @default(now())updatedAt DateTime @updatedAtcreatedAt and updatedAt are both date and time fields. createdAt is automatically set to the current date and time when a new user is created. updatedAt is automatically updated to the current date and time whenever the user is updated.
Applying changes to the database
Section titled “Applying changes to the database”So far, we’ve told Prisma how we want the User table to look in the database, but we haven’t actually made any changes to the database itself yet.
We need to push these changes to the database using something called a migration.
A migration is a file that translates the changes we’ve made to the Prisma schema into SQL commands that can be run on the database.
Creating a migration file
Section titled “Creating a migration file”If your server is still running, stop it by pressing Ctrl + C in your terminal.
To create a migration with the name of add-user-model, run the following command in your terminal:
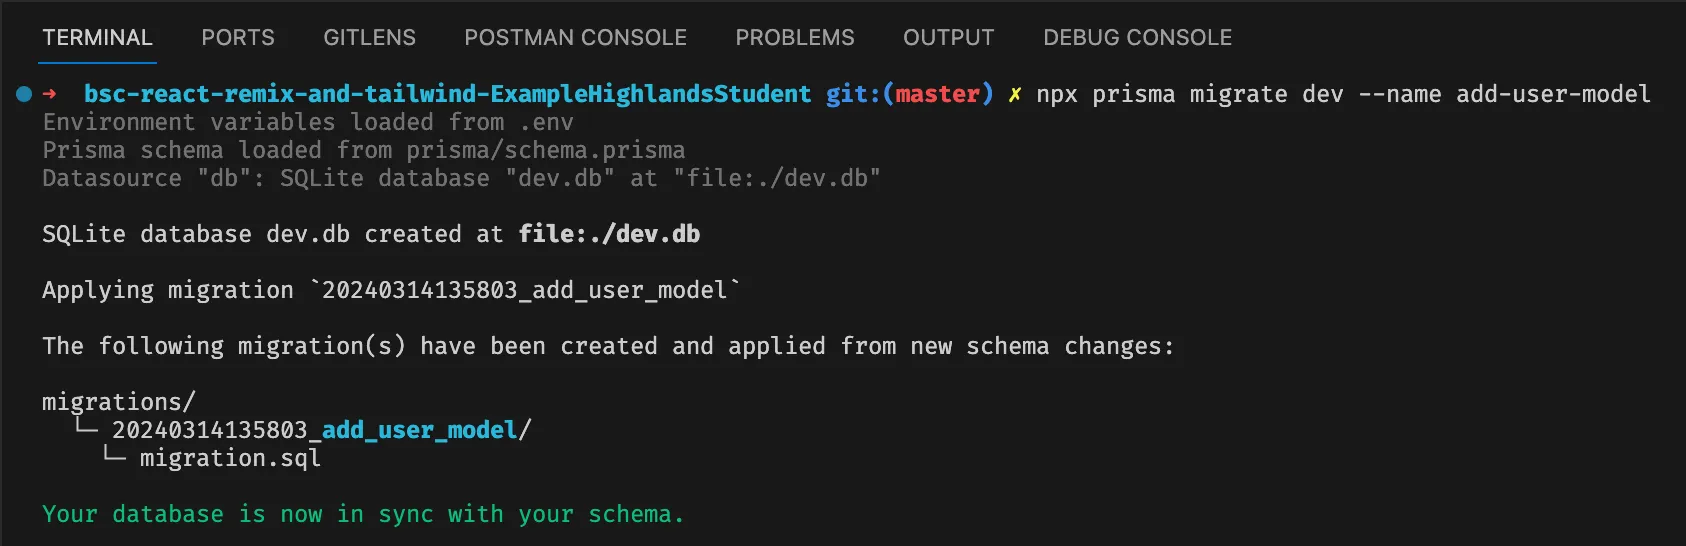
npx prisma migrate dev --name add-user-modelThis command tells Prisma to create a new migration file with the name add-user-model. The dev flag tells Prisma to run the migration on the database.
When you run this command, Prisma will generate a new migration file in the prisma/migrations directory. The file will contain the SQL commands needed to create the User table in the database.
If all is well, you should see a confirmation message that looks something like this in your terminal:
You should also be able to see the new migration file in the prisma/migrations directory.
Next, we will use Prisma Studio to view the changes we’ve made to the database.