Creating articles
With our database schema and security in place, let’s move on to creating articles.
The articles route
Section titled “The articles route”If you aren’t already, log in to the app as a user, or create a dummy user following the steps we covered previously.
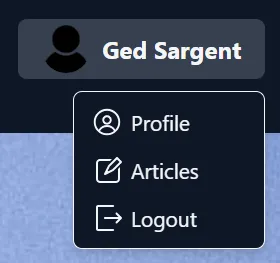
Once logged in, access your user’s site profile via the user actions dropdown in the top right corner of the screen:
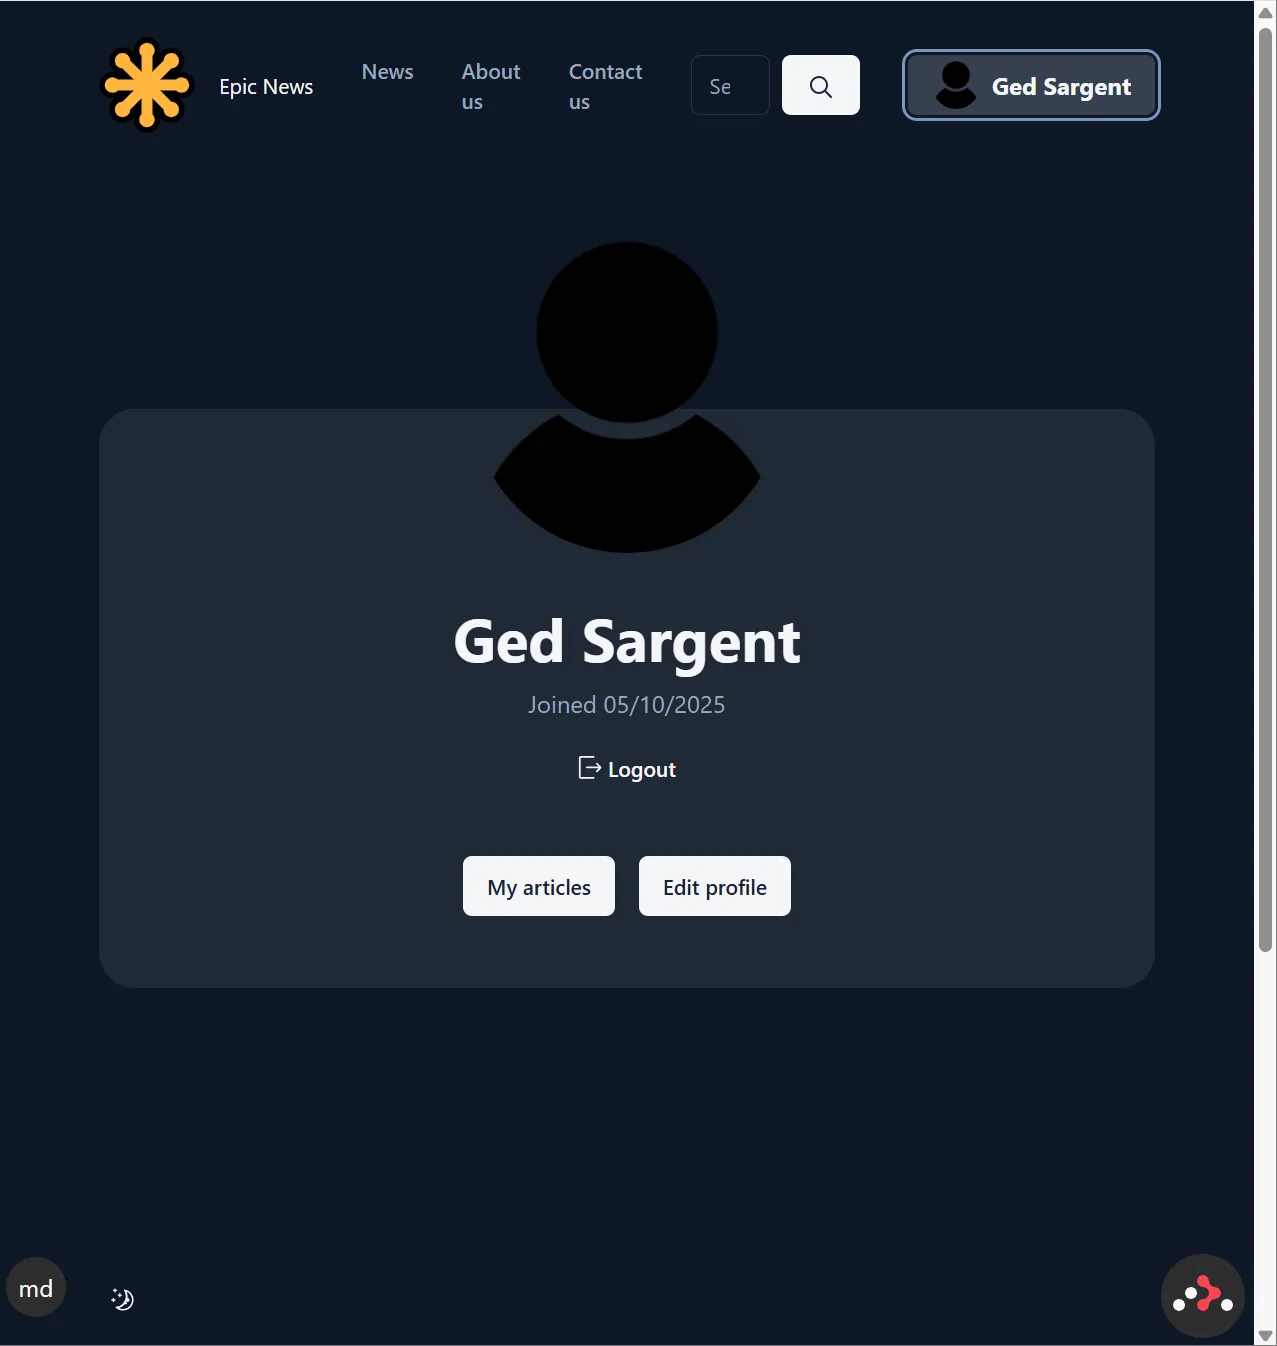
This is the user profile page:
Creating a new article
Section titled “Creating a new article”Click on the My articles button to navigate to the articles page.
Once here, click the + New Article button and fill in the form to create a new article:
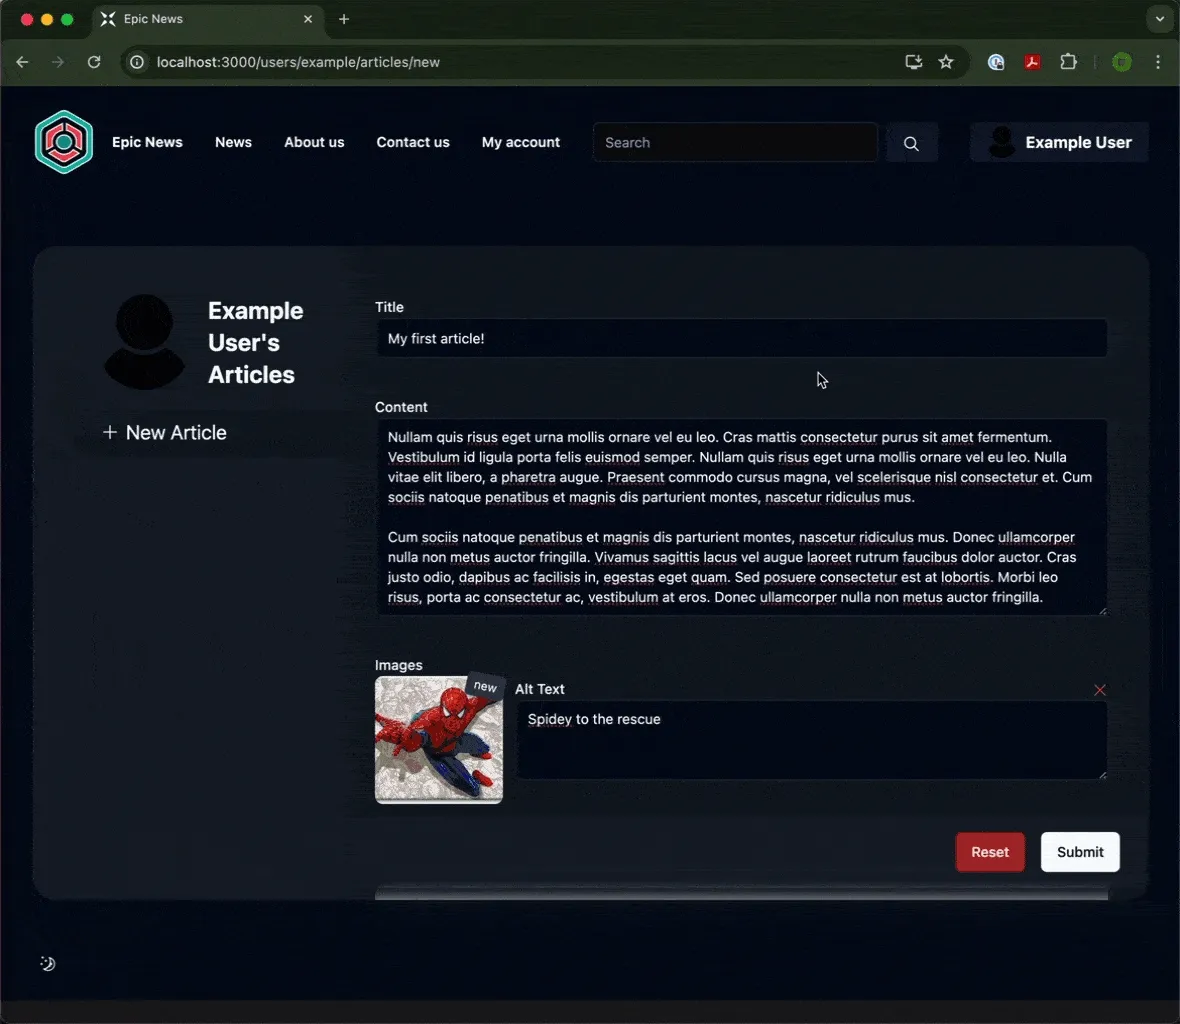
Click the ‘Submit’ button when finished, and your article will be created.
Add an article category
Section titled “Add an article category”This is great, but we can make it even better by adding a category to our next article.
To do this, we will need to make some updates to the code.
Loading categories from the database
Section titled “Loading categories from the database”If we are to edit an existing article, we will need to load the existing category value for the said article from the database.
To add this, we just need to make a small change to app/routes/users+/$username_+/articles.$articleId.tsx, where the loader function makes a call to the database to retrieve the article data.
-
Open
app/routes/users+/$username_+/articles.$articleId.tsx. -
At the moment, the
articlebeing loaded does not contain anycategorydata. Let’s update this.Adding the code below will start to make the code editor show red lines, indicating TypeScript errors.
Don’t worry about this for now. We will fix it later.
app/routes/users+/$username_+/articles.$articleId.tsx 22 collapsed linesimport { getFormProps, useForm } from '@conform-to/react'import { parseWithZod } from '@conform-to/zod'import { invariantResponse } from '@epic-web/invariant'import { formatDistanceToNow } from 'date-fns'import { Img } from 'openimg/react'import { useRef, useEffect } from 'react'import { data, Form, Link } from 'react-router'import { z } from 'zod'import { GeneralErrorBoundary } from '#app/components/error-boundary.tsx'import { floatingToolbarClassName } from '#app/components/floating-toolbar.tsx'import { ErrorList } from '#app/components/forms.tsx'import { Button } from '#app/components/ui/button.tsx'import { Icon } from '#app/components/ui/icon.tsx'import { StatusButton } from '#app/components/ui/status-button.tsx'import { requireUserId } from '#app/utils/auth.server.ts'import { prisma } from '#app/utils/db.server.ts'import { getArticleImgSrc, useIsPending } from '#app/utils/misc.tsx'import { requireUserWithPermission } from '#app/utils/permissions.server.ts'import { redirectWithToast } from '#app/utils/toast.server.ts'import { userHasPermission, useOptionalUser } from '#app/utils/user.ts'import { type Route } from './+types/articles.$articleId.ts'import { type Route as ArticlesRoute } from './+types/articles.ts'export async function loader({ params }: LoaderFunctionArgs) {const article = await prisma.article.findUnique({where: { id: params.articleId },select: {id: true,title: true,content: true,ownerId: true,updatedAt: true,category: {select: {id: true,name: true,},},images: {select: {id: true,altText: true,},},},})9 collapsed linesinvariantResponse(article, 'Not found', { status: 404 })const date = new Date(article.updatedAt)const timeAgo = formatDistanceToNow(date)return data({article,timeAgo,})}
Display the category name
Section titled “Display the category name”With this in place, we can now display the category name in the browser.
-
Navigate down to the
ArticleRoutecomponent in the same file (around line 97), and add the JSX highlighted in green just below theh2element:app/routes/users+/$username_+/articles.$articleId.tsx export default function ArticleRoute({loaderData,actionData,}: Route.ComponentProps) {17 collapsed linesconst user = useOptionalUser()const isOwner = user?.id === loaderData.article.ownerIdconst canDelete = userHasPermission(user,isOwner ? `delete:article:own` : `delete:article:any`,)const displayBar = canDelete || isOwner// Add ref for auto-focusingconst sectionRef = useRef<HTMLElement>(null)// Focus the section when the article ID changesuseEffect(() => {if (sectionRef.current) {sectionRef.current.focus()}}, [loaderData.article.id])return (<sectionref={sectionRef}className="absolute inset-0 flex flex-col px-10"aria-labelledby="article-title"tabIndex={-1} // Make the section focusable without keyboard navigation><h2 id="article-title" className="text-h2 mb-2 pt-12 lg:mb-6">{loaderData.article.title}</h2><div className="mb-4"><p className="bg-card text-card-foreground w-fit rounded-lg px-4 py-2 text-sm">{loaderData.article.category?.name ?? 'General News'}</p></div>47 collapsed lines<div className={`${displayBar ? 'pb-24' : 'pb-12'} overflow-y-auto`}><ul className="flex flex-wrap gap-5 py-5">{loaderData.article.images.map((image) => (<li key={image.objectKey}><a href={getArticleImgSrc(image.objectKey)}><Imgsrc={getArticleImgSrc(image.objectKey)}alt={image.altText ?? ''}className="size-32 rounded-lg object-cover"width={512}height={512}/></a></li>))}</ul><p className="text-sm whitespace-break-spaces md:text-lg">{loaderData.article.content}</p></div>{displayBar ? (<div className={floatingToolbarClassName}><span className="text-foreground/90 text-sm max-[524px]:hidden"><Icon name="clock" className="scale-125">{loaderData.timeAgo} ago</Icon></span><div className="grid flex-1 grid-cols-2 justify-end gap-2 min-[525px]:flex md:gap-4">{canDelete ? (<DeleteArticleid={loaderData.article.id}actionData={actionData}/>) : null}<ButtonasChildclassName="min-[525px]:max-md:aspect-square min-[525px]:max-md:px-0"><Link to="edit"><Icon name="pencil-1" className="scale-125 max-md:scale-150"><span className="max-md:hidden">Edit</span></Icon></Link></Button></div></div>) : null}</section>)} -
Save your changes
-
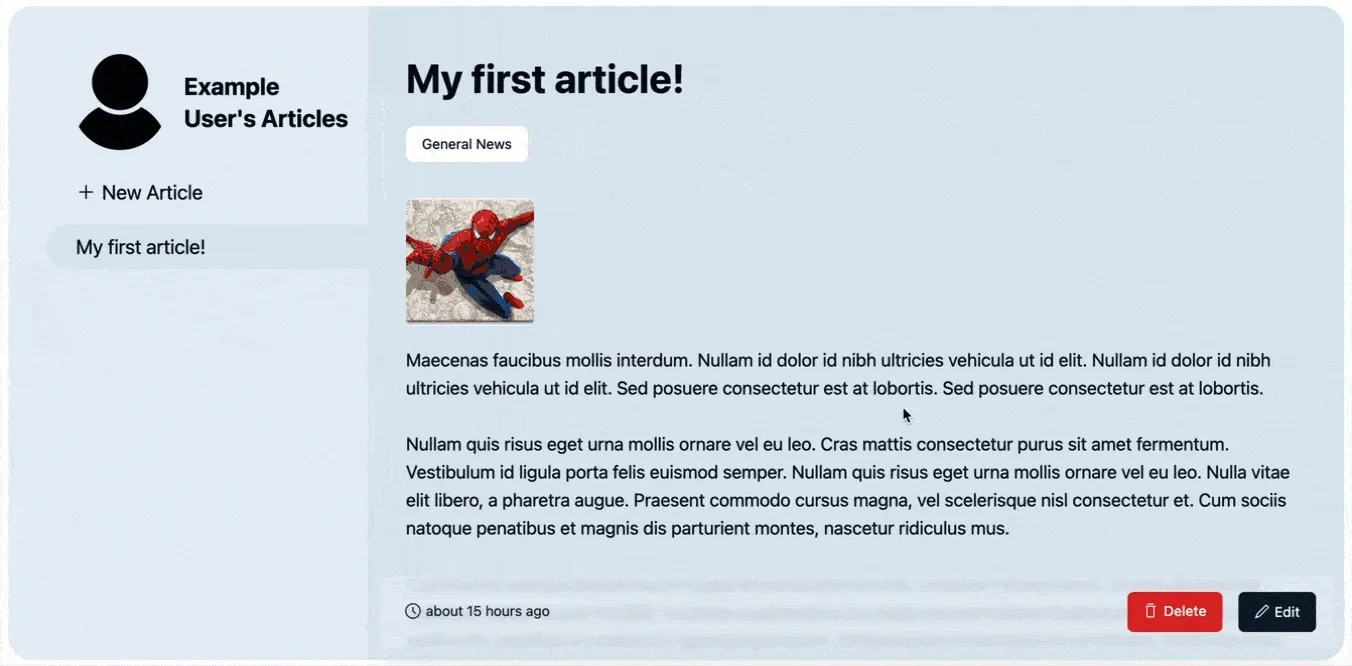
Check your browser, and you should now see the
categoryname displayed on the article page: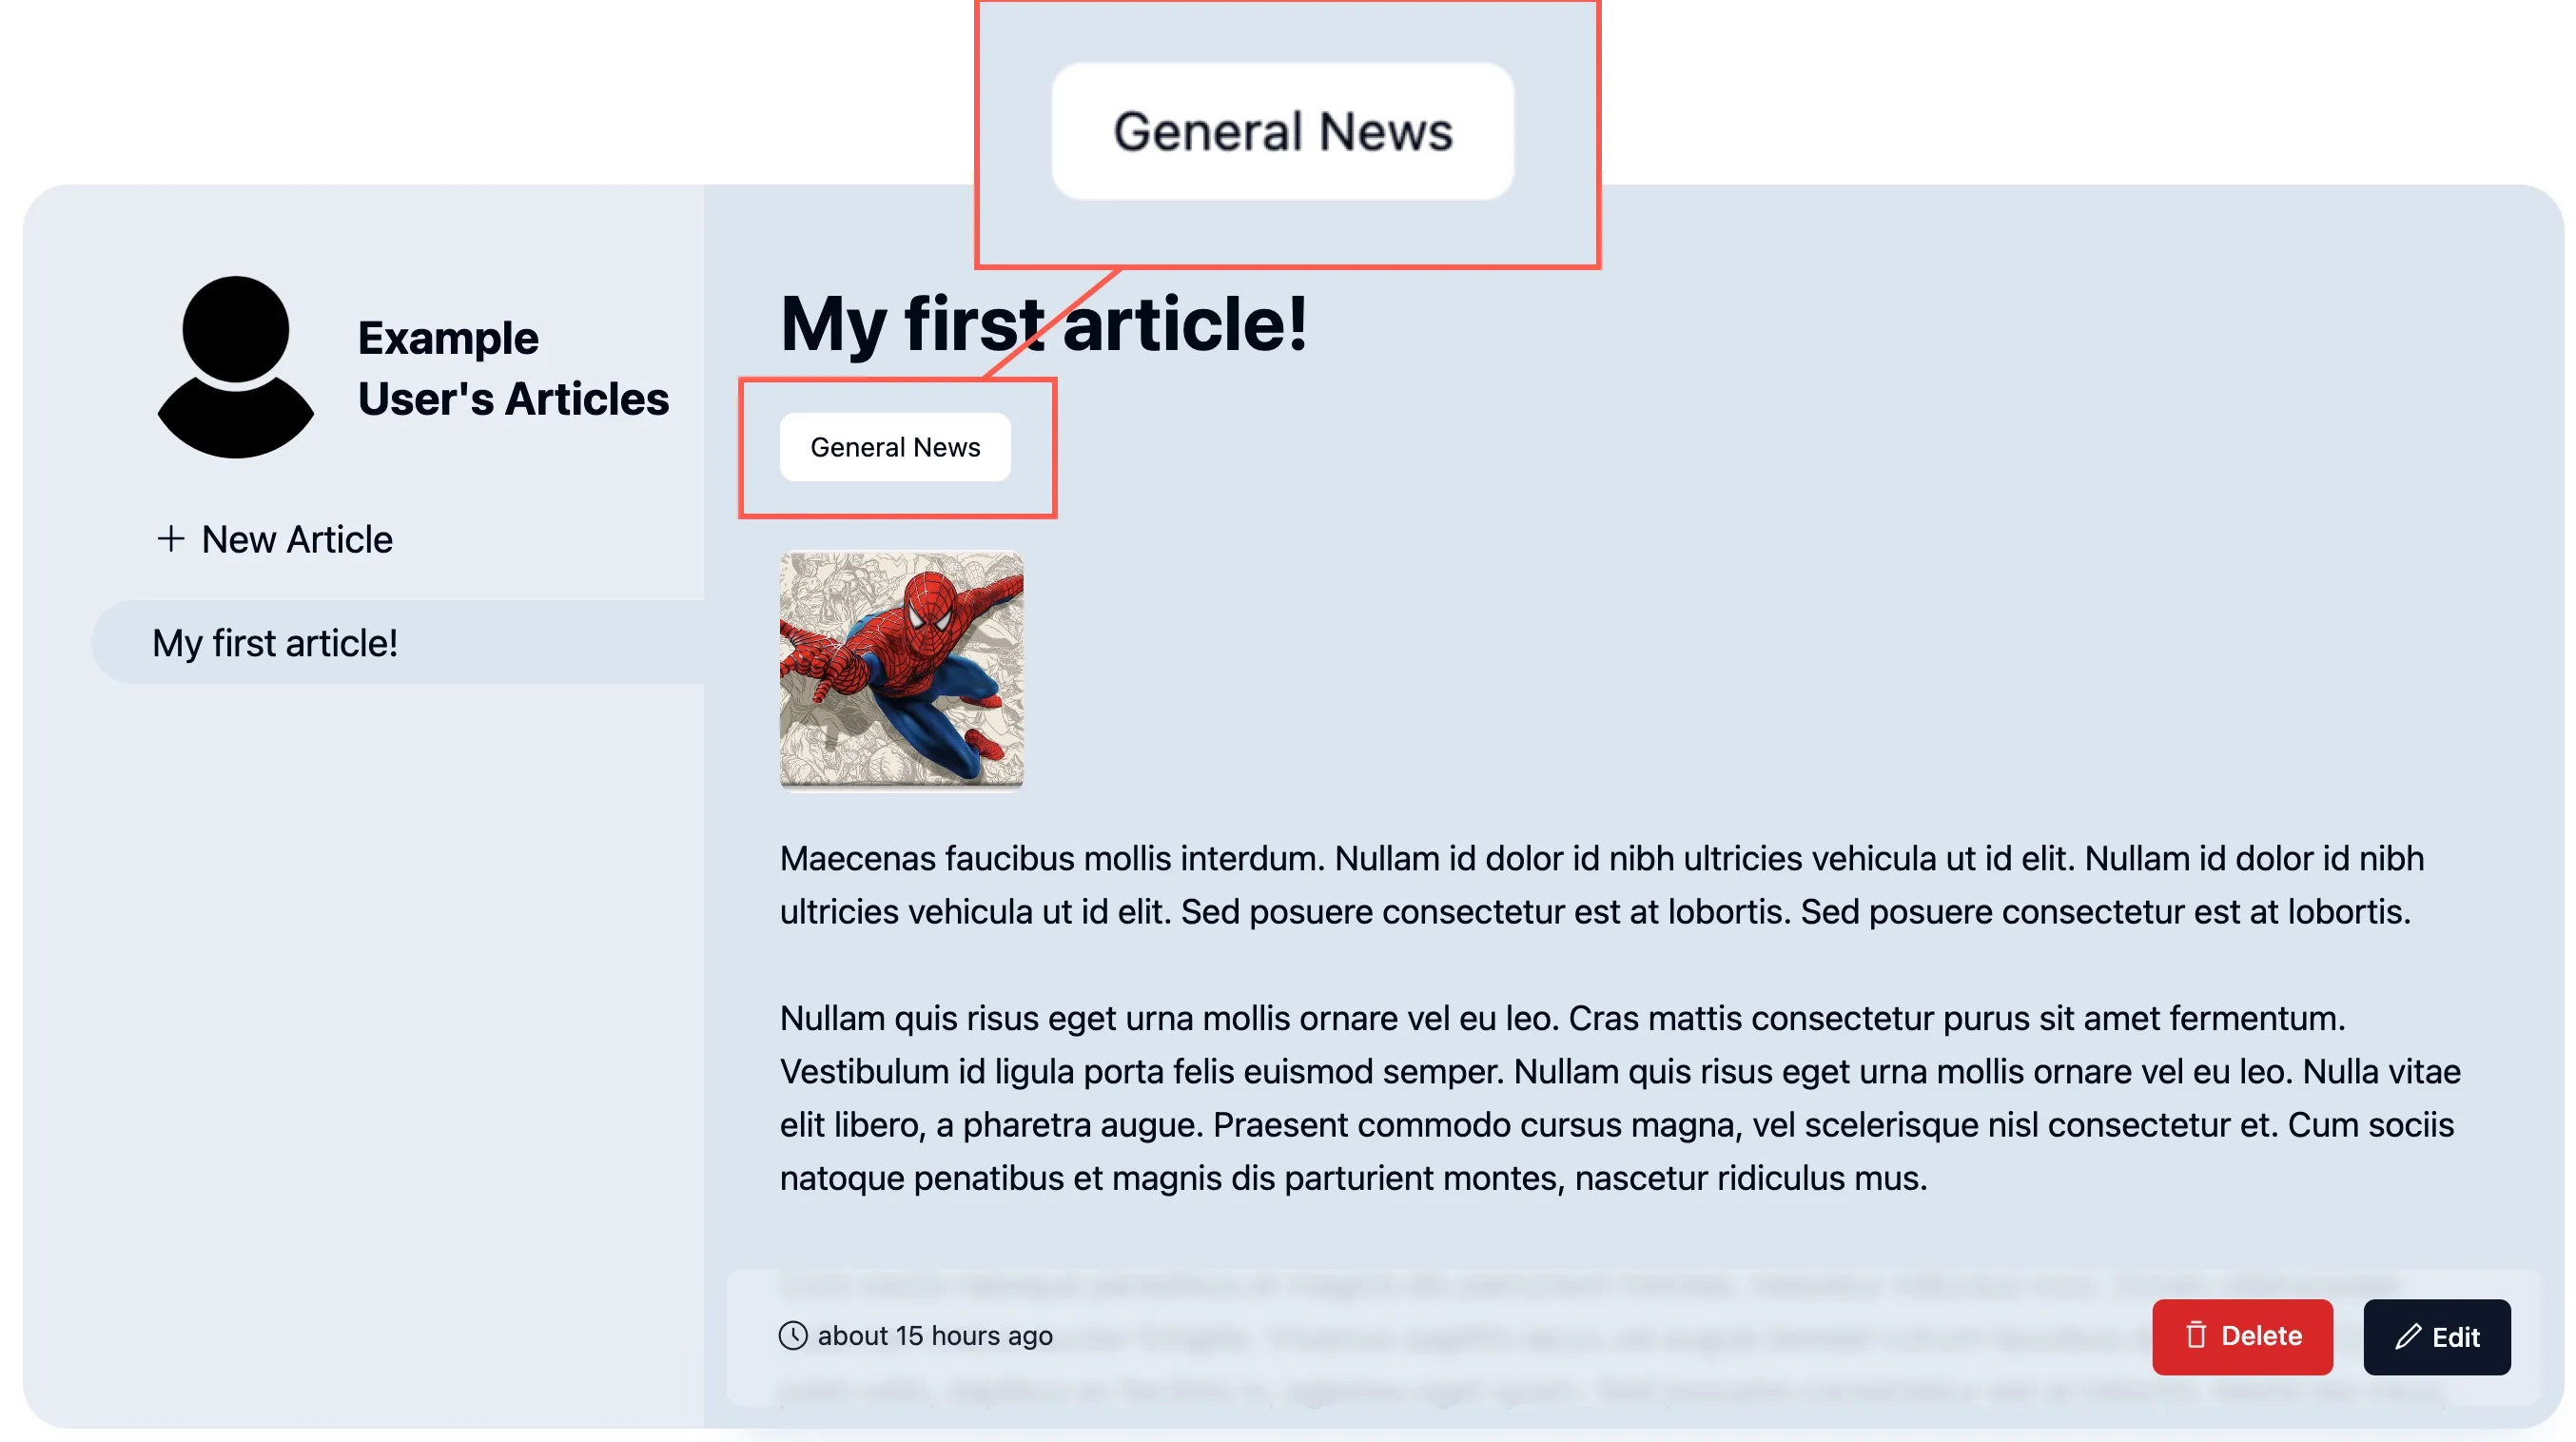
The article editor
Section titled “The article editor”Now that we can see the category name on the article page, let’s add a category field to the article editor.
If a user clicks on an existing article they are the owner of (or have permissions to edit), they should be presented with an ‘Edit’ button.
Clicking the ‘Edit’ button opens the article editor form:
Modifying the article editor
Section titled “Modifying the article editor”Load categories
Section titled “Load categories”To edit the article, we need to find a different route file.
-
Open the file at
app/routes/users+/$username_+/articles.$articleId_.edit.tsx. -
Add the code shown below.
app/routes/users+/$username_+/articles.$articleId_.edit.tsx 9 collapsed linesimport { invariantResponse } from '@epic-web/invariant'import { GeneralErrorBoundary } from '#app/components/error-boundary.tsx'import { requireUserId } from '#app/utils/auth.server.ts'import { prisma } from '#app/utils/db.server.ts'import { type Route } from './+types/articles.$articleId_.edit.ts'import { ArticleEditor } from './__article-editor.tsx'export { action } from './__article-editor.server.tsx'export async function loader({ params, request }: LoaderFunctionArgs) {const userId = await requireUserId(request)const categories = await prisma.articleCategory.findMany({select: {id: true,name: true,},})const article = await prisma.article.findFirst({select: {id: true,title: true,content: true,category: {select: {id: true,name: true,},},images: {select: {id: true,altText: true,},},},where: {id: params.articleId,ownerId: userId,},})invariantResponse(article, 'Not found', { status: 404 })return { article, categories }}export default function ArticleEdit({loaderData,actionData,}: Route.ComponentProps) {return <ArticleEditor categories={loaderData.categories} article={loaderData.article} actionData={actionData} />}export function ErrorBoundary() {return (<GeneralErrorBoundarystatusHandlers={{404: ({ params }) => (<p>No article with the id "{params.articleId}" exists</p>),}}/>)}
We will also now need to load categories when creating a new article.
-
Open the file
app/routes/users+/$username_+/articles.new.tsx -
Add the code below:
app/routes/users+/$username_+/articles.new.tsx import { data, type LoaderFunctionArgs } from 'react-router'import { requireUserId } from '~/utils/auth.server.ts'import { ArticleEditor } from './__article-editor.tsx'import { prisma } from '~/utils/db.server.ts'import { useLoaderData } from 'react-router'export { action } from './__article-editor.server.tsx'export async function loader({ request }: LoaderFunctionArgs) {await requireUserId(request)const categories = await prisma.articleCategory.findMany({select: {id: true,name: true,},})return {}return { categories }}export default ArticleEditorexport default function ArticleNew() {const data = useLoaderData<typeof loader | null>()return <ArticleEditor categories={data?.categories} />}
With this in place, let’s now update the editor form to include the new information being passed to it.
Update imports
Section titled “Update imports”-
Open the file at
app/routes/users+/$username_+/__article-editor.tsx.This file handles the actual article editor form.
-
Start by updating the imports at the top:
app/routes/users+/$username_+/__article-editor.tsx 21 collapsed linesimport {FormProvider,getFieldsetProps,getFormProps,getInputProps,getTextareaProps,useForm,type FieldMetadata,} from '@conform-to/react'import { getZodConstraint, parseWithZod } from '@conform-to/zod'import { Img } from 'openimg/react'import { useState } from 'react'import { Form } from 'react-router'import { AuthenticityTokenInput } from 'remix-utils/csrf/react'import { z } from 'zod'import { GeneralErrorBoundary } from '#app/components/error-boundary.tsx'import { floatingToolbarClassName } from '#app/components/floating-toolbar.tsx'import { ErrorList, Field, TextareaField } from '#app/components/forms.tsx'import { Button } from '#app/components/ui/button.tsx'import { Icon } from '#app/components/ui/icon.tsx'import { Label } from '#app/components/ui/label.tsx'import { StatusButton } from '#app/components/ui/status-button.tsx'import { Textarea } from '#app/components/ui/textarea.tsx'import { cn, getArticleImgSrc, useIsPending } from '#app/utils/misc.tsx'import { type Route } from './+types/articles.$articleId_.edit.ts'import SelectorGroup from '~/components/molecules/SelectorGroup.tsx' -
Update the
Section titled “Update the ArticleEditorSchema”ArticleEditorSchemaJust beneath the imports at the top of the screen is a list of
constvariables declaring the min and max lengths for the articletitleandcontent. Lets some new values here for ourcategoryfield:app/routes/users+/$username_+/__article-editor.tsx 22 collapsed linesimport {FormProvider,getFieldsetProps,getFormProps,getInputProps,getTextareaProps,useForm,type FieldMetadata,} from '@conform-to/react'import { getZodConstraint, parseWithZod } from '@conform-to/zod'import { Img } from 'openimg/react'import { useState } from 'react'import { Form } from 'react-router'import { AuthenticityTokenInput } from 'remix-utils/csrf/react'import { z } from 'zod'import { GeneralErrorBoundary } from '#app/components/error-boundary.tsx'import { floatingToolbarClassName } from '#app/components/floating-toolbar.tsx'import { ErrorList, Field, TextareaField } from '#app/components/forms.tsx'import { Button } from '#app/components/ui/button.tsx'import { Icon } from '#app/components/ui/icon.tsx'import { Label } from '#app/components/ui/label.tsx'import { StatusButton } from '#app/components/ui/status-button.tsx'import { Textarea } from '#app/components/ui/textarea.tsx'import { cn, getArticleImgSrc, useIsPending } from '#app/utils/misc.tsx'import { type Route } from './+types/articles.$articleId_.edit.ts'import SelectorGroup from '~/components/molecules/SelectorGroup.tsx'const titleMinLength = 1const titleMaxLength = 100const contentMinLength = 1const contentMaxLength = 10000const categoryMinLength = 1const categoryMaxLength = 30// ... Code omitted for brevity ... -
Next, add these new values to the
ArticleEditorSchemaobject, defined around line 54 to include the newcategoryfield:app/routes/users+/$username_+/__article-editor.tsx export const ArticleEditorSchema = z.object({id: z.string().optional(),title: z.string().min(titleMinLength).max(titleMaxLength),categoryId: z.string().min(categoryMinLength).max(categoryMaxLength).optional(),content: z.string().min(contentMinLength).max(contentMaxLength),images: z.array(ImageFieldsetSchema).max(5).optional(),})
Update the Article Editor form
Section titled “Update the Article Editor form”Next, we need to update the props coming into the ArticleEditor component (still inside app/routes/users+/$username_+/__article-editor.tsx).
We need to include a new category field to the article, and a new categories prop definition.
These lines of code need adding, starting from around line 64:
export function ArticleEditor({ actionData, article, categories,}: { article?: Route.ComponentProps['loaderData']['article'] actionData?: Route.ComponentProps['actionData'] categories?: Route.ComponentProps['loaderData']['categories']}) { const isPending = useIsPending()
const [form, fields] = useForm({ id: 'article-editor', constraint: getZodConstraint(ArticleEditorSchema), lastResult: actionData?.result, onValidate({ formData }) { return parseWithZod(formData, { schema: ArticleEditorSchema }) }, defaultValue: { ...article, categoryId: article?.category?.id ?? '', images: article?.images ?? [{}], }, shouldRevalidate: 'onBlur', }) // ... Code omitted for brevity ...}Here, we are defining the categories prop, which will be used to populate a new Categories field in the form.
Nothing has changed on the frontend yet, so let’s fix that now.
Display ‘Categories’
Section titled “Display ‘Categories’”Scroll down app/routes/users+/$username_+/__article-editor.tsx further, until you reach the ArticleEditor component around line 62.
Inside this, you will find the TextAreaField for the content field, around line 118.
Let’s place our choices for the category field just below TextAreaField:
export function ArticleEditor({25 collapsed lines
article, actionData, categories,}: { article?: Route.ComponentProps['loaderData']['article'] actionData?: Route.ComponentProps['actionData'] categories?: Route.ComponentProps['loaderData']['categories']}) { const isPending = useIsPending()
const [form, fields] = useForm({ id: 'article-editor', constraint: getZodConstraint(ArticleEditorSchema), lastResult: actionData?.result, onValidate({ formData }) { return parseWithZod(formData, { schema: ArticleEditorSchema }) }, defaultValue: { ...article, categoryId: article?.category?.id ?? '', images: article?.images ?? [{}], }, shouldRevalidate: 'onBlur', }) const imageList = fields.images.getFieldList()
return ( <div className="absolute inset-0"> <FormProvider context={form.context}>26 collapsed lines
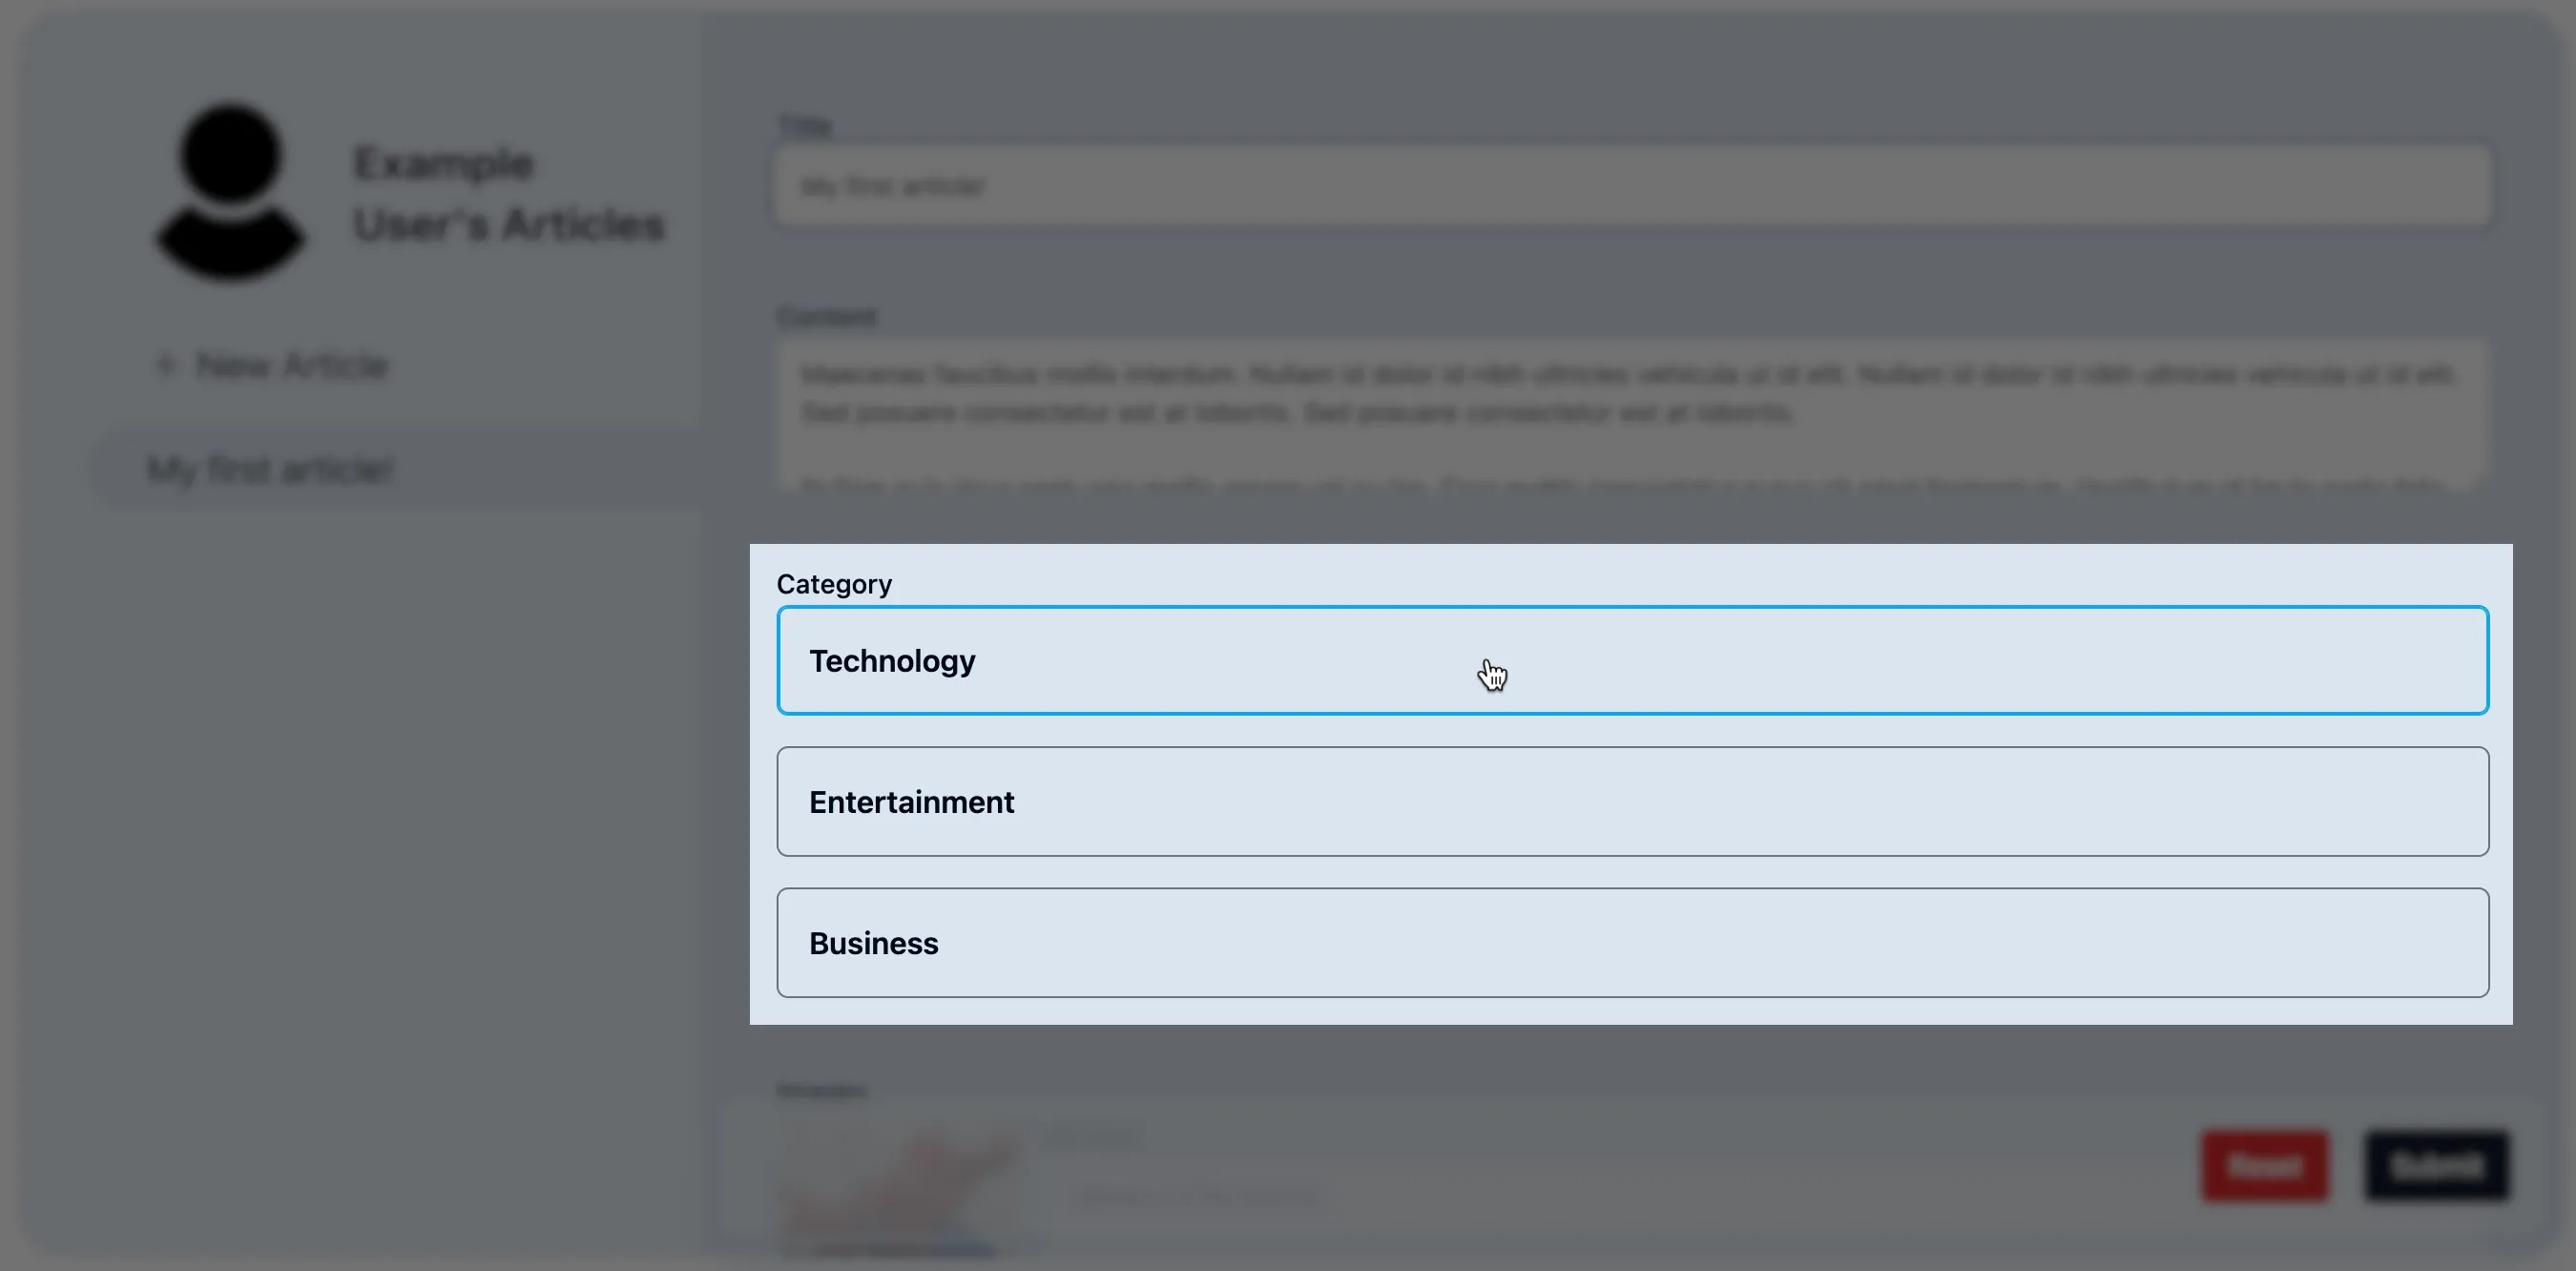
<Form method="POST" className="flex h-full flex-col gap-y-4 overflow-x-hidden overflow-y-auto px-10 pt-12 pb-28" {...getFormProps(form)} encType="multipart/form-data" > {/* CSRF token */} <AuthenticityTokenInput /> {/* This hidden submit button is here to ensure that when the user hits "enter" on an input field, the primary form function is submitted rather than the first button in the form (which is delete/add image). */} <button type="submit" className="hidden" /> {article ? ( <input type="hidden" name="id" value={article.id} /> ) : null} <div className="flex flex-col gap-1"> <Field labelProps={{ children: 'Title' }} inputProps={{ autoFocus: true, ...getInputProps(fields.title, { type: 'text' }), }} errors={fields.title.errors} /> <TextareaField labelProps={{ children: 'Content' }} textareaProps={{ ...getTextareaProps(fields.content), }} errors={fields.content.errors} /> {categories?.length ? ( <div className="pb-8"> <Label>Category</Label> <SelectorGroup name="categoryId" initialValue={article?.category?.id ?? ''} options={categories.map((category) => ({ value: category.id, label: category.name, }))} /> </div> ) : null} <div>58 collapsed lines
<Label>Images</Label> <ul className="flex flex-col gap-4"> {imageList.map((imageMeta, index) => { const imageMetaId = imageMeta.getFieldset().id.value const image = article?.images.find( ({ id }) => id === imageMetaId, ) return ( <li key={imageMeta.key} className="border-muted-foreground relative border-b-2" > <button className="text-foreground-destructive absolute top-0 right-0" {...form.remove.getButtonProps({ name: fields.images.name, index, })} > <span aria-hidden> <Icon name="cross-1" /> </span>{' '} <span className="sr-only"> Remove image {index + 1} </span> </button> <ImageChooser meta={imageMeta} objectKey={image?.objectKey} /> </li> ) })} </ul> </div> <Button className="mt-3" {...form.insert.getButtonProps({ name: fields.images.name })} > <span aria-hidden> <Icon name="plus">Image</Icon> </span>{' '} <span className="sr-only">Add image</span> </Button> </div> <ErrorList id={form.errorId} errors={form.errors} /> </Form> <div className={floatingToolbarClassName}> <Button variant="destructive" {...form.reset.getButtonProps()}> Reset </Button> <StatusButton form={form.id} type="submit" disabled={isPending} status={isPending ? 'pending' : 'idle'} > Submit </StatusButton> </div> </FormProvider> </div> )}Save your changes, and you should now see the categories available to choose from:
Update ArticleEditor.server.tsx
Section titled “Update ArticleEditor.server.tsx”When data is submitted from a Remix Form component, it is sent to the nearest server-side action function which handles the form submission.
The logic for our form submission is handled in the app/routes/users+/$username_+/__article-editor.server.tsx file.
Open this now and take a look inside.
There is a lot going on!
Luckily, we only need to make three minor changes towards the end of the file.
These will ensure we capture the new categoryId field from the form data:
28 collapsed lines
import { parseWithZod } from '@conform-to/zod'import { parseFormData } from '@mjackson/form-data-parser'import { createId as cuid } from '@paralleldrive/cuid2'import { data, redirect, type ActionFunctionArgs } from 'react-router'import { CSRFError } from 'remix-utils/csrf/server'import { z } from 'zod'import { requireUserId } from '#app/utils/auth.server.ts'import { prisma } from '#app/utils/db.server.ts'import { uploadArticleImage } from '#app/utils/storage.server.ts'import { redirectWithToast } from '#app/utils/toast.server.ts'import { ArticleEditorSchema, MAX_UPLOAD_SIZE, type ImageFieldset,} from './__article-editor'import { csrf } from '~/utils/csrf.server'
function imageHasFile( image: ImageFieldset,): image is ImageFieldset & { file: NonNullable<ImageFieldset['file']> } { return Boolean(image.file?.size && image.file?.size > 0)}
function imageHasId( image: ImageFieldset,): image is ImageFieldset & { id: NonNullable<ImageFieldset['id']> } { return image.id != null}
export async function action({ request }: ActionFunctionArgs) { const userId = await requireUserId(request)
63 collapsed lines
const formData = await parseMultipartFormData( request, createMemoryUploadHandler({ maxPartSize: MAX_UPLOAD_SIZE }), )
const submission = await parseWithZod(formData, { schema: ArticleEditorSchema.superRefine(async (data, ctx) => { if (!data.id) return
const article = await prisma.article.findUnique({ select: { id: true }, where: { id: data.id, ownerId: userId }, })
if (!article) { ctx.addIssue({ code: z.ZodIssueCode.custom, message: 'Article not found', }) } }).transform(async ({ images = [], ...data }) => { return { ...data, imageUpdates: await Promise.all( images.filter(imageHasId).map(async i => { if (imageHasFile(i)) { return { id: i.id, altText: i.altText, contentType: i.file.type, blob: Buffer.from(await i.file.arrayBuffer()), } } else { return { id: i.id, altText: i.altText, } } }), ), newImages: await Promise.all( images .filter(imageHasFile) .filter(i => !i.id) .map(async image => { return { altText: image.altText, contentType: image.file.type, blob: Buffer.from(await image.file.arrayBuffer()), } }), ), } }), async: true, })
if (submission.status !== 'success') { return data( { result: submission.reply() }, { status: submission.status === 'error' ? 400 : 200 }, ) }
const { id: articleId, title, content, categoryId, imageUpdates = [], newImages = [], } = submission.value
const updatedArticle = await prisma.article.upsert({ select: { id: true, owner: { select: { username: true } } }, where: { id: articleId ?? '__new_article__' }, create: { ownerId: userId, title, content, categoryId, images: { create: newImages }, }, update: { title, content, categoryId, images: { deleteMany: { id: { notIn: imageUpdates.map(i => i.id) } }, updateMany: imageUpdates.map(updates => ({ where: { id: updates.id }, data: { ...updates, id: updates.blob ? cuid() : updates.id }, })), create: newImages, }, }, })
return redirect( `/users/${updatedArticle.owner.username}/articles/${updatedArticle.id}`, )}Summary
Section titled “Summary”In this tutorial, we have:
- Added a new
categoryfield to the article editor form - Loaded
categoriesfrom the database - Displayed the
categoryname on the article page - Updated the
ArticleEditorSchemato include the newcategoryfield - Updated the
ArticleEditorcomponent to include the newcategoryfield - Updated the
SelectorGroupcomponent to include a hidden input field - Updated the
ArticleEditor.server.tsxfile to capture the newcategoryIdfield - Generated new articles with a
categoryfield
What’s next?
Section titled “What’s next?”In the next tutorial, we will add content into the news page of the app, and display the articles in a grid layout.