Code up a Figma Design in React Native
In this guide, we’ll use React Native to recreate the design for a single todo item from Figma.
2. Clear out starter code
Section titled “2. Clear out starter code”With this structure in mind, let’s take a look at how we might build the component in React Native code.
-
Open the project in your code editor and run the app with the command below:
Terminal window npm run dev -
Decide if you want to see the app on your phone or in the browser by following the instructions in your terminal.
-
Open
app/index.tsxand replace all the code inside with the following:app/index.tsx import { View, Text } from "react-native";export default function HomeScreen() {return (<View className="flex flex-1 py-32 bg-background"><Text className="text-white text-center">Hello, world!</Text></View>);}This gives us a simple
Viewcomponent with aTextcomponent inside it: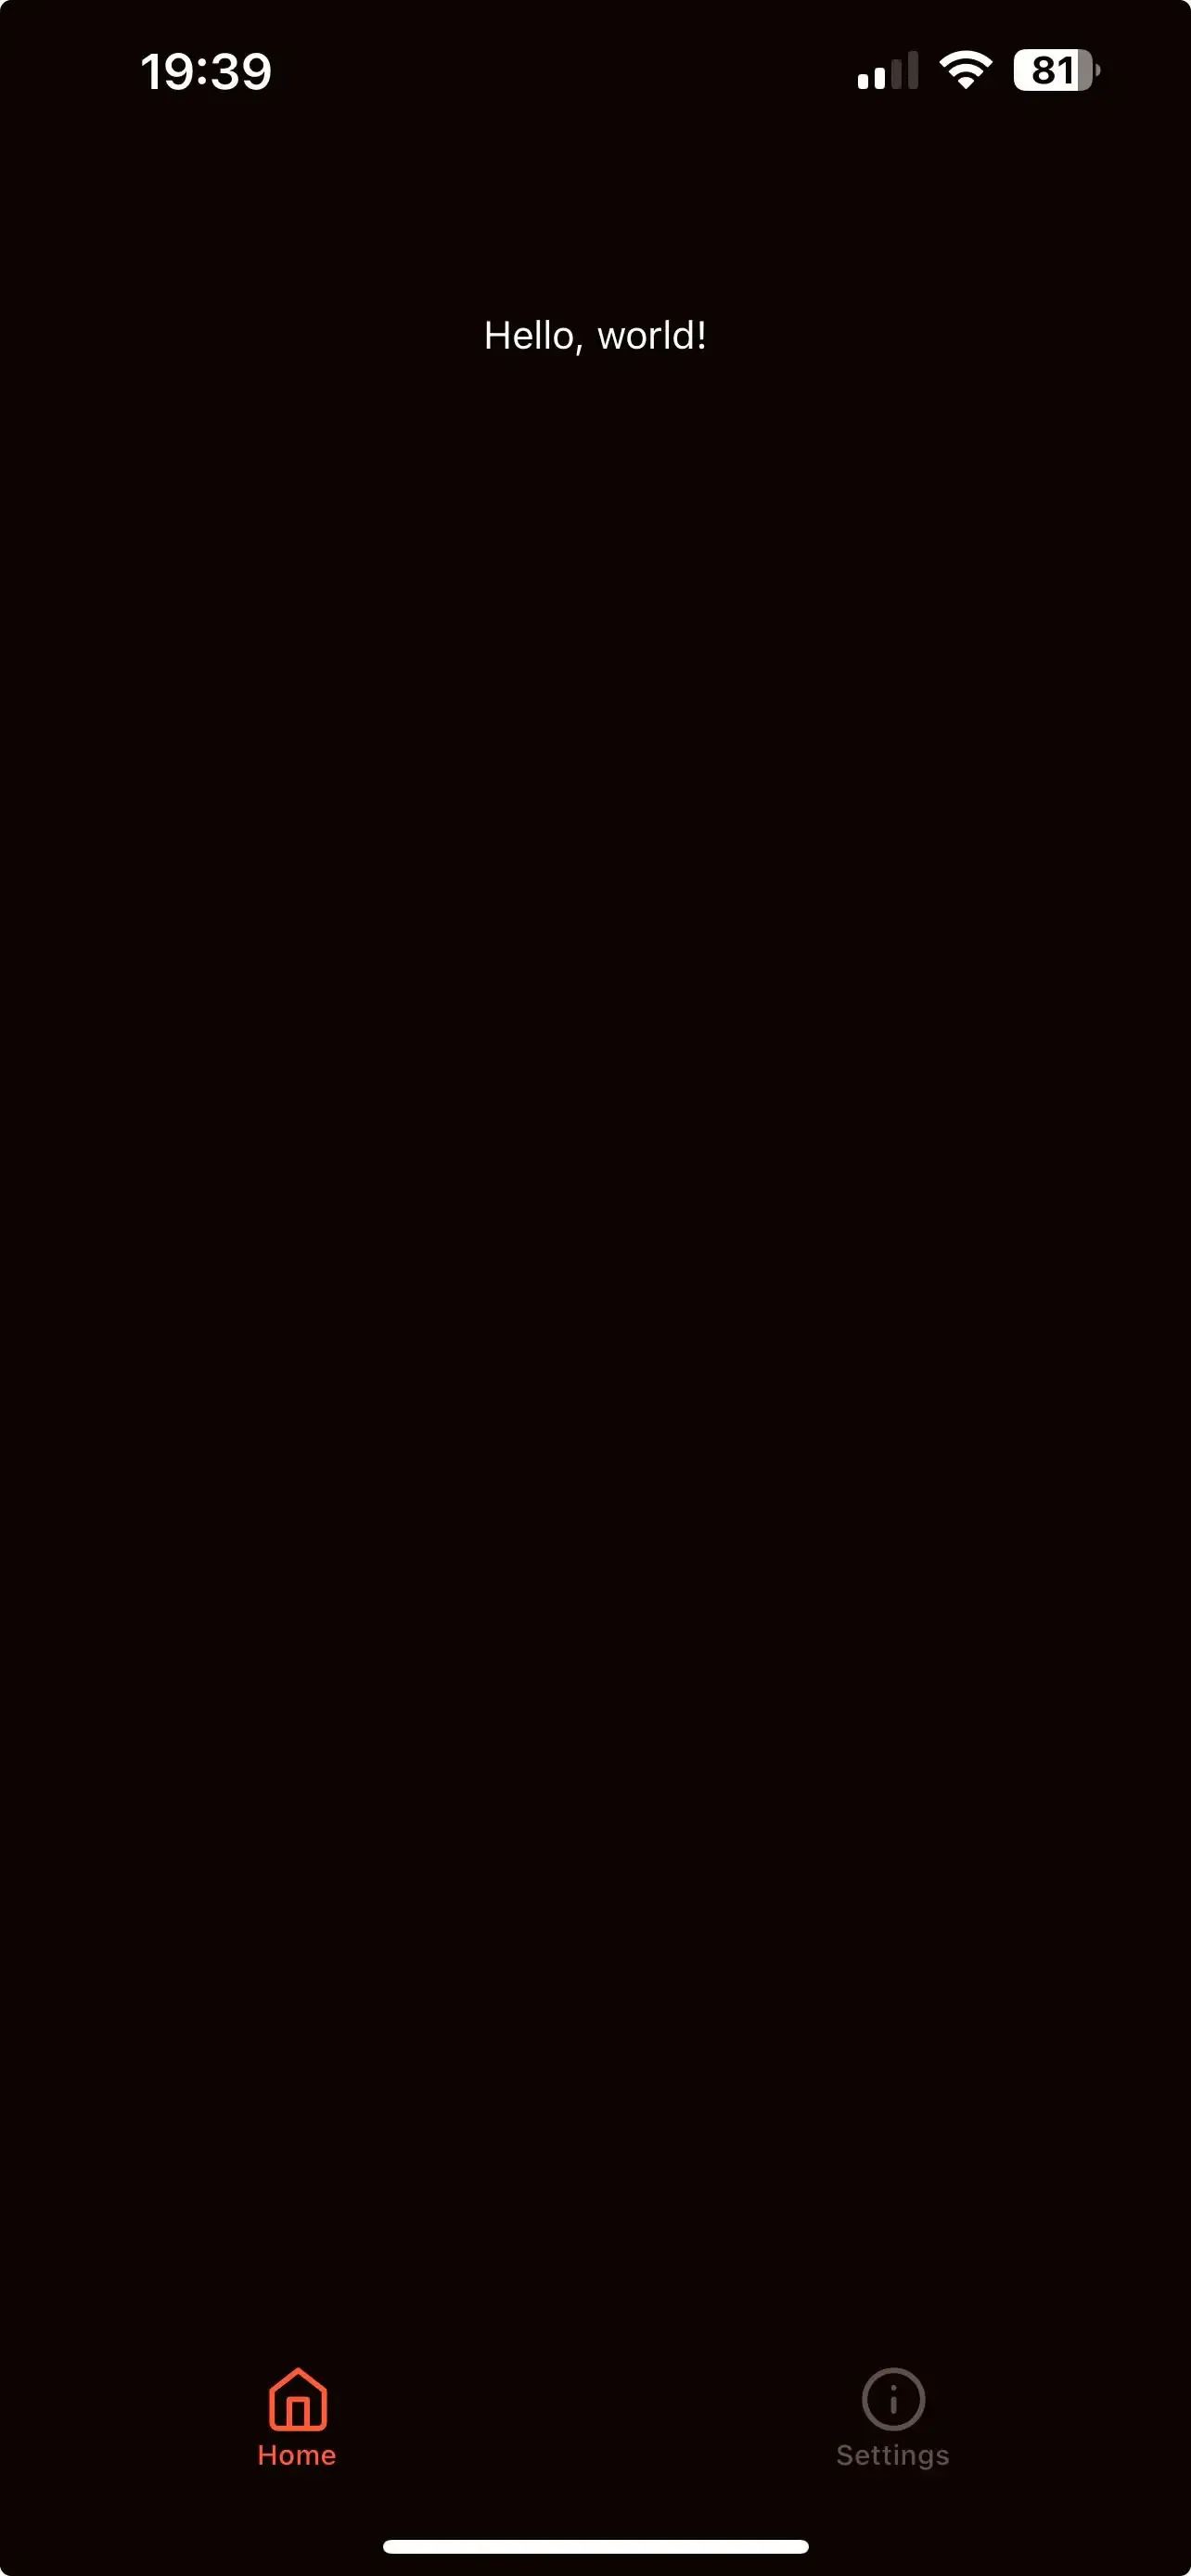
3. Plan out the components
Section titled “3. Plan out the components”3. Style the todo item
Section titled “3. Style the todo item”4. Create a dummy ‘Task’
Section titled “4. Create a dummy ‘Task’”Inside app/index.tsx, add a single object called task to the HomeScreen component.
We will use this as a dummy task to test our new Task component.
export interface ITask { title: string; category: string; isChecked: boolean;}
export default function HomeScreen() { const [checked, setChecked] = React.useState(true);
const task: ITask = { title: "My test item", category: "Test category", isChecked: false, };
return ( <View className="bg-background flex-1 items-center justify-center gap-5 p-6">13 collapsed lines
<View className="flex w-full flex-row"> <View className="flex h-full w-24 px-8 py-5"> <Checkbox className="border-foreground checked:bg-foreground" checked={checked} onCheckedChange={setChecked} /> </View> <View className="border-foreground-transparent flex h-full flex-1 gap-1 border-b py-4"> <Text className="text-foreground text-xl">My test item</Text> <Text className="text-foreground-transparent text-xl">Test category</Text> </View> </View> </View> );}5. A dedicated Task component file
Section titled “5. A dedicated Task component file”6. Import the ‘Task’ component
Section titled “6. Import the ‘Task’ component”Finally, update your HomeScreen JSX to use the new Task component.
Pass the task object as a prop to the Task component.
import * as React from 'react';import { Checkbox } from '@/components/ui/checkbox';import { View, Text } from 'react-native';import { View } from 'react-native';import { Task } from '@/components/Task';
export interface ITask { title: string; category: string; isChecked: boolean;}
export default function HomeScreen() { const [checked, setChecked] = React.useState(true);
const task: ITask = { title: 'My test item', category: 'Test category', isChecked: false, };
return ( <View className="bg-background flex-1 items-center justify-center gap-5 p-6"> <View className="flex w-full flex-row"> <View className="flex h-full w-24 px-8 py-5"> <Checkbox className="border-foreground checked:bg-foreground" checked={checked} onCheckedChange={setChecked} /> </View> <View className="border-foreground-transparent flex h-full flex-1 gap-1 border-b py-4"> <Text className="text-foreground text-xl">My test item</Text> <Text className="text-foreground-transparent text-xl">Test category</Text> </View> </View> <Task task={task} /> </View> );}::::
Summary
Section titled “Summary”In this guide, we have:
- Recreated the todo item design from the Figma file
- Created a new
Taskcomponent - Passed a
taskobject as a prop to theTaskcomponent
Next steps
Section titled “Next steps”In the next guide, we will learn how to edit a task via a dialogue box.