HTML inputs
Introduction
Section titled “Introduction”In this guide, we will learn how to configure a HTML form so that its data can be targetted by JavaScript.
Although it won’t change anything from the end-user’s point of view, it is an essential step in configuring our application code ready for processing.
HTML inputs: the id attribute
Section titled “HTML inputs: the id attribute”To capture form data in HTML, you need to create a form element with input fields for the data you want to collect.
Luckily, the form has already been created and styled for us:
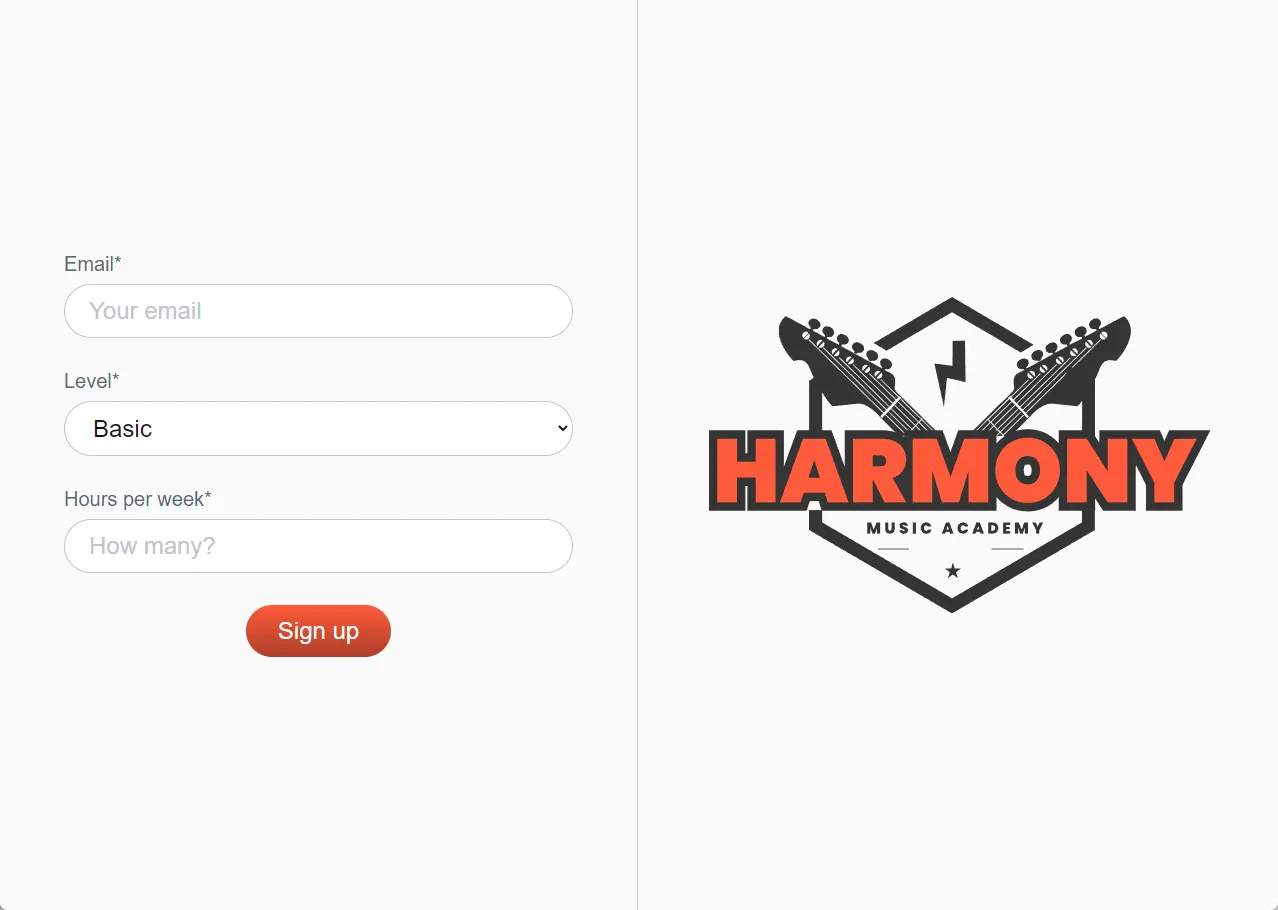
We just need to add an id attribute to the HTML code that uniquely identifies each of our form input elements ready for the JavaScript to target them.
Updating the HTML form code
Section titled “Updating the HTML form code”Look carefully at HTML code for the form, and find where the <form> tag starts and ends (around lines 8 and 50).
This is the area where we will be capturing the form data. Try expanding the code snippet below to see the full form:
<!DOCTYPE html><html> <head> <title>Harmony | Sign Up</title> <link rel="stylesheet" href="./index.css" /> </head> <body> <form class="form-wrapper"> <div class="form-section">39 collapsed lines
<img class="mobile-display" src="./assets/harmony-music-academy-logo.svg" alt="Harmony Music Academy logo" /> <div class="form-field"> <label for="email" class="form-label">Email*</label> <input name="email" type="text" class="form-input" placeholder="Your email" /> </div> <div class="form-field"> <label for="level" class="form-label">Level*</label> <select name="level" class="form-input"> <option value="basic">Basic</option> <option value="advanced">Advanced</option> </select> </div> <div class="form-field"> <label for="hoursPerWeek" class="form-label">Hours per week*</label> <input name="hours-per-week" type="number" class="form-input" placeholder="How many?" /> </div>
<button type="submit" class="submit-btn">Sign up</button> </div>
<div class="form-section mobile-hidden"> <img src="./assets/harmony-music-academy-logo.svg" alt="Harmony Music Academy logo" /> </div> </form>
<script type="module" src="./index.js"></script> </body></html>Within this section, look for the very first div with the class name of form-field (around line 15), and look carefully at the <label> and <input> tags within it:
<!DOCTYPE html><html> <head> <title>Harmony | Sign Up</title> <link rel="stylesheet" href="./index.css" /> </head> <body> <form class="form-wrapper">6 collapsed lines
<div class="form-section"> <img class="mobile-display" src="./assets/harmony-music-academy-logo.svg" alt="Harmony Music Academy logo" /> <div class="form-field"> <label for="email" class="form-label">Email*</label> <input name="email" type="text" class="form-input" placeholder="Your email" /> </div>26 collapsed lines
<div class="form-field"> <label for="level" class="form-label">Level*</label> <select name="level" class="form-input"> <option value="basic">Basic</option> <option value="advanced">Advanced</option> </select> </div> <div class="form-field"> <label for="hoursPerWeek" class="form-label">Hours per week*</label> <input name="hours-per-week" type="number" class="form-input" placeholder="How many?" /> </div>
<button type="submit" class="submit-btn">Sign up</button> </div>
<div class="form-section mobile-hidden"> <img src="./assets/harmony-music-academy-logo.svg" alt="Harmony Music Academy logo" /> </div> </form>
<script type="module" src="./index.js"></script> </body></html>Adding an id attribute to an input field
Section titled “Adding an id attribute to an input field”To capture the user’s email address, we need to add an id attribute to the <input> tag for the email field:
<div class="form-field"> <label for="email" class="form-label">Email*</label> <input id="email" name="email" type="text" class="form-input" placeholder="Your email" /></div>Summary
Section titled “Summary”In this guide, we have configured our HTML form inputs with unique id attributes.
These will ensure that the values of each input field can be targetted by JavaScript.
Next steps
Section titled “Next steps”In the next step, we will capture the values from our HTML forms and store them in variables ready for processing.