Routes and Remix's file structure
As we learned in the Outlet component lesson, Remix uses a file-based routing system. This means that the file structure of your project maps directly to the URL structure of your app.
But what else does this convention allow us to do?
Sibling routes
Section titled “Sibling routes”All files inside the routes folder are children of the root.tsx file. This means that the root.tsx file is the parent for the whole app.
Directoryapp
- root.tsx // parent route
Directoryroutes
- _index.tsx // child route
However, files that sit at the same level as others within the routes folder are called siblings.
Any file that we add next to the _index.tsx file will become its sibling, and direct children of root.tsx:
Directoryapp
Directoryroutes
- _index.tsx
- about-us.tsx // sibling route
- contact.tsx // sibling route
For example, head back over to your browser, and type in the URL http://localhost:3000/news. Hit return and you should see a page not found message:
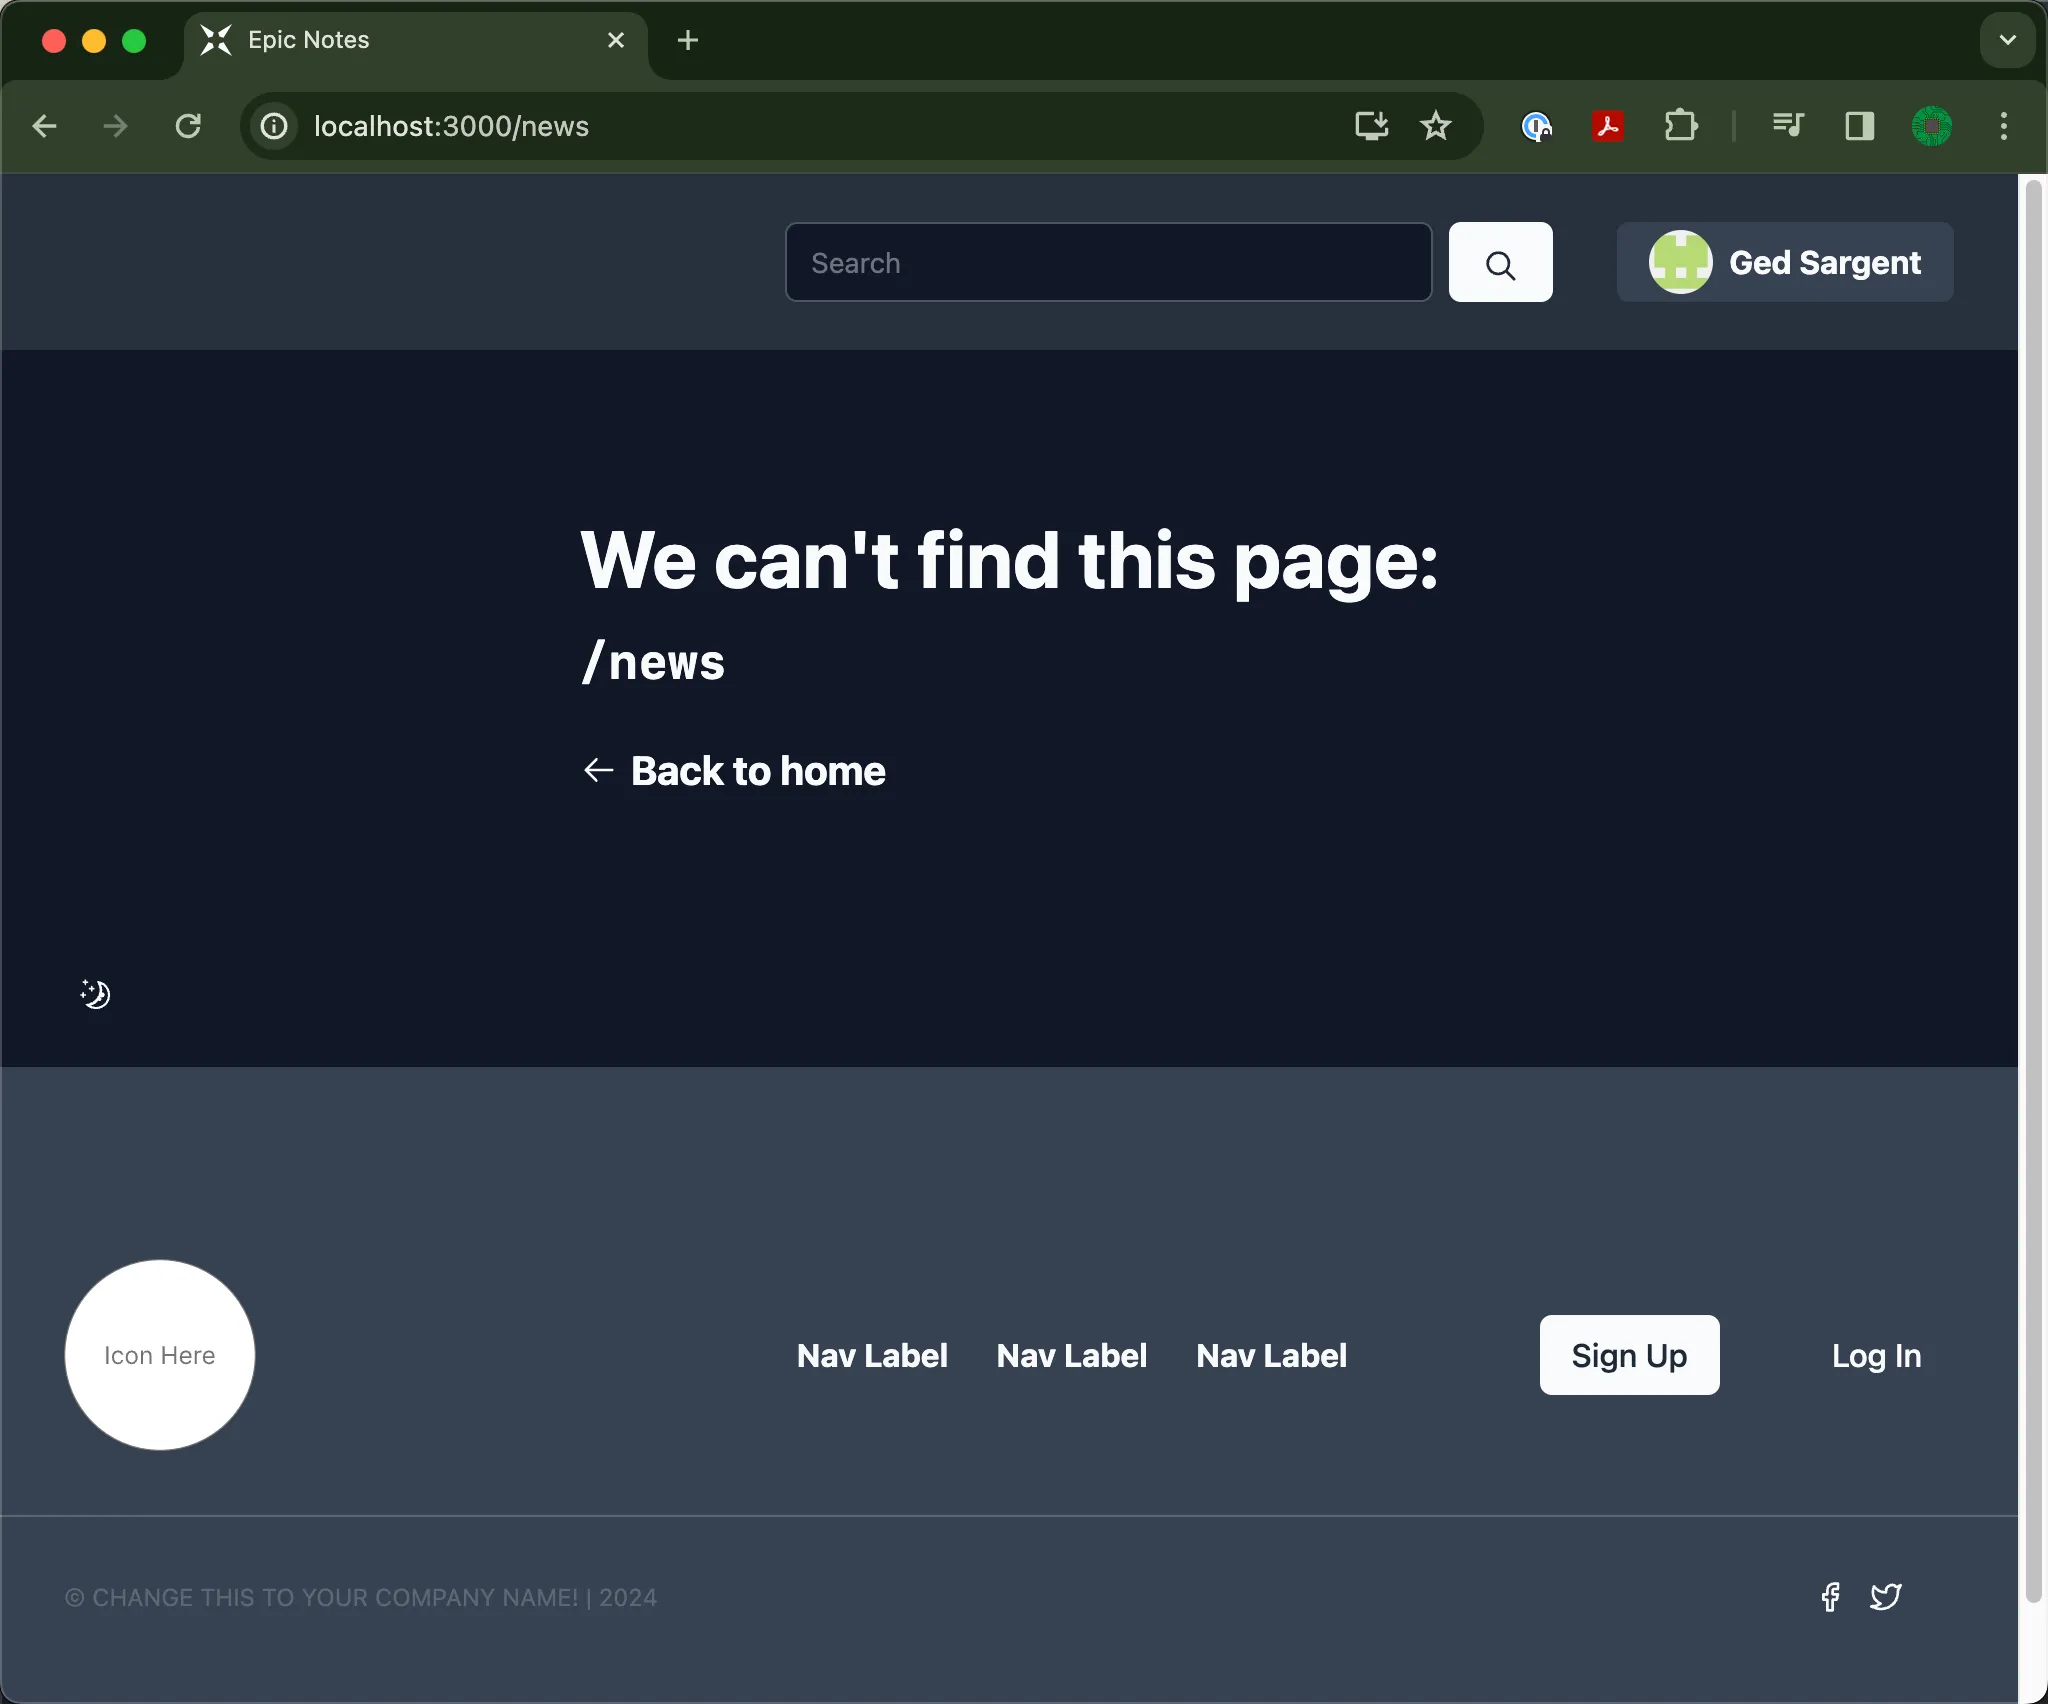
This is to be expected. We haven’t created a route file for /news yet. Let’s create a new file called news.tsx in the routes folder and add the following code to it:
export default function NewsPage() { return ( <main className="flex flex-col py-24"> <div className="container"> <h1 className="text-h1">News</h1> </div> </main> )}Save the file and head back to your browser. Refresh the page and you should see the new “News” page:
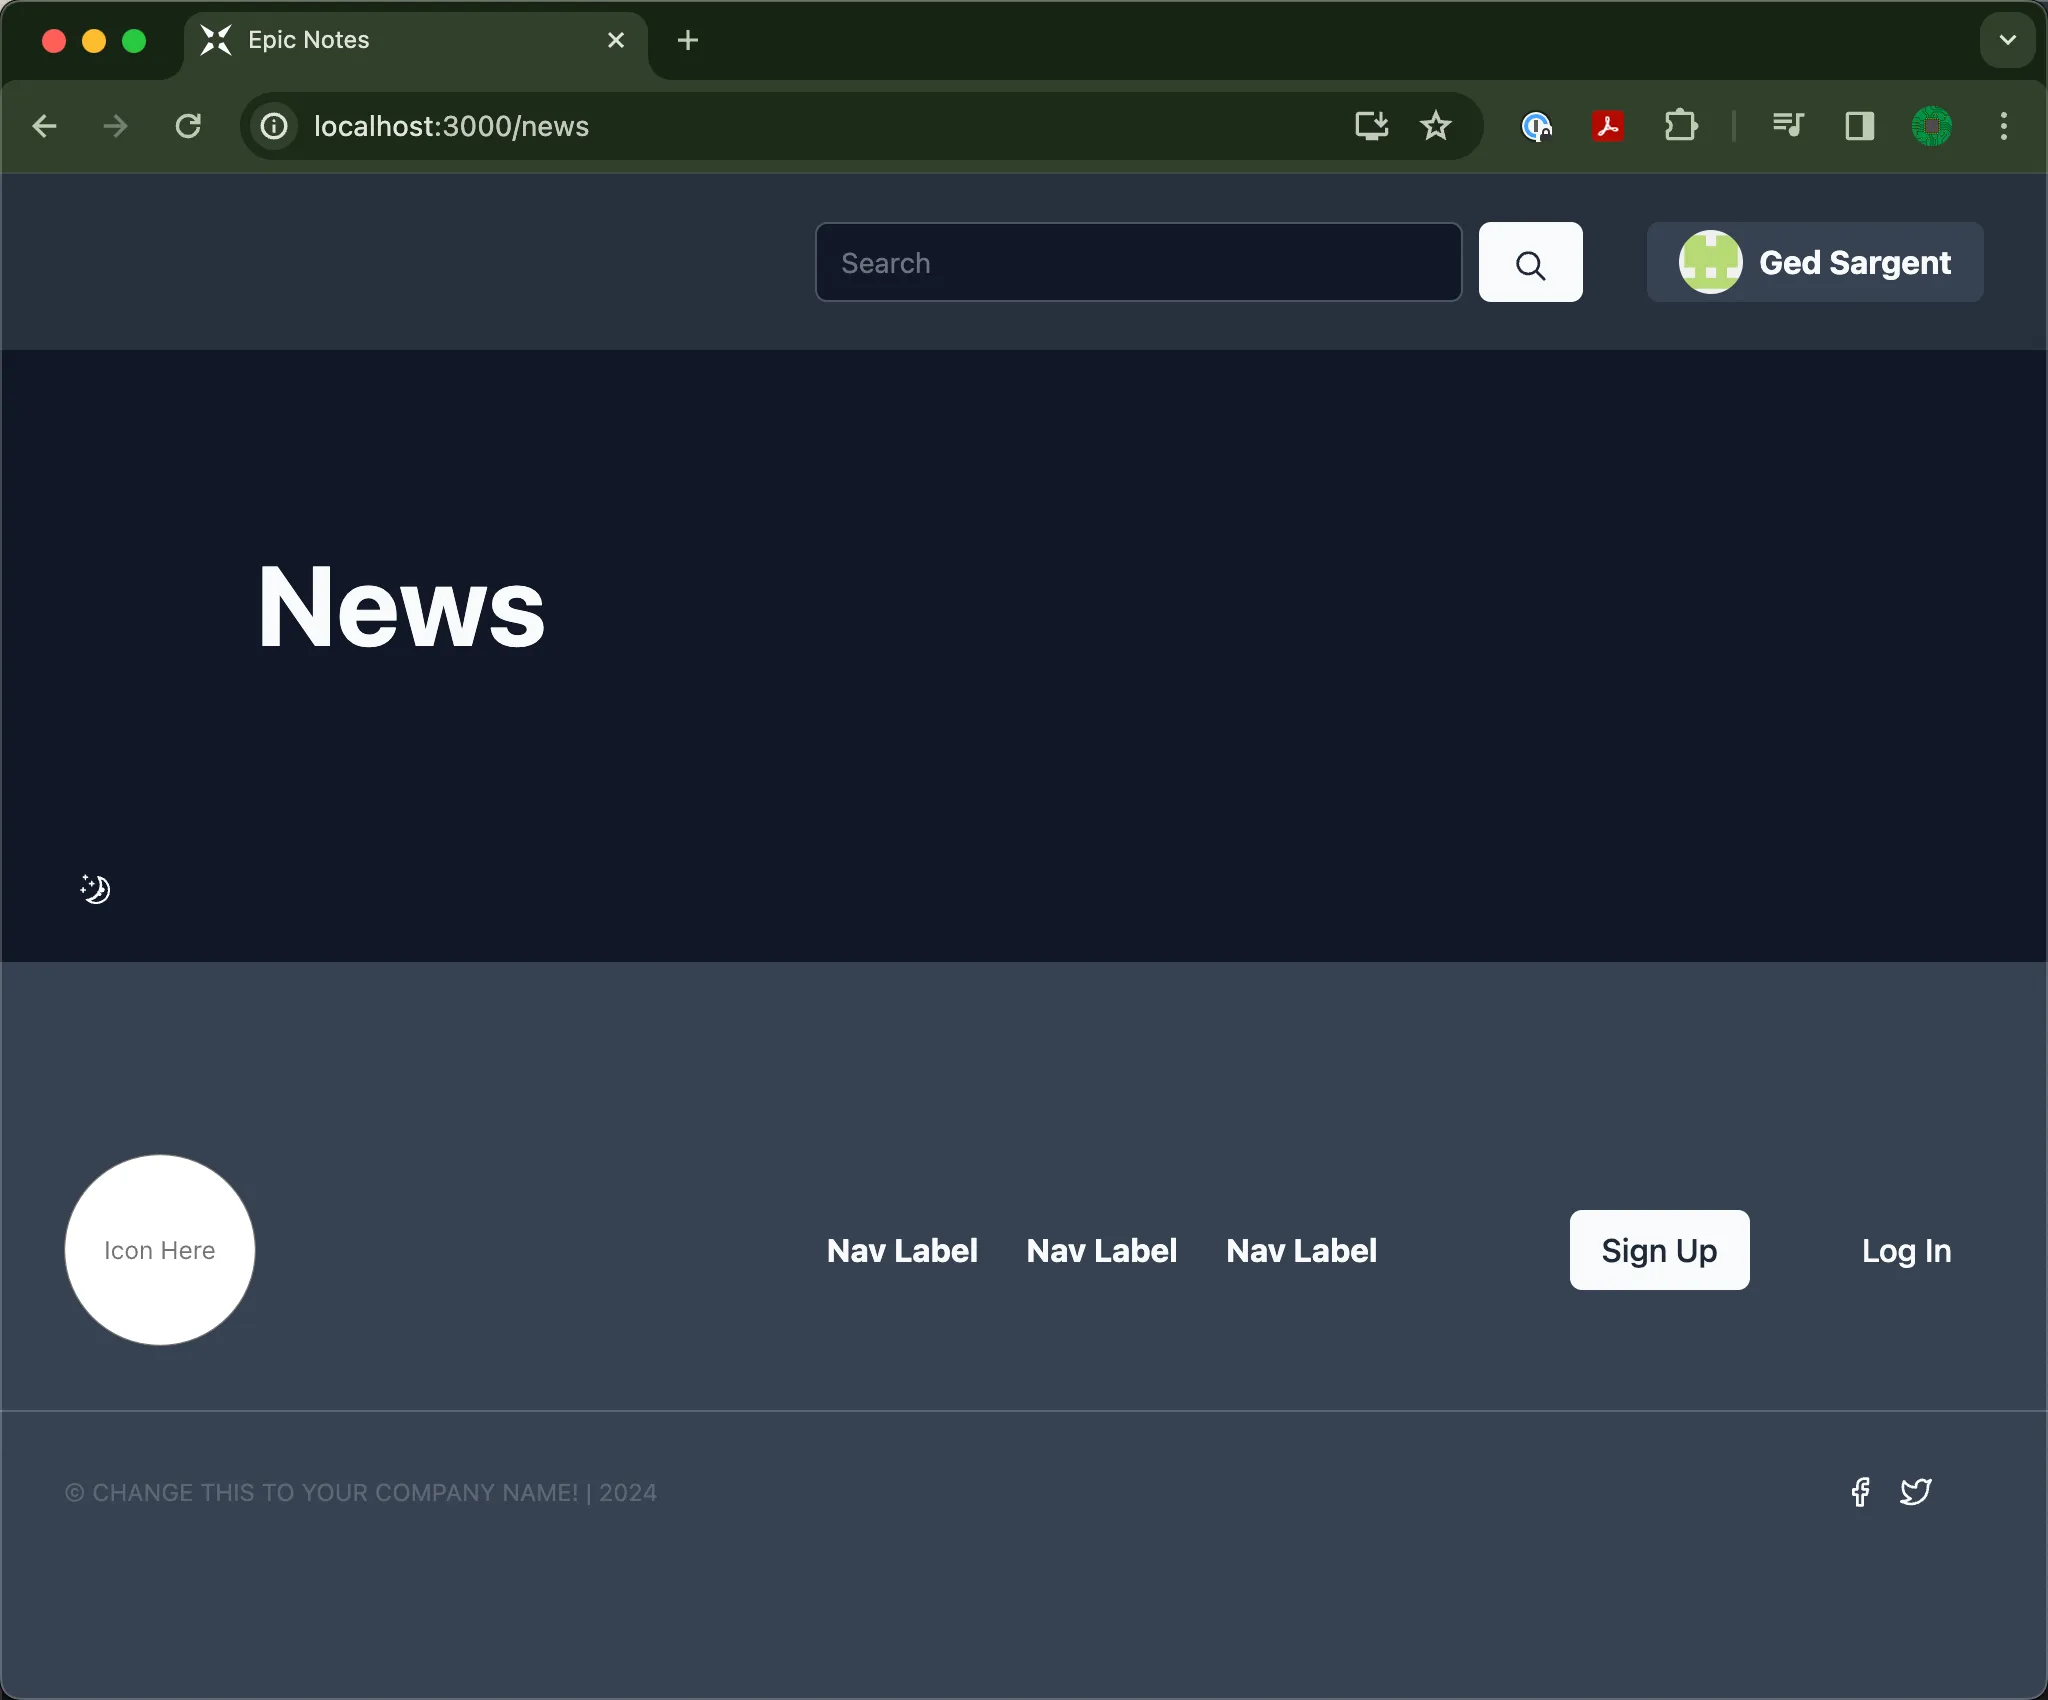
The root.tsx file is still rendering the code for the header and footer, but now the Outlet component we placed earlier is rendering the NewsPage component as its child route.
Nested routes
Section titled “Nested routes”What if we want to create a page for each news category, e.g. /news/technology, /news/sport, /news/entertainment etc?
In Remix, this is achieved through a combination of nested and dynamic routes, where one route becomes the child of another.
-
Add another file to the
routesfolder callednews.$category.tsx: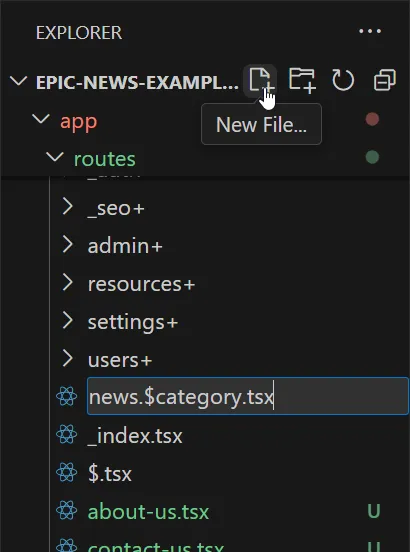
-
Inside your new
news/$category.tsxfile, add the following code:app/routes/news.$category.tsx export default function NewsCategoryPage() {return (<div className="container py-16"><h2 className="text-h2">Generic news category page</h2></div>)} -
Open
app/routes/news.tsx.To see a child route rendered in the browser at
/news, we also need to add anOutletcomponent to this file, just like we did earlier in theroot.tsxfile.Add the code below to
app/routes/news.tsx:app/routes/news.tsx import { Outlet } from 'react-router'export default function NewsPage() {return (<main className="flex flex-col py-24"><div className="container"><h1 className="text-h1">News</h1></div><Outlet /></main>)} -
Save the file again and head back to your browser.
Visit the URL
http://localhost:3000/news/technology.You should now see the
news.$category.tsxroute rendered as a child of the “News” page:
Try changing the word ‘technology’ in the URL to ‘sport’, ‘entertainment’, or any other word.
You will see the same generic news category page rendered for each category. We will explain why later.
Adding navigation links
Section titled “Adding navigation links”Let’s add a sub-navigation menu to the parent news page.
-
Open
news.tsx.Add the code shown below:
app/routes/news.tsx import { NavLink, Outlet } from 'react-router'export default function NewsPage() {return (<main className="flex flex-col py-24"><div className="container"><h1 className="text-h1">News</h1><div className="flex space-x-4 py-4"><NavLinkto="technology"prefetch="intent"className={({ isActive }) =>`${isActive ? 'text-blue-300 underline underline-offset-8' : 'text-blue-500'}`}>Technology</NavLink></div></div><Outlet /></main>)}
Challenge: extra news categories
Section titled “Challenge: extra news categories”Updating the index page
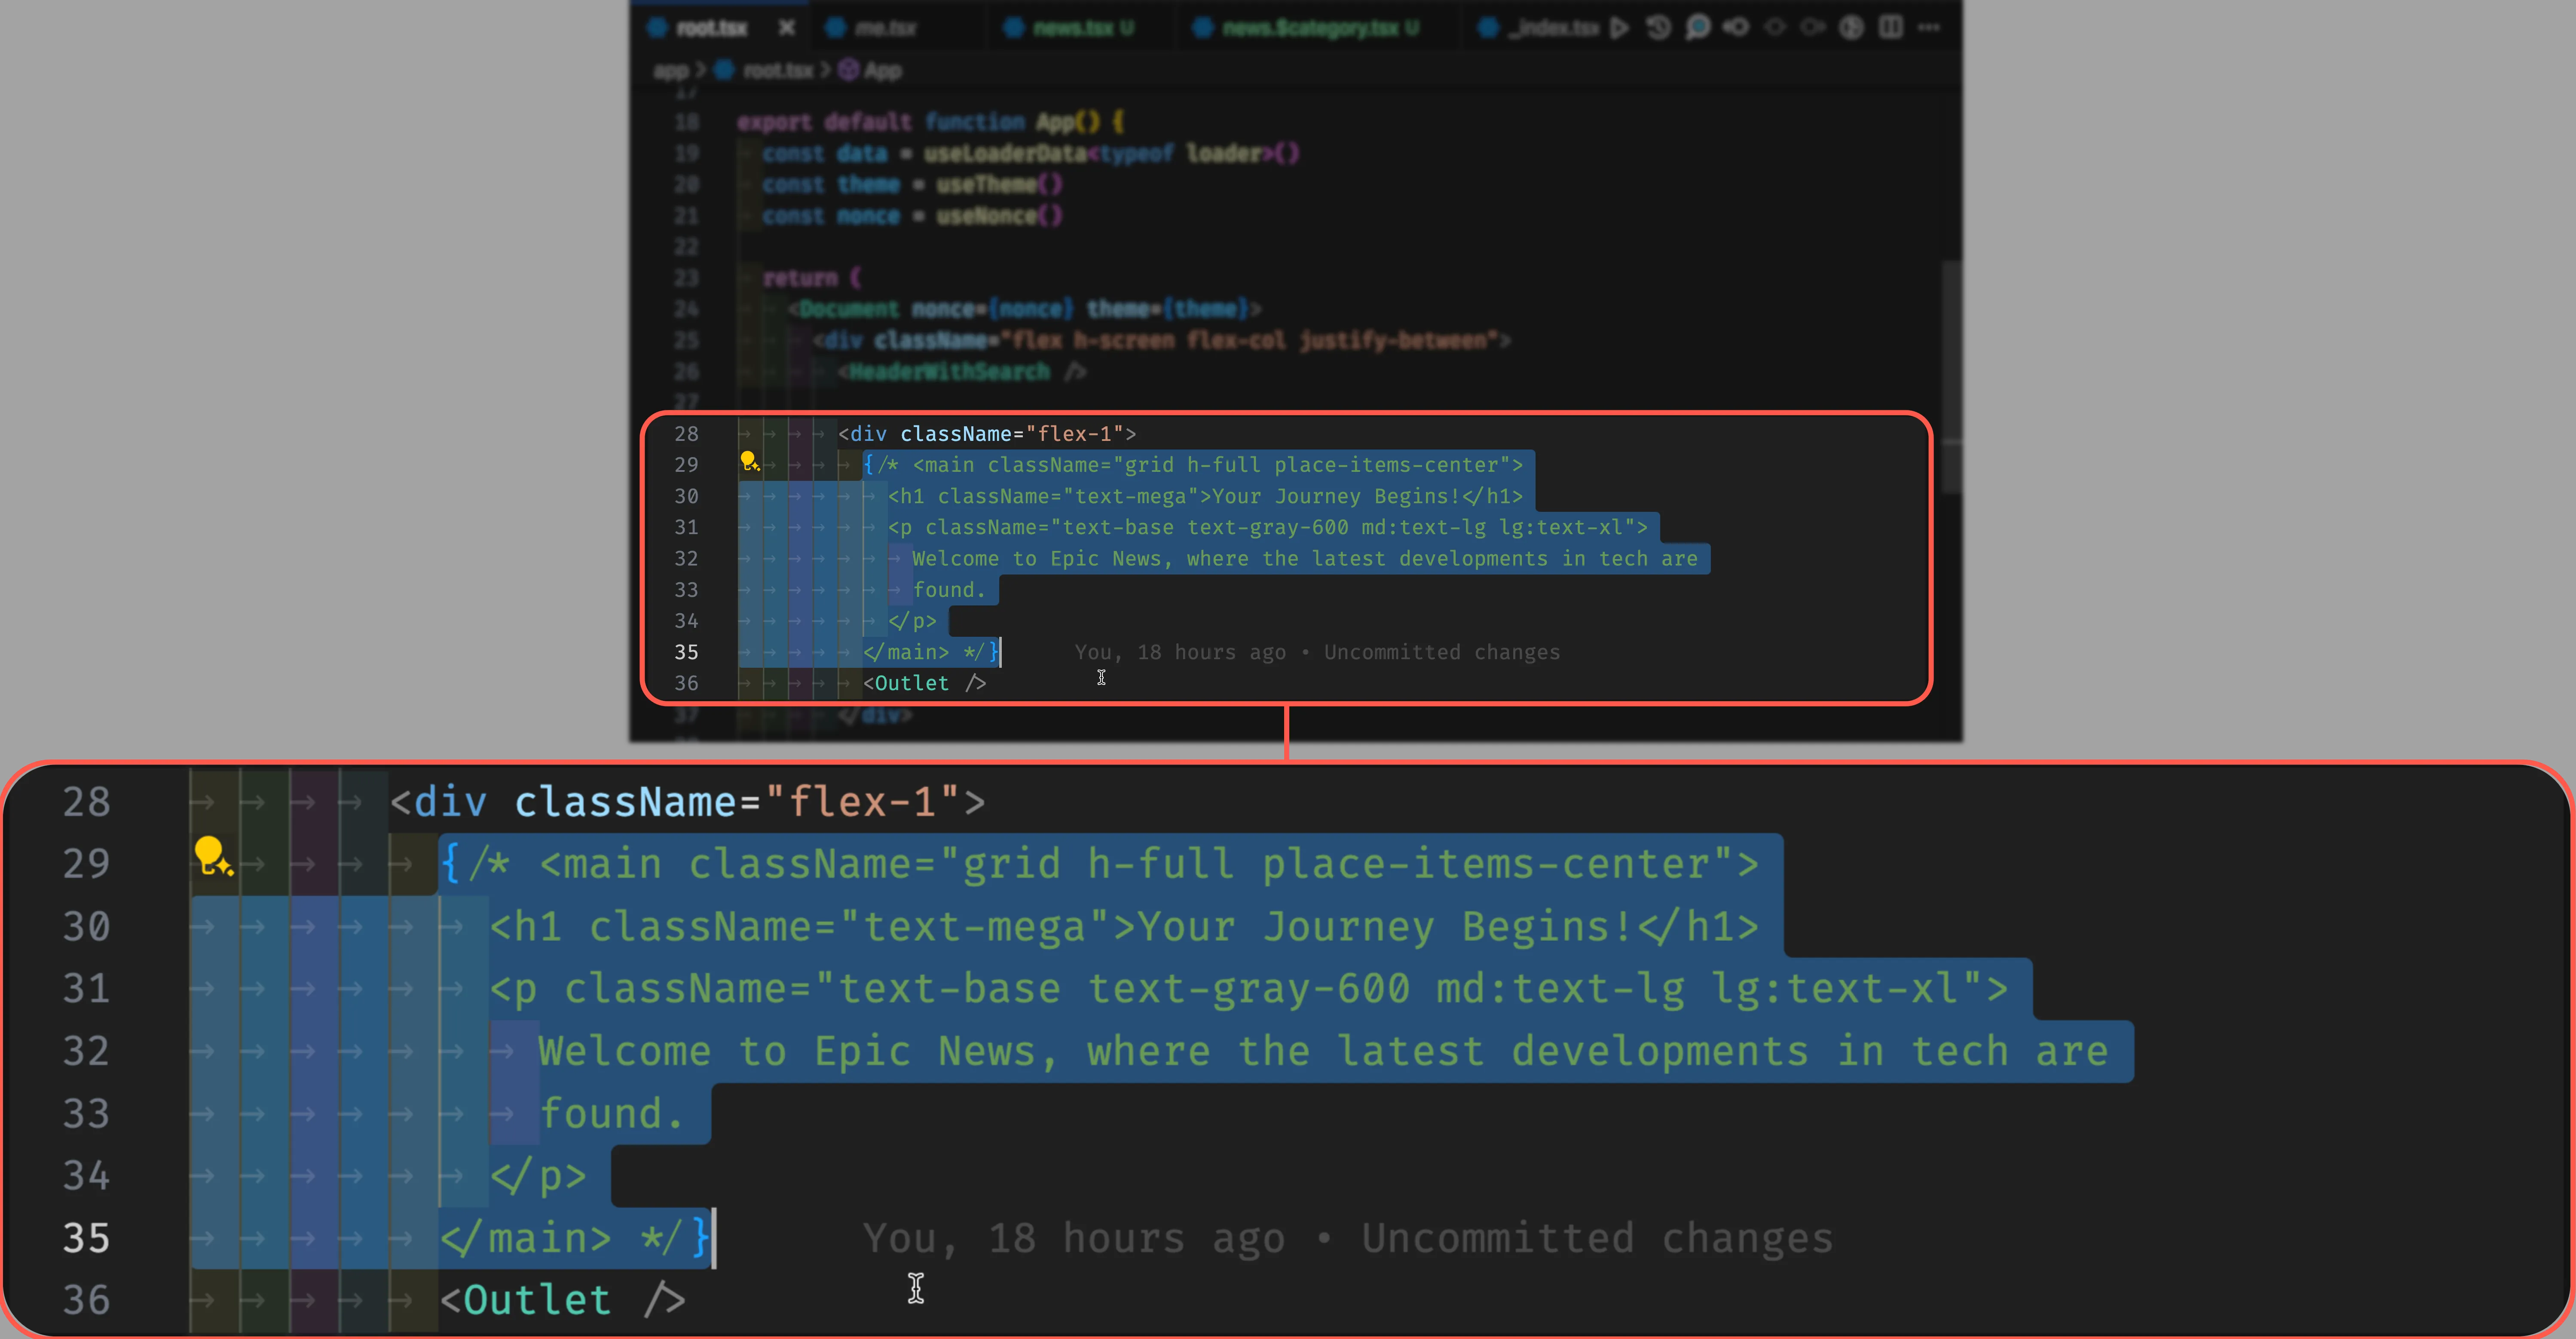
Section titled “Updating the index page”Remember the code we commented out in app/root.tsx? Let’s use it to update the app/routes/_index.tsx file.
-
Open
app/root.tsx. -
Select all the commented code, then cut it so it can be pasted elsewhere:
-
Open
app/routes/_index.tsx.Replace the JSX currently inside the
returnstatement brackets by pasting the copied code over it.app/routes/_index.tsx import { type MetaFunction } from '@remix-run/node'export const meta: MetaFunction = () => [{ title: 'Epic News' }]export default function Index() {return (<main className="grid h-full place-items-center"><h1 className="text-mega">Hello from{' '}<pre className="prose rounded-lg bg-primary p-6 text-primary-foreground">app/routes/_index.tsx</pre></h1></main>{/* <main className="grid h-full place-items-center"><h1 className="text-mega">Your Journey Begins!</h1><p className="text-base text-gray-600 md:text-lg lg:text-xl">Welcome to Epic News, where the latest developments in tech are found.</p></main> */})} -
Uncomment the code by removing
{/*and*/}from the beginning and end of the code block, then save it:app/routes/_index.tsx import { type MetaFunction } from '@remix-run/node'export const meta: MetaFunction = () => [{ title: 'Epic News' }]export default function Index() {return ({/*<main className="grid h-full place-items-center"><h1 className="text-mega">Your Journey Begins!</h1><p className="text-base text-gray-600 md:text-lg lg:text-xl">Welcome to Epic News, where the latest developments in tech are found.</p></main>*/})} -
Automatically sort the imports in both
app/routes/_index.tsxandapp/routes/root.tsxby using the VS Code keyboard shortcut Shift + Alt + O (on Windows) or Shift + Option + O (on Mac). -
Visit
http://localhost:3000/in your browser.You should see your original code from the
root.tsxlesson displayed on the page:
Summary
Section titled “Summary”In this lesson, we have:
- looked at how Remix’s file structure and naming conventions map to the URL structure of application paths in the browser
- reviewed how the
root.tsxfile is the parent layout module for the whole app, and how sibling and child routes are created by adding files to theroutesfolder - looked at how to create a nested route by naming a file with a period (
.) in it - learned how to render the child route in the parent route using the
Outletcomponent - seen, in the ‘Extra Credit’ solution above, how to use the
_index.tsxnaming convention to render a welcome message when the user visits the parent route URL. - learned how to use the
NavLinkcomponent to create navigation links between the different routes, and how to apply different styles to the links when they are active.
What’s next?
Section titled “What’s next?”In the next tutorial, we will look at how to incorporate dynamic routes into our app, and how access the dynamic parts of the URL inside a loader function.