Importing images in React
In this guide, we’ll learn how to import images in React. We’ll cover:
- Importing images from project folders
- Using images in components
Importing images from project folders
Section titled “Importing images from project folders”To import images from your project folders, use the import statement in JavaScript, just like we have done previously for modules and functions.
The app/assets folder
Section titled “The app/assets folder”All our graphics will be stored in the app/assets folder. Take a moment to locate this now in the VS Code file explorer:
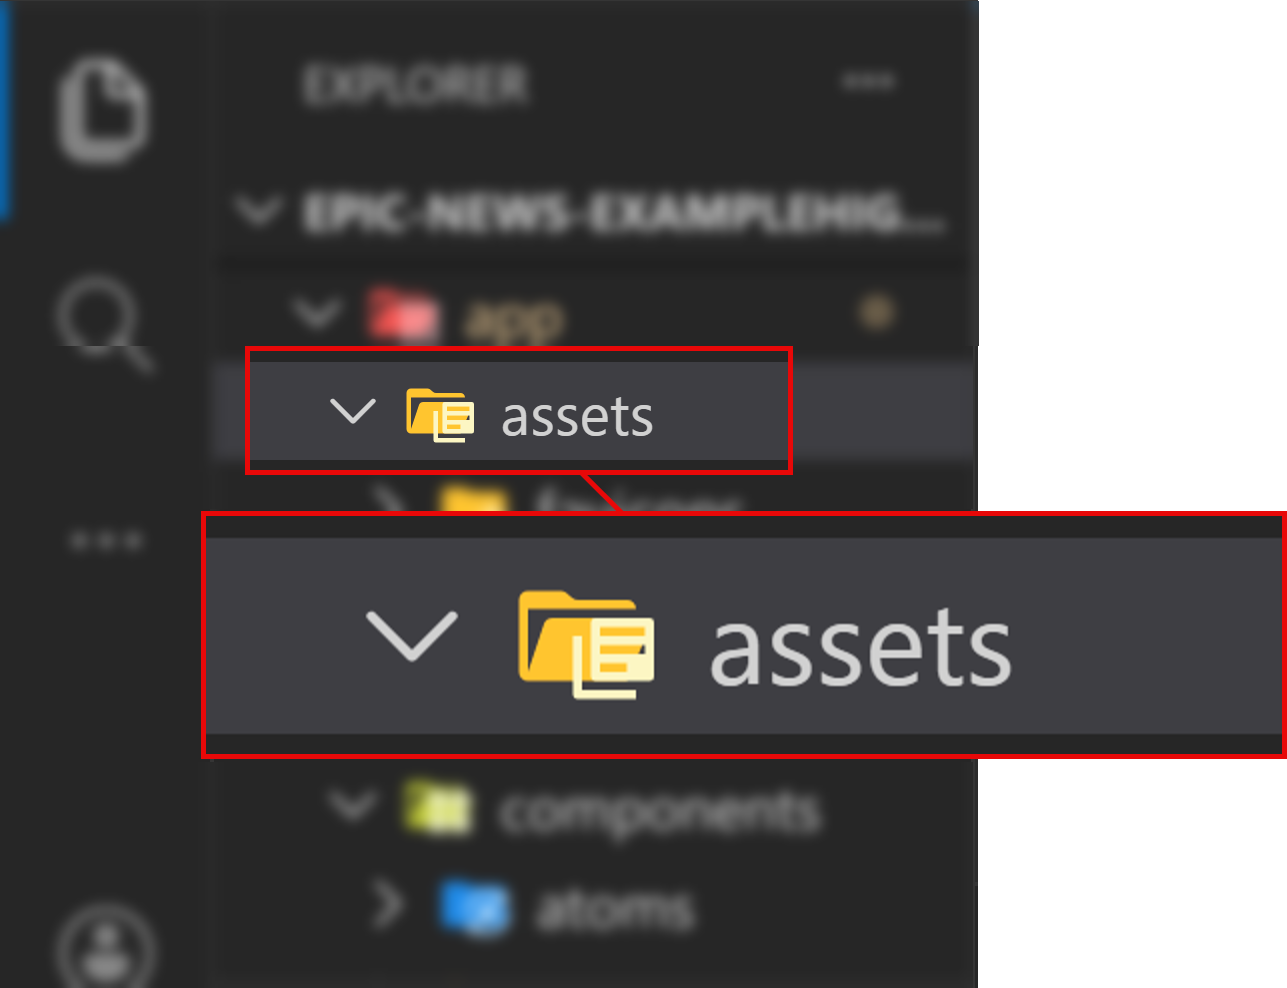
You will notice that there are three subfolders already inside app/assets, each of which represents a different image format:
Directoryapp
Directoryassets
Directoryfavicons/
- …
Directoryjpg/
- …
Directorysvg/
- …
This is where we will store all PNG images in the Epic News project, but, as you can see, there is no png folder at the moment.
Let’s create this now:
Creating a new folder
Section titled “Creating a new folder”-
Click on the
app/assetsfolder in the VS Code file explorer (or your own code editor) so that it becomes highlighted: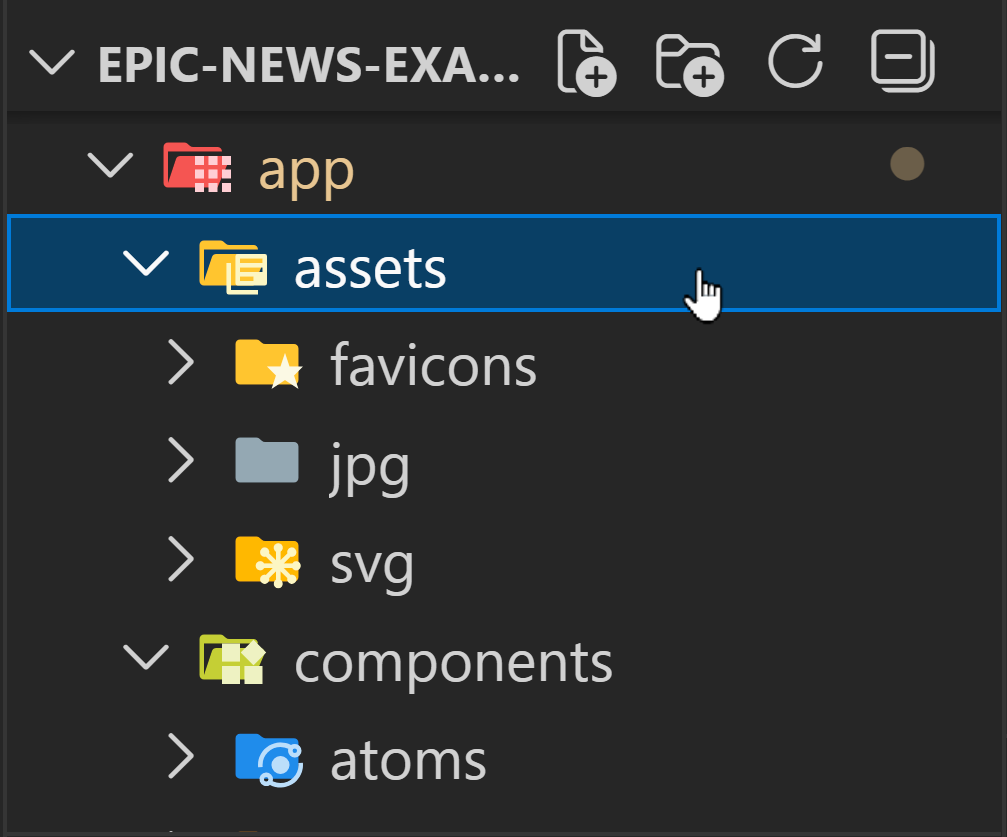
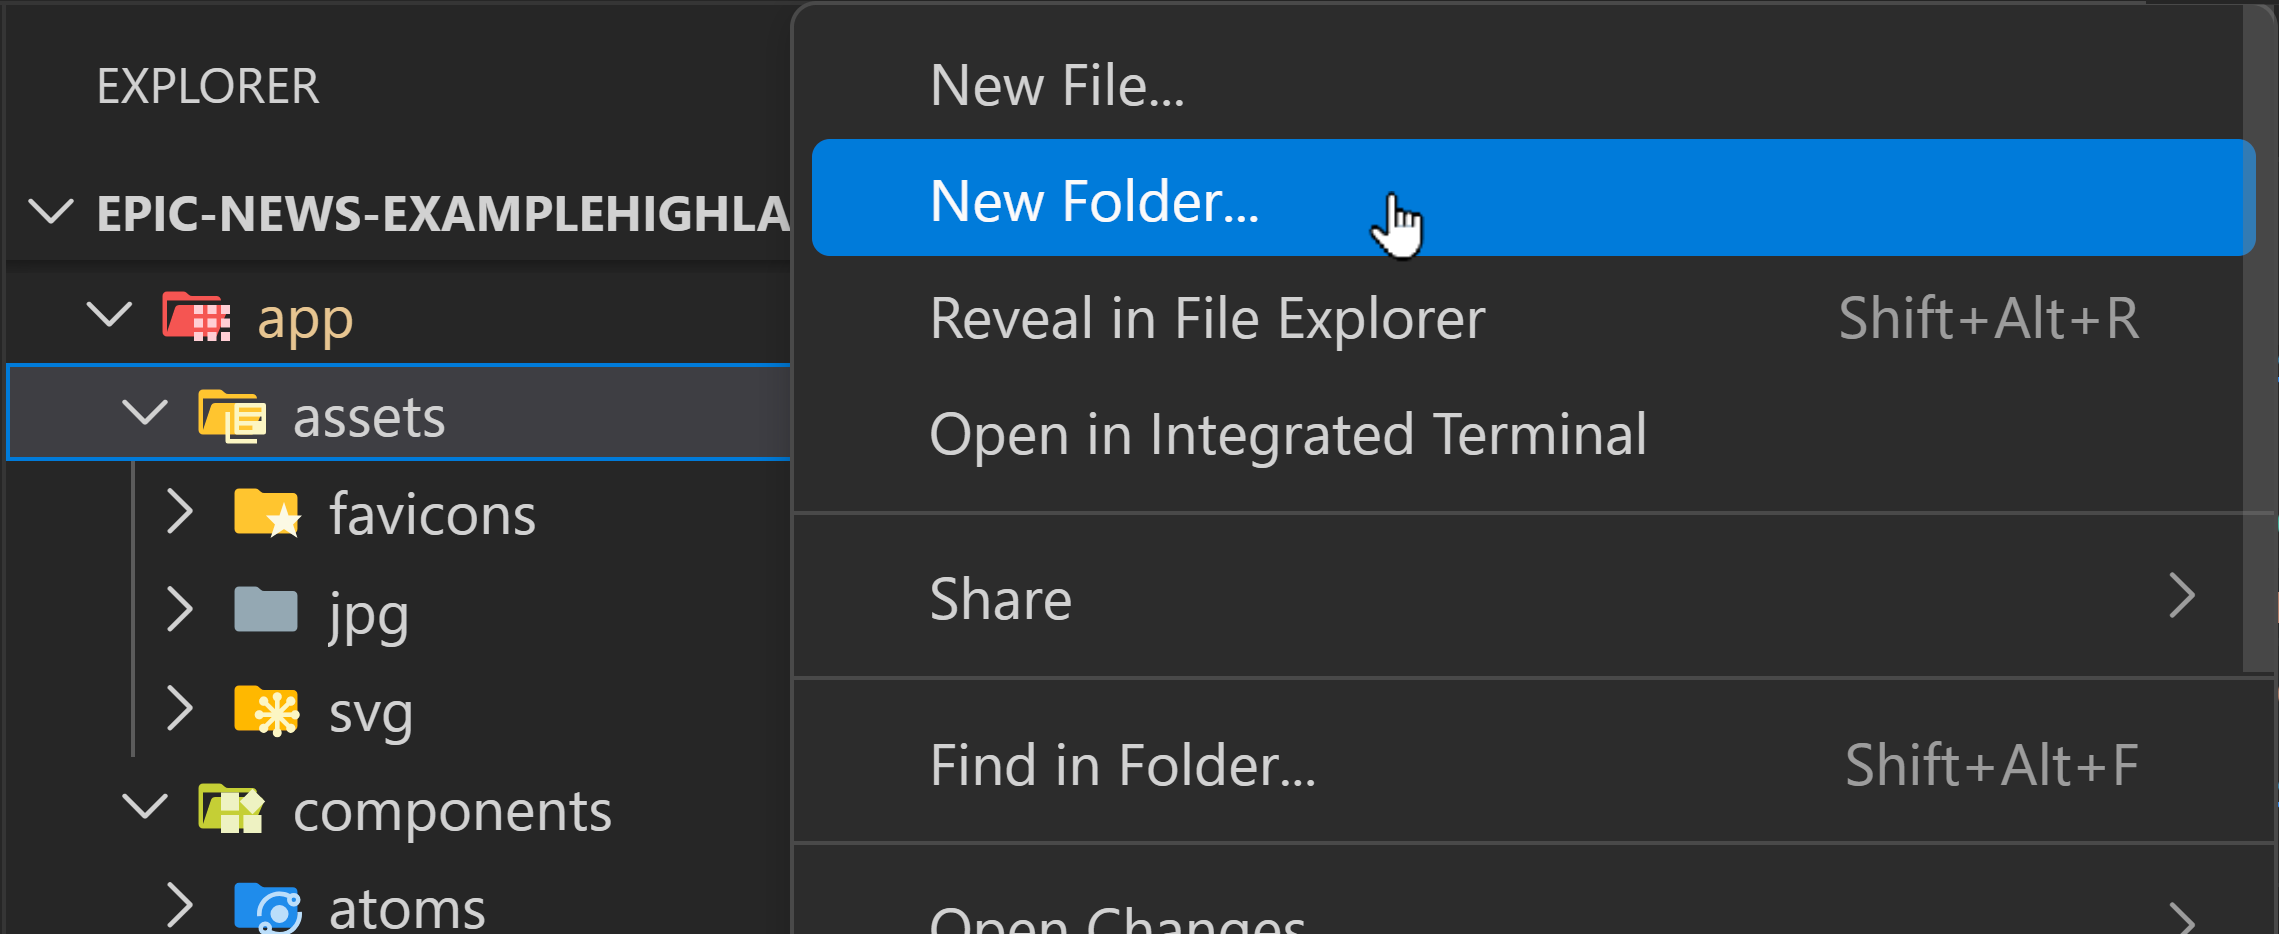
-
Next, right-click the same folder and select ‘New Folder…’ from the context menu:
Call your new folder
png. Your file tree should look like this:Directoryapp
Directoryassets
Directoryfavicons/
- …
Directoryjpg/
- …
Directorypng/ < New folder
- …
Directorysvg/
- …
-
Drag and drop the image file from your computer into the new
app/assets/pngfolder:
Importing the image
Section titled “Importing the image”Now that the image is in the correct folder, you can import it into your component:
import { useMatches, Link } from 'react-router'import { SearchBar } from '#app/components/search-bar.tsx'import { Button } from '#app/components/ui/button.tsx'import { UserDropdown } from '#app/components/user-dropdown.tsx'import { useOptionalUser } from '#app/utils/user.ts'import logo from '~/assets/png/epic-news-logo.png';Using the image
Section titled “Using the image”To actually show the image in the browser, you can use the img tag and set the src attribute to the imported image.
You should also set an alt attribute to describe the image for users accessing the site with a screen reader.
Add the line of code below inside the div that you created in the previous tutorial:
6 collapsed lines
import { useMatches, Link } from 'react-router'import { SearchBar } from '#app/components/search-bar.tsx'import { Button } from '#app/components/ui/button.tsx'import { UserDropdown } from '#app/components/user-dropdown.tsx'import { useOptionalUser } from '#app/utils/user.ts'import logo from '~/assets/png/epic-news-logo.png'
export default function HeaderWithSearch() { const matches = useMatches() const isOnSearchPage = matches.find((m) => m.id === 'routes/users+/index') const searchBar = isOnSearchPage ? null : <SearchBar status="idle" /> const user = useOptionalUser()
return ( <header className="container py-6"> <nav className="flex flex-wrap items-center justify-between gap-4 sm:flex-nowrap md:gap-8"> <div> <img src={logo} alt="Epic News Logo" className="w-16" /> <span className="text-foreground text-sm">Epic News</span> </div>13 collapsed lines
<div className="ml-auto hidden max-w-sm flex-1 sm:block"> {searchBar} </div> <div className="flex items-center gap-10"> {user ? ( <UserDropdown /> ) : ( <Button asChild variant="default" size="lg"> <Link to="/login">Log In</Link> </Button> )} </div> <div className="block w-full sm:hidden">{searchBar}</div> </nav> </header> )}With this code saved, your logo should now appear just above the site title in the navigation bar:
![]()
Summary
Section titled “Summary”In this tutorial, we have:
- Moved an image to the
app/assets/pngfolder - Imported the image into a component
- Used the image as the
srcattribute in animgtag - Positioned the image and text in the navigation bar correctly using flexbox
What’s next?
Section titled “What’s next?”In the next tutorial, we’ll customise the navigation bar and footer by adding links to different pages in the site.